Ir para o conteúdo principal
How to Replace Cabinet Door Bumpers

How to Replace Cabinet Door Bumpers

Brenda M

Brenda M e 2 outros colaboradores

Última atualização em August 26, 2024

5 - 10 minutos
Muito fácil

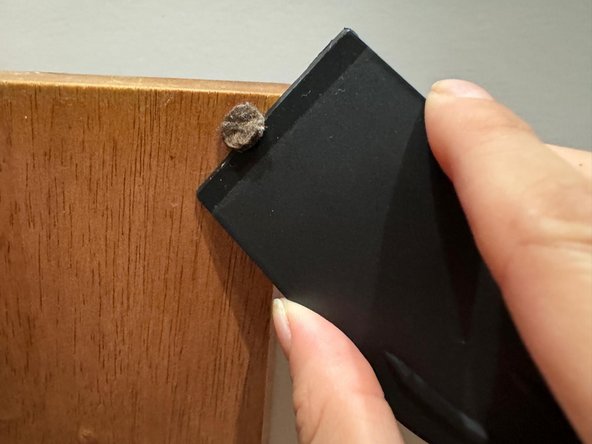
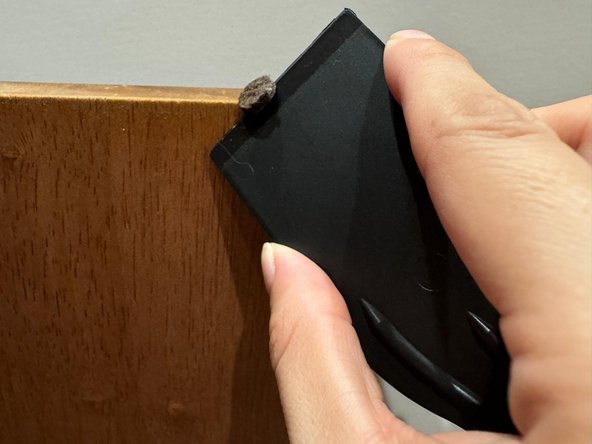
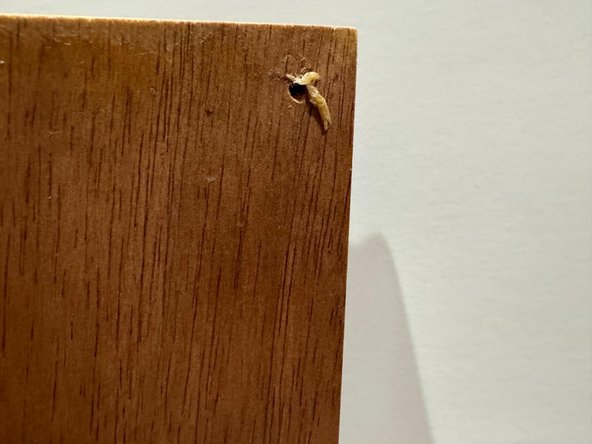
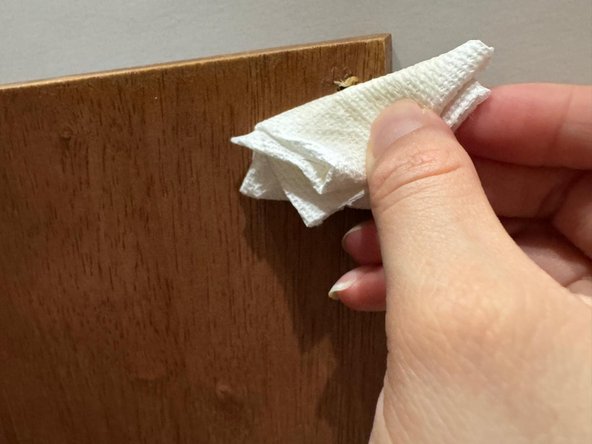
Cabinet door bumpers can wear out over time, leading to noisy and even damaging cabinet doors. Replacing them is a simple and cost-effective solution. This guide will walk you through the process of removing old bumpers, cleaning the surface, and installing new ones to ensure your cabinets close quietly and smoothly.

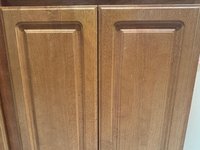
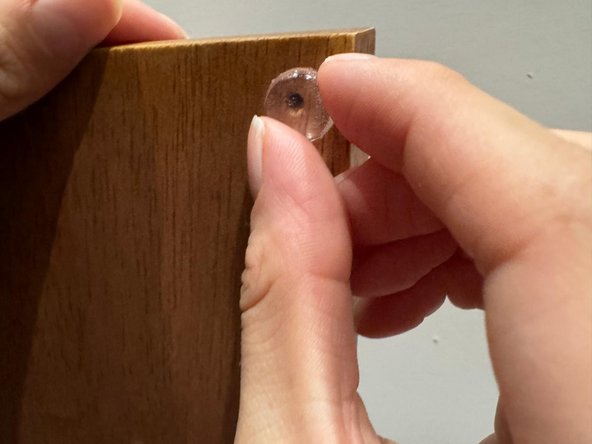
The cabinets used in this guide are made of wood, but self-adhesive plastic bumpers can be used for various types of cabinets. These including wood, metal, and laminate, making this guide suitable for different households and cabinet types.

  1. How to Replace Cabinet Door Bumpers, Cabinet Door Bumpers: passo 1, imagem 1 %32 How to Replace Cabinet Door Bumpers, Cabinet Door Bumpers: passo 1, imagem 2 %32 How to Replace Cabinet Door Bumpers, Cabinet Door Bumpers: passo 1, imagem 3 %32
    • Open the cabinet door to access the existing bumpers.

  2. How to Replace Cabinet Door Bumpers: passo 2, imagem 1 %32 How to Replace Cabinet Door Bumpers: passo 2, imagem 2 %32 How to Replace Cabinet Door Bumpers: passo 2, imagem 3 %32
    • Use a plastic scraper to remove the existing bumpers.

    • Using a metal scraper or excessive force could scratch your cabinets.

  3. How to Replace Cabinet Door Bumpers: passo 3, imagem 1 %32 How to Replace Cabinet Door Bumpers: passo 3, imagem 2 %32 How to Replace Cabinet Door Bumpers: passo 3, imagem 3 %32
    • Apply a small amount of adhesive remover to a paper towel.

    • Rub the area where the old bumpers were located to remove any sticky residue.

    • Use WD-40 or rubbing alcohol to remove sticky residue from stainless steel cabinets.

  4. How to Replace Cabinet Door Bumpers: passo 4, imagem 1 %32 How to Replace Cabinet Door Bumpers: passo 4, imagem 2 %32 How to Replace Cabinet Door Bumpers: passo 4, imagem 3 %32
    • Clean the area with a damp cloth and mild soap to remove any remaining adhesive remover or residue.

  5. How to Replace Cabinet Door Bumpers: passo 5, imagem 1 %32
    • Let the area dry completely.

  6. How to Replace Cabinet Door Bumpers: passo 6, imagem 1 %32 How to Replace Cabinet Door Bumpers: passo 6, imagem 2 %32 How to Replace Cabinet Door Bumpers: passo 6, imagem 3 %32
    • Peel off the backing from the adhesive side of the new bumpers.

    • Place the new bumper onto the clean, dry surface where the old bumpers used to be.

    • Press the bumper onto the cabinet to secure the adhesive.

  7. How to Replace Cabinet Door Bumpers: passo 7, imagem 1 %32 How to Replace Cabinet Door Bumpers: passo 7, imagem 2 %32 How to Replace Cabinet Door Bumpers: passo 7, imagem 3 %32
    • Open and close the cabinet doors a few times to ensure that the new bumpers are securely in place and effectively cushioning the doors.

Linha de Chegada

Brenda M

Membro desde: 06/23/24

145 Reputação

Autoria de 1 guia

0 comentários

Adicione um comentário

Exibir estatísticas:

Últimas 24 horas: 2

Últimos 7 dias: 22

Últimos 30 dias: 37

Duração total: 284