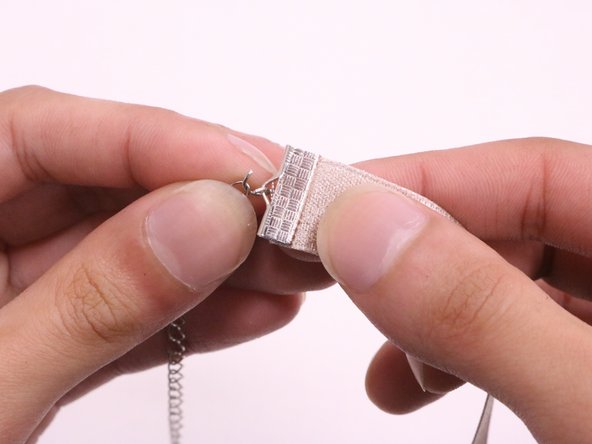
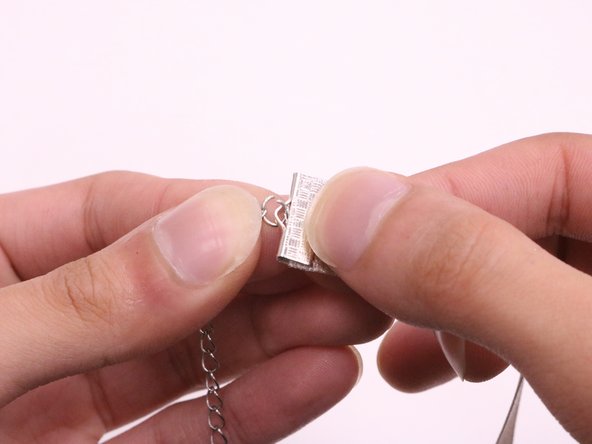
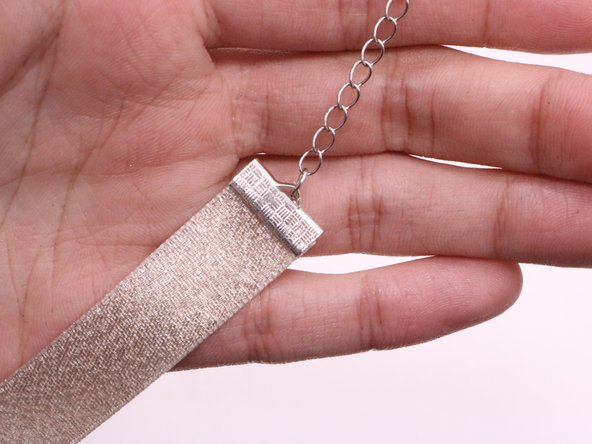
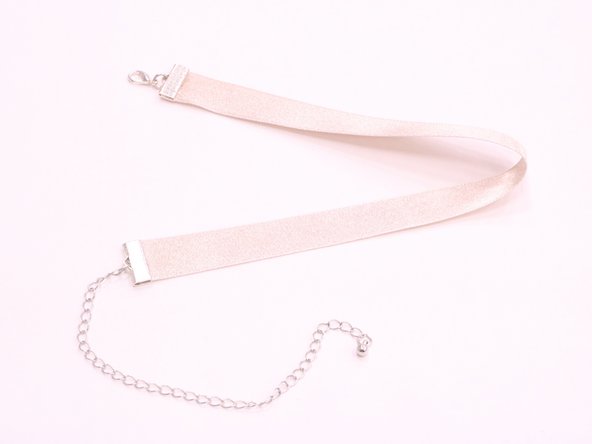
Ir para o conteúdo principal

How to Repair a Ripped Ribbon Choker

O que você precisa

  1. How to Repair a Ripped Ribbon Choker, Crimp Replacement: passo 1, imagem 1 %32 How to Repair a Ripped Ribbon Choker, Crimp Replacement: passo 1, imagem 2 %32 How to Repair a Ripped Ribbon Choker, Crimp Replacement: passo 1, imagem 3 %32
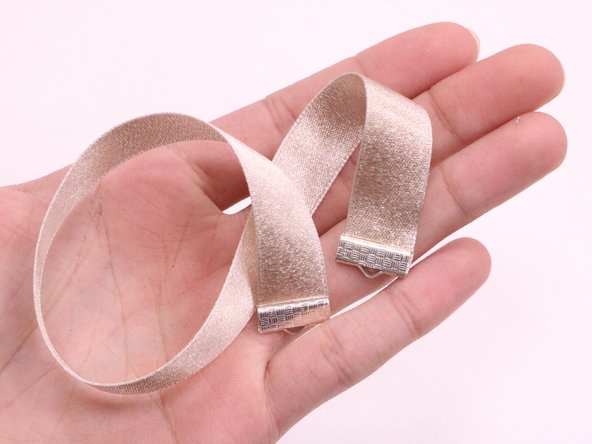
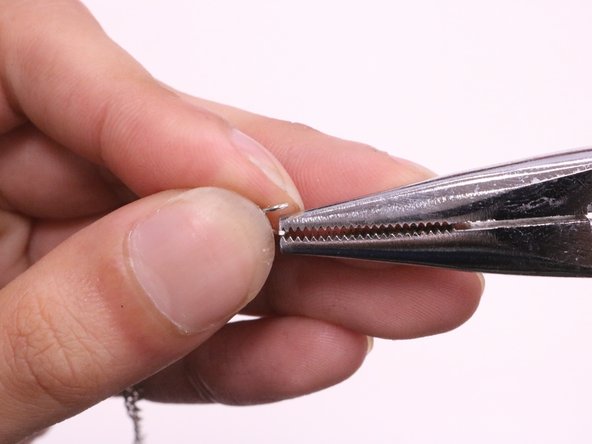
    • Use a pair of scissors to cut right before the tear.

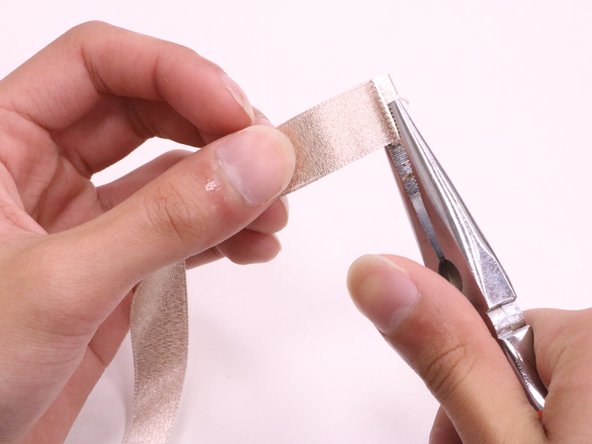
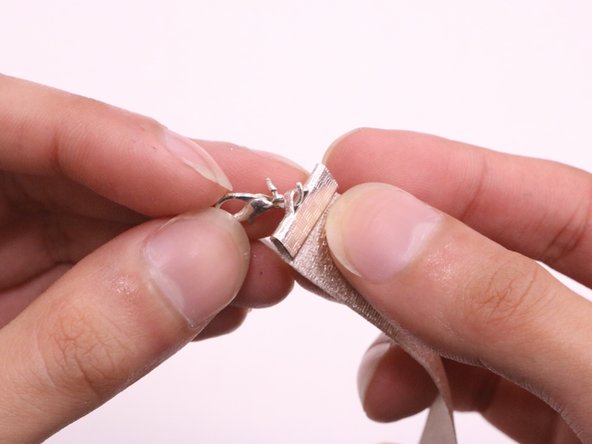
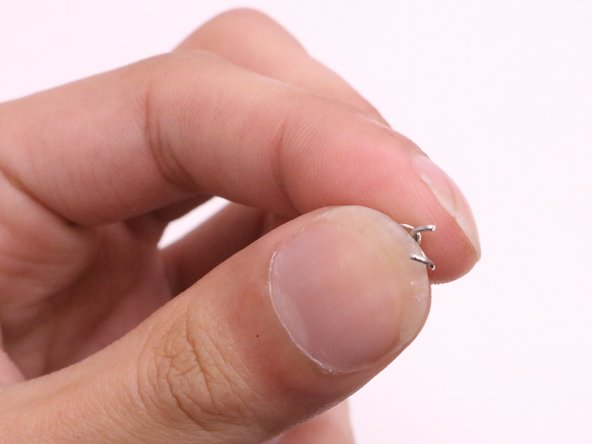
    • Cut off the crimp on the other end.

    • Try to cut off the least amount of fabric.

    • If you cut off too much fabric, the choker will no longer fit around your neck.

  2. How to Repair a Ripped Ribbon Choker: passo 2, imagem 1 %32 How to Repair a Ripped Ribbon Choker: passo 2, imagem 2 %32 How to Repair a Ripped Ribbon Choker: passo 2, imagem 3 %32
    • Using the long nose pliers, place the new crimp to the end of the ribbon and squeeze the crimp shut.

    • Make sure that the crimp is securely attached in place by pinching the crimp hard.

  3. How to Repair a Ripped Ribbon Choker: passo 3, imagem 1 %32 How to Repair a Ripped Ribbon Choker: passo 3, imagem 2 %32 How to Repair a Ripped Ribbon Choker: passo 3, imagem 3 %32
    • Repeat step 2 to the other end of the ribbon to complete attaching the crimps.

  4. How to Repair a Ripped Ribbon Choker: passo 4, imagem 1 %32 How to Repair a Ripped Ribbon Choker: passo 4, imagem 2 %32
    • Using the long nose pliers, open up the circular ring attached to the new clasp.

    • You can manually open up the ring with your hands if it is difficult to open with the pliers.

  5. How to Repair a Ripped Ribbon Choker: passo 5, imagem 1 %32 How to Repair a Ripped Ribbon Choker: passo 5, imagem 2 %32 How to Repair a Ripped Ribbon Choker: passo 5, imagem 3 %32
    • Place the open ring on the crimp by putting it through the hole on the end of the choker.

    • Using your fingers, secure the clasp by squeezing and closing the ring shut.

    • This step can be tricky because of how small the ring is. Use one hand to hold and keep the ring from moving while your other hand squeezes it shut.

    • If you cannot squeeze the ring shut, you can use your long nose pliers to squeeze and secure the ring.

  6. How to Repair a Ripped Ribbon Choker: passo 6, imagem 1 %32 How to Repair a Ripped Ribbon Choker: passo 6, imagem 2 %32
    • Use the long nose pliers to open up the circular ring attached to the chain.

    • Similar to step 4 and 5, you can use your hands instead of the long nose pliers if it is easier for you to open the ring.

  7. How to Repair a Ripped Ribbon Choker: passo 7, imagem 1 %32 How to Repair a Ripped Ribbon Choker: passo 7, imagem 2 %32 How to Repair a Ripped Ribbon Choker: passo 7, imagem 3 %32
    • Place the open ring on the crimp by putting it through the hole on the end.

    • Using either the long nose pliers or your hands, secure the ring of the chain to the other side of the crimp.

  8. How to Repair a Ripped Ribbon Choker: passo 8, imagem 1 %32 How to Repair a Ripped Ribbon Choker: passo 8, imagem 2 %32
    • Check the following before wearing your newly fixed ribbon choker.

    • Test out your new choker by putting it on.

    • When wearing the choker, make sure that the crimp, clasp and chain is secure.

    • If the crimp, clasp, or chain feels loose, take the choker off and retighten the rings and crimps to ensure that it will not fall off.

Conclusão

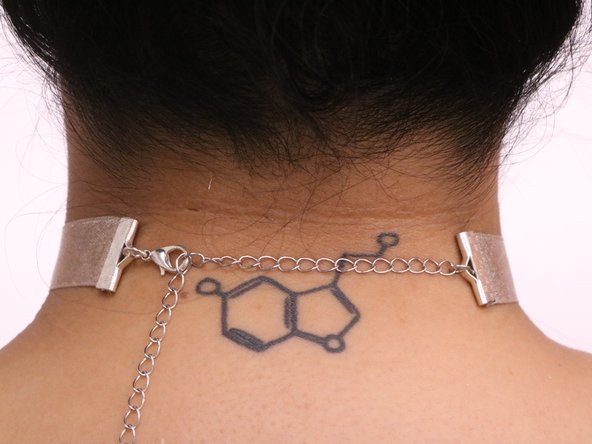
You can apply this guide to repair a different size ribbon choker. This guide can also be used to make a DIY choker using a new ribbon.

Uma outra pessoa concluiu este guia.

Janel Padaoan

Membro desde: 10/26/18

172 Reputação

Autoria de 1 guia

Equipe

UC Davis, Team S2-G6, Bender Fall 2018 Membro de UC Davis, Team S2-G6, Bender Fall 2018

UCD-BENDER-F18S2G6

Membros da 2

1 Guia de autoria

0 comentários

Adicione um comentário

Exibir estatísticas:

Últimas 24 horas: 0

Últimos 7 dias: 1

Últimos 30 dias: 13

Duração total: 1,084