Esta versão pode conter edições incorretas. Mude para o último instantâneo verificado.
O que você precisa
-
Este passo não foi traduzido. Ajude a traduzi-lo
-
Remove any stuffing and the current squeaker from the toy.
-
-
Este passo não foi traduzido. Ajude a traduzi-lo
-
Turn the empty toy inside out through the biggest hole and inspect for other holes to repair.
-
-
Este passo não foi traduzido. Ajude a traduzi-lo
-
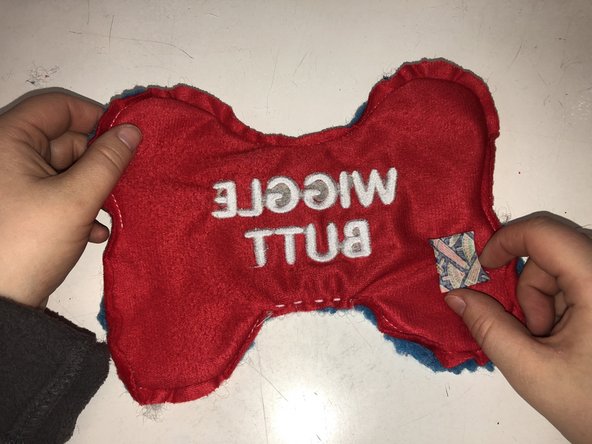
Place the fabric square facing the outside of the toy over the hole.
-
-
-
Este passo não foi traduzido. Ajude a traduzi-lo
-
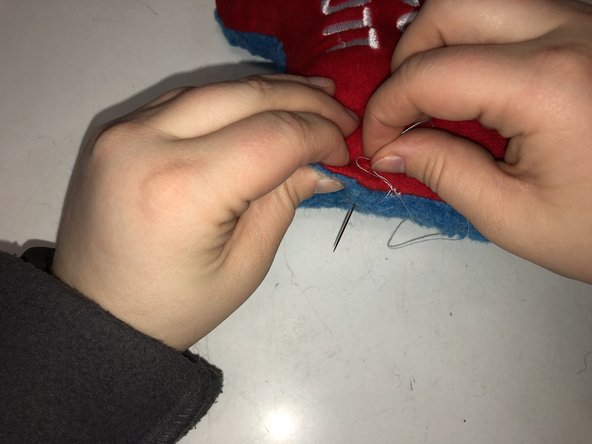
Begin sewing the patch to cover the hole.
-
To do so pinch both layers of fabric and put the needle through the other side and pull it back out of the top.
-
-
Este passo não foi traduzido. Ajude a traduzi-lo
-
Re-stuff the toy by evenly putting the stuffing back inside.
-
When about half of the stuffing is put back, inside insert the squeaker and continue to add stuffing.
-
-
Este passo não foi traduzido. Ajude a traduzi-lo
-
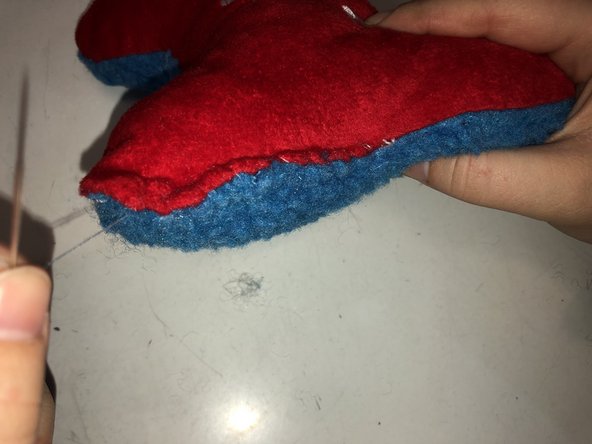
To sew the last hole pinch the fabric together and insert the needle through the top side and pull through the bottom.
-


Cancelar: não concluí este guia.
Uma outra pessoa concluiu este guia.

Equipe

Eastern Washington University, Team S27-G6, Munoz Winter 2019 Membro de Eastern Washington University, Team S27-G6, Munoz Winter 2019
EWU-MUNOZ-W19S27G6
Membros da 2
1 Guia de autoria