Ir para o conteúdo principal

How to Repair a Resin Charm

O que você precisa

  1. How to Repair a Resin Charm, How to Repair a Resin Charm: passo 1, imagem 1 %32 How to Repair a Resin Charm, How to Repair a Resin Charm: passo 1, imagem 2 %32
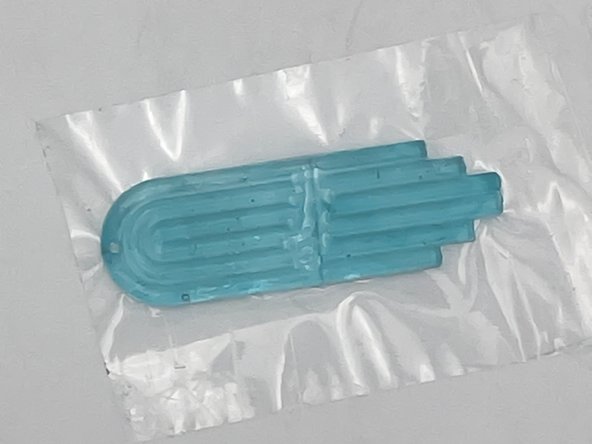
    • Fit the broken pieces together with the flattest side of the charm facing towards you.

  2. How to Repair a Resin Charm: passo 2, imagem 1 %32 How to Repair a Resin Charm: passo 2, imagem 2 %32
    • Lay a piece of tape on the crack and press down smoothly.

  3. How to Repair a Resin Charm: passo 3, imagem 1 %32
    • Pick up the pieces so the crack is facing up.

    • Bend the pieces to create a slight gap.

    • CAUTION: Wear gloves when working with resin.

  4. How to Repair a Resin Charm: passo 4, imagem 1 %32 How to Repair a Resin Charm: passo 4, imagem 2 %32
    • Add resin to the crack.

    • Press the pieces together.

  5. How to Repair a Resin Charm: passo 5, imagem 1 %32 How to Repair a Resin Charm: passo 5, imagem 2 %32
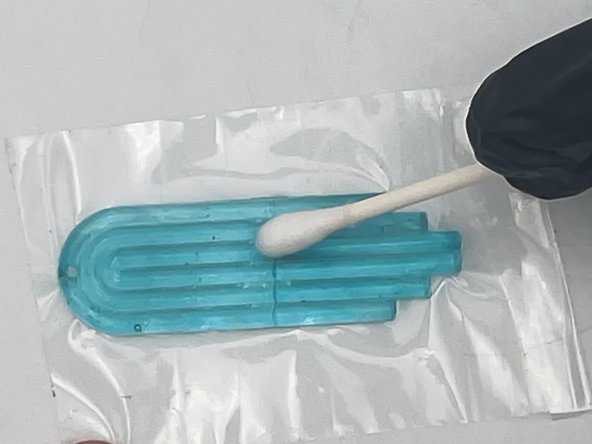
    • Use a cotton swab to spread the resin in the crack.

    • Pick up the excess resin with a cotton swab.

  6. How to Repair a Resin Charm: passo 6, imagem 1 %32 How to Repair a Resin Charm: passo 6, imagem 2 %32 How to Repair a Resin Charm: passo 6, imagem 3 %32
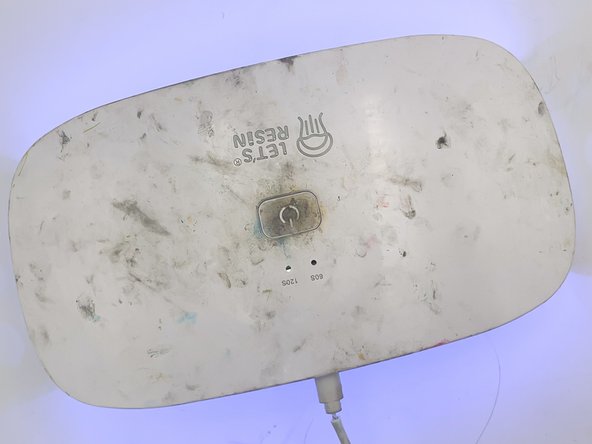
    • Turn on the UV light.

    • Put the charm under the UV light for 120 seconds per side.

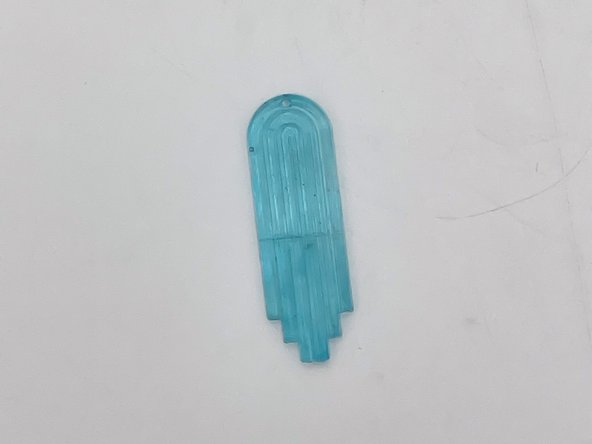
    • Remove the charm.

Conclusão

Now your charm is repaired and can once again be worn or displayed!

Jorja

Membro desde: 04/25/24

133 Reputação

Autoria de 1 guia

Equipe

UC Davis, Team 2-7, Whithaus Spring 2024 Membro de UC Davis, Team 2-7, Whithaus Spring 2024

UCD-WHITHAUS-S24S2G7

Membros da 3

1 Guia de autoria

0 comentários

Adicione um comentário

Exibir estatísticas:

Últimas 24 horas: 0

Últimos 7 dias: 13

Últimos 30 dias: 21

Duração total: 42