Ir para o conteúdo principal
Participe da comunidade de reparos - Criar conta

How to Repair Automobile Scratches & Paint Chips

O que você precisa

    1. How to Repair Automobile Scratches & Paint Chips, How to Repair Automobile Scratches & Paint Chips: passo 1, imagem 1 %32
      • Check the inside of the driver's side door to find the manufacturer's paint code.

      • This sticker can be found directly next to the VIN number.

      • Use this paint code to order the exact same color paint online or find it at your local hardware store.

      Pergunte ao FixBot

      Comentar

    2. How to Repair Automobile Scratches & Paint Chips: passo 2, imagem 1 %32
      • Fill a medium-sized bucket with warm water and a small amount of soap.

      • A little soap goes a long way.

      Pergunte ao FixBot

      Comentar

    3. How to Repair Automobile Scratches & Paint Chips: passo 3, imagem 1 %32 How to Repair Automobile Scratches & Paint Chips: passo 3, imagem 2 %32 How to Repair Automobile Scratches & Paint Chips: passo 3, imagem 3 %32
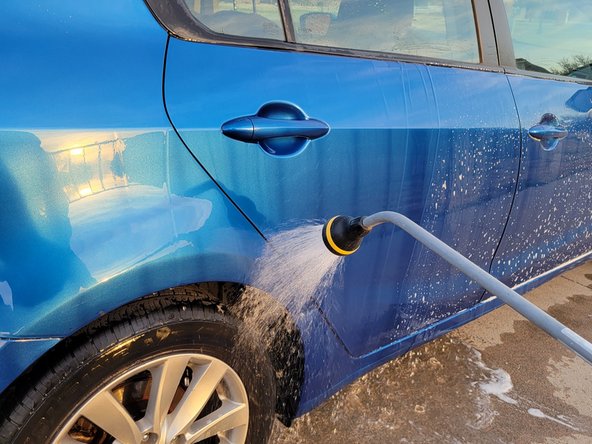
      • Use soapy water and sponge to wash the car.

      • Rinse off the soap with a water hose.

      Pergunte ao FixBot

      Comentar

    4. How to Repair Automobile Scratches & Paint Chips: passo 4, imagem 1 %32
      • Use a clean towel to dry the freshly washed car.

      • Make sure the area is completely dry before continuing.

      Pergunte ao FixBot

      Comentar

    5. How to Repair Automobile Scratches & Paint Chips: passo 5, imagem 1 %32
      • Use sandpaper to buff out scratches. Start from 150 and continue until 400 grit.

      • This levels out the area so the paint will be applied evenly.

      Pergunte ao FixBot

      Comentar

    6. How to Repair Automobile Scratches & Paint Chips: passo 6, imagem 1 %32 How to Repair Automobile Scratches & Paint Chips: passo 6, imagem 2 %32
      • Use a small amount of grease remover and a cloth to clean any wax from the area.

      Pergunte ao FixBot

      Comentar

    7. How to Repair Automobile Scratches & Paint Chips: passo 7, imagem 1 %32 How to Repair Automobile Scratches & Paint Chips: passo 7, imagem 2 %32
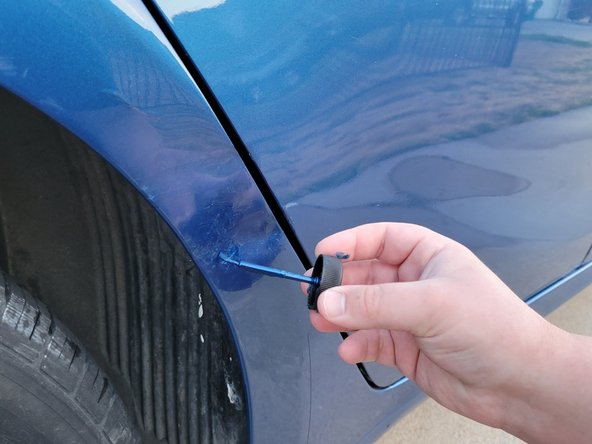
      • Starting with a small amount of paint, apply the first coat of paint to the scratched area.

      • Use as little paint as possible to prevent clumping.

      • Wait 15-20 minutes for the coat to fully dry before continuing.

      Pergunte ao FixBot

      Comentar

    8. How to Repair Automobile Scratches & Paint Chips: passo 8, imagem 1 %32 How to Repair Automobile Scratches & Paint Chips: passo 8, imagem 2 %32
      • If necessary, apply a second coat of paint to the area.

      • This may be necessary for deep scratches or chips.

      • Wait 15-20 minutes before continuing.

      • Continue to reapply if needed.

      Pergunte ao FixBot

      Comentar

    9. How to Repair Automobile Scratches & Paint Chips: passo 9, imagem 1 %32 How to Repair Automobile Scratches & Paint Chips: passo 9, imagem 2 %32 How to Repair Automobile Scratches & Paint Chips: passo 9, imagem 3 %32
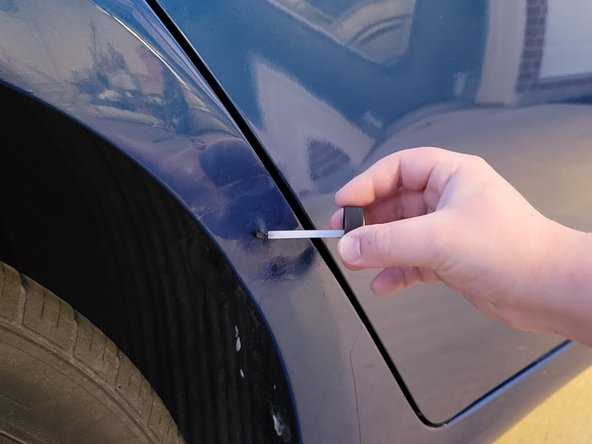
      • Use the small paintbrush to apply clear coat over the freshly dried paint.

      • Wait 10-15 minutes for the clear coat to dry.

      Pergunte ao FixBot

      Comentar

    10. How to Repair Automobile Scratches & Paint Chips: passo 10, imagem 1 %32
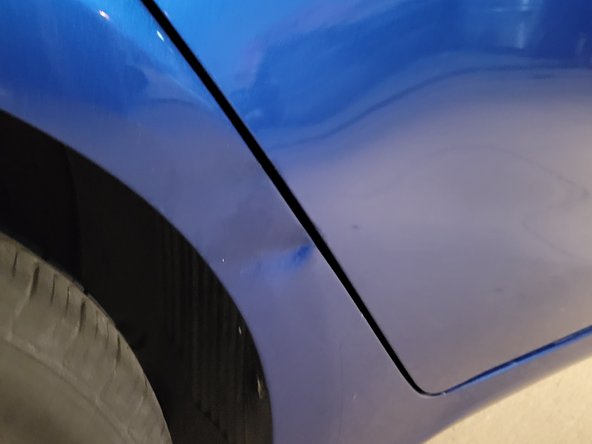
      • Give your car a quick look over to ensure you got every spot.

      • If you missed a spot, no worries. Just go through this guide again.

      • Now your car is as good as new!

      Pergunte ao FixBot

      Comentar

Conclusão

After the clear coat has dried, your car’s paint job should be looking like it did the day you drove it off the lot!

Cancelar: não concluí este guia.

4 outras pessoas executaram este guia.

1Comentário do guia

Kann man die folgende Sonax Autopolitur für den 6. Schritt verwenden?

Engin Mutlu - Responder Compartilhar

Comentar

Visualizações:

Últimas 24 horas: 7

Últimos 7 dias: 39

Últimos 30 dias: 182

Ao todo: 4,536