Ir para o conteúdo principal
Participe da comunidade de reparos - Criar conta
How to Reattach an Apron Strap

How to Reattach an Apron Strap

Magaly Valdez

Magaly Valdez e um outro colaborador

Última atualização em 27 de abr de 2022

10 minutos
Fácil
Melhor Introdução

Introdução

Ir para o passo 1

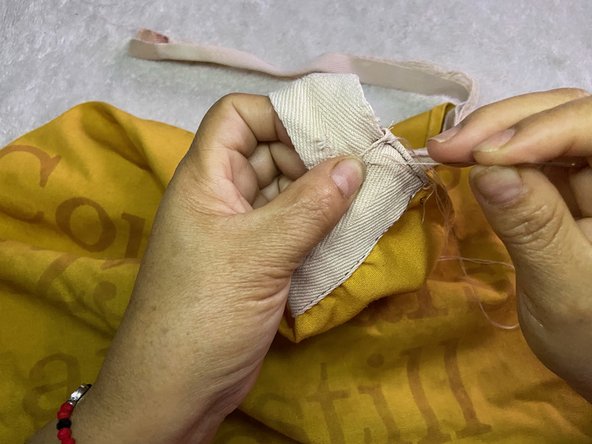
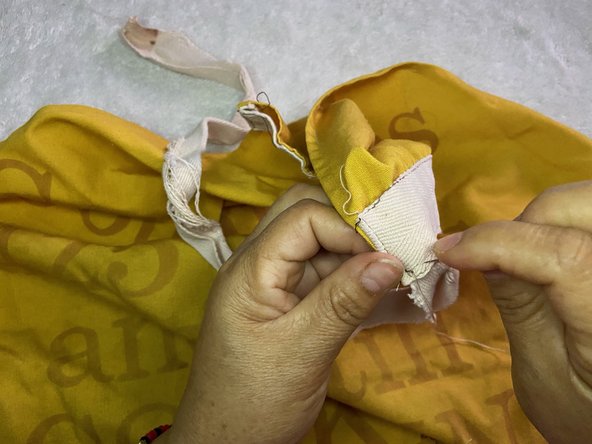
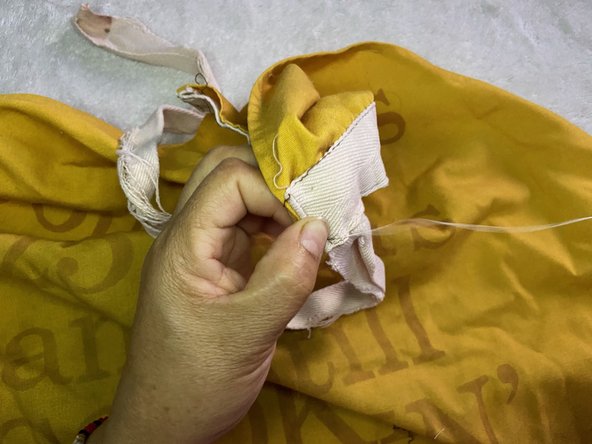
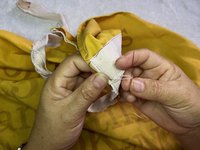
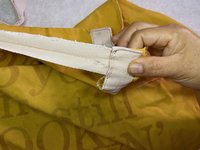
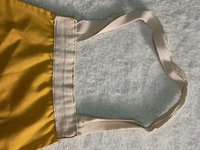
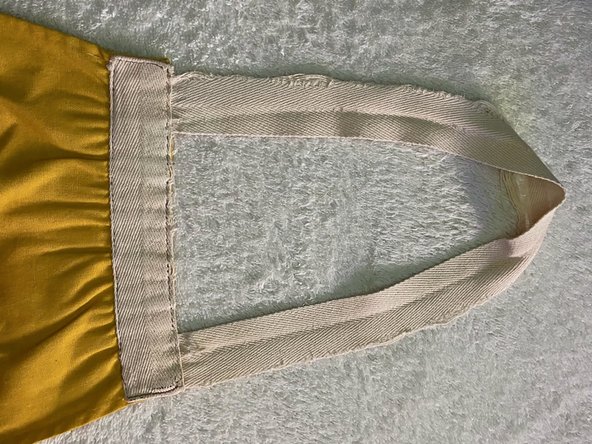
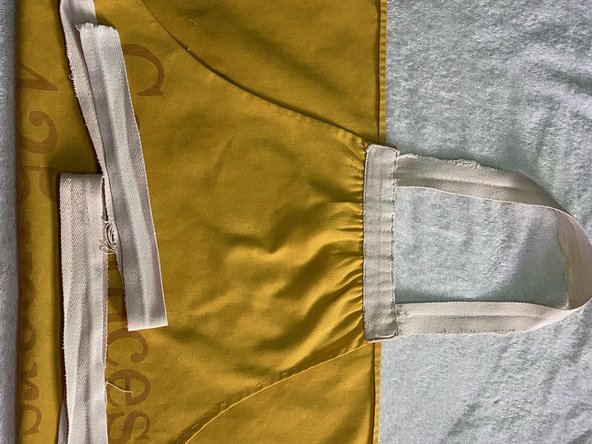
This guide will show you how to reattach a torn or broken apron strap.

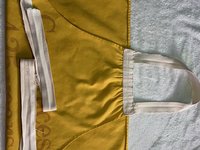
A kitchen apron is used for keeping your clothes clean while cooking. It is important to do this replacement because a kitchen apron is a helpful equipment to keep yourself from getting dirty. The straps are especially important to repair because they are the main important part of holding the whole apron together.

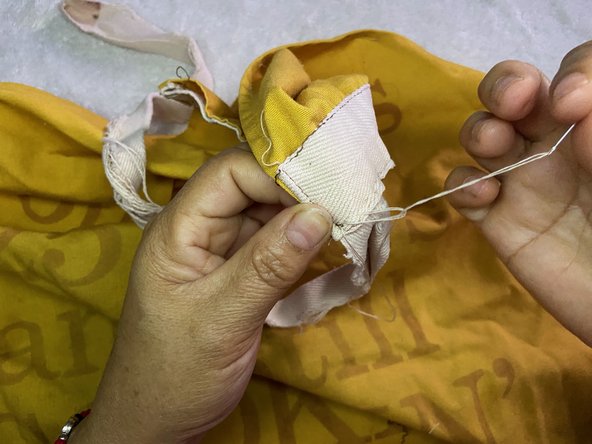
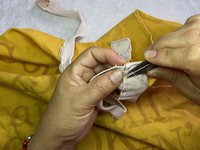
Step 4 has a caution, might poke yourself with the sewing needle.

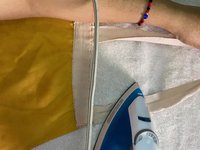
Before beginning make sure all your tools are available to you.

O que você precisa

Ferramentas

Exibir mais…

  1. How to Reattach an Apron Strap, How to Reattach an Apron Strap: passo 1, imagem 1 %32 How to Reattach an Apron Strap, How to Reattach an Apron Strap: passo 1, imagem 2 %32 How to Reattach an Apron Strap, How to Reattach an Apron Strap: passo 1, imagem 3 %32
    • Use a thread color that matches your article of clothing (or whatever color you like).

    • Cut a piece of thread around 21 centimeters long.

    • Insert one side of the thread in the eye of the sewing needle.

    • You can wet the thread a bit to make it easier to insert in the hole.

    • It may help to thread the needle against a background with a contrasting color to make it easier to see.

  2. How to Reattach an Apron Strap: passo 2, imagem 1 %32 How to Reattach an Apron Strap: passo 2, imagem 2 %32 How to Reattach an Apron Strap: passo 2, imagem 3 %32
    • Pull the thread to make sure it is in the hole.

    • Make sure the apron is aligned correctly.

    • Insert the needle from where you want to start to repair the fabric.

    • Begin from right to left.

  3. How to Reattach an Apron Strap: passo 3, imagem 1 %32 How to Reattach an Apron Strap: passo 3, imagem 2 %32 How to Reattach an Apron Strap: passo 3, imagem 3 %32
    • Once inserted, make a knot so the thread can't move. Pull the thread as far as possible but still able to create a knot.

    • Insert the threaded needle a short distance from where you began, starting again from right to left.

    • Making two knots instead of one is helpful so it can last longer.

  4. How to Reattach an Apron Strap: passo 4, imagem 1 %32 How to Reattach an Apron Strap: passo 4, imagem 2 %32 How to Reattach an Apron Strap: passo 4, imagem 3 %32
    • Use caution when handling a sharp needle.

    • Continue sewing from right to left, starting each new stitch a few centimeters from the previous stitch.

    • Make sure the thread goes all the way through.

  5. How to Reattach an Apron Strap: passo 5, imagem 1 %32 How to Reattach an Apron Strap: passo 5, imagem 2 %32 How to Reattach an Apron Strap: passo 5, imagem 3 %32
    • Once you reach the end of the left side, make two small knots.

    • Begin from the bottom and pull to tighten the knot.

    • The knot should be small and tight enough to not be able to rip.

  6. How to Reattach an Apron Strap: passo 6, imagem 1 %32 How to Reattach an Apron Strap: passo 6, imagem 2 %32 How to Reattach an Apron Strap: passo 6, imagem 3 %32
    • Make sure the knot is not loose.

    • Cut the excess thread with a pair of scissors.

  7. How to Reattach an Apron Strap: passo 7, imagem 1 %32 How to Reattach an Apron Strap: passo 7, imagem 2 %32 How to Reattach an Apron Strap: passo 7, imagem 3 %32
    • Make sure the apron is aligned correctly and not loose from both sides.

    • Tug on the strap to make sure it is not loose.

  8. How to Reattach an Apron Strap: passo 8, imagem 1 %32 How to Reattach an Apron Strap: passo 8, imagem 2 %32 How to Reattach an Apron Strap: passo 8, imagem 3 %32
    • You can iron the apron to make sure it is correctly aligned, but this step is optional.

    • Lay the strap down carefully and iron from the bottom to the top.

Linha de Chegada

2 outras pessoas executaram este guia.

Gear Up For Future Repairs

Shop all

Magaly Valdez

Membro desde: 04/08/21

205 Reputação

Autoria de 1 guia

Equipe

0Comentários do guia

Comentar

Visualizações:

Últimas 24 horas: 0

Últimos 7 dias: 3

Últimos 30 dias: 29

Ao todo: 1,241