Ir para o conteúdo principal

How to Install Bathroom Tile Flooring

O que você precisa

  1. How to Install Bathroom Tile Flooring, How to Install Bathroom Tile Flooring: passo 1, imagem 1 %32 How to Install Bathroom Tile Flooring, How to Install Bathroom Tile Flooring: passo 1, imagem 2 %32 How to Install Bathroom Tile Flooring, How to Install Bathroom Tile Flooring: passo 1, imagem 3 %32
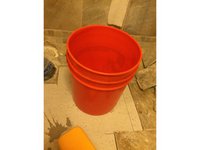
    • The first step is mixing your thin-set mortar and water into the five gallon bucket. (Precise ratio will be on mortar packaging)

  2. How to Install Bathroom Tile Flooring: passo 2, imagem 1 %32 How to Install Bathroom Tile Flooring: passo 2, imagem 2 %32 How to Install Bathroom Tile Flooring: passo 2, imagem 3 %32
    • Use the chalk line or the pencil to create reference lines along the floor that you will use to guide tile placement.

    • Your chalk lines/pencil lines should run parallel to the desired orientation of the tile.

    • These lines will act as your guide when setting the tile into the mortar.

  3. How to Install Bathroom Tile Flooring: passo 3, imagem 1 %32 How to Install Bathroom Tile Flooring: passo 3, imagem 2 %32 How to Install Bathroom Tile Flooring: passo 3, imagem 3 %32
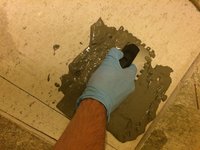
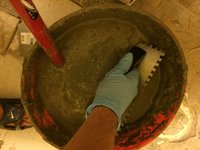
    • Spread the mortar on the floor in a square no larger than 3'x3' utilizing the thin, flat side of the trowel.

    • Attempt to distribute the mortar evenly across the floor.

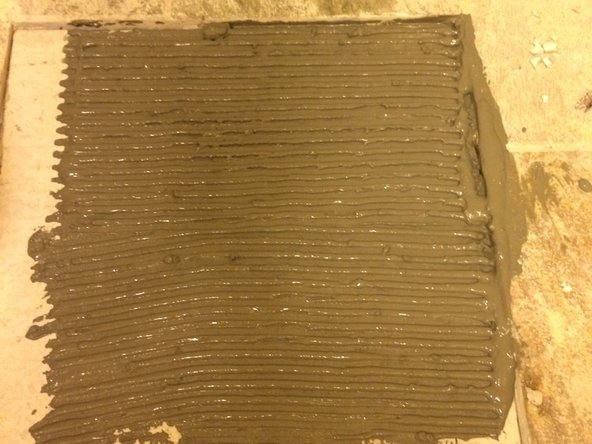
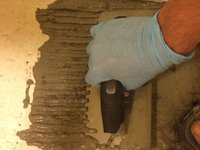
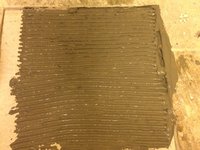
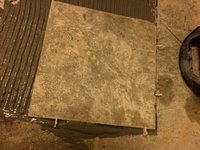
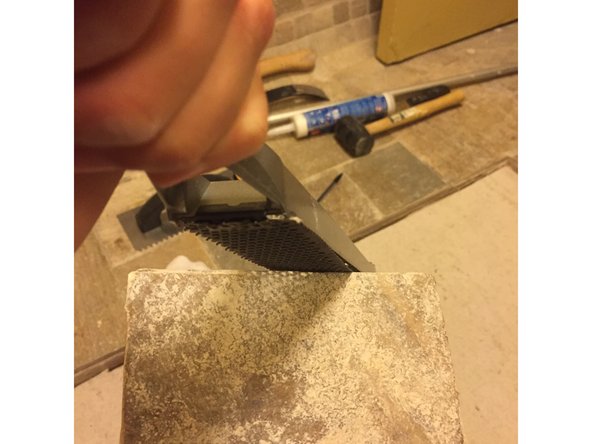
    • After the mortar is placed on the flooring, use the notched side of the trowel to apply the mortar to the flooring in it's final form. (Even rows visible in mortar.)

  4. How to Install Bathroom Tile Flooring: passo 4, imagem 1 %32 How to Install Bathroom Tile Flooring: passo 4, imagem 2 %32
    • Once you have spread the amount of mortar that you will need, use the trowel once more to clean the excess mortar from the floor. Excess mortar can be returned to the bucket.

  5. How to Install Bathroom Tile Flooring: passo 5, imagem 1 %32 How to Install Bathroom Tile Flooring: passo 5, imagem 2 %32
    • Lay the first tile square onto the mortar. For the best results, gently press down the tile and give slight twists.

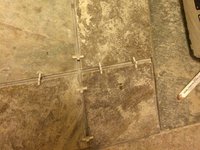
    • If necessary for your tile type, apply tile spacers to the corners of this first piece.

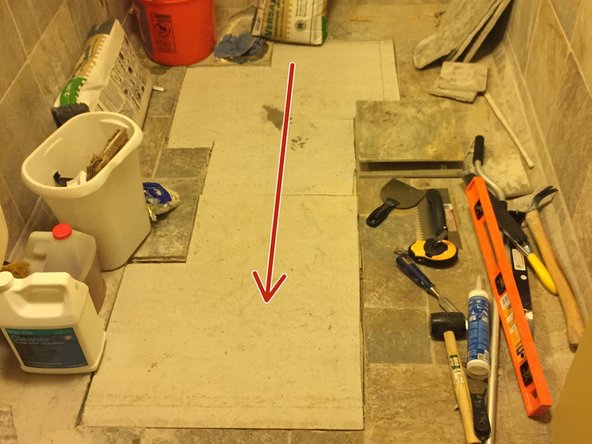
    • Continue to place tile in this manner along the reference lines using spacers if needed.

  6. How to Install Bathroom Tile Flooring: passo 6, imagem 1 %32 How to Install Bathroom Tile Flooring: passo 6, imagem 2 %32 How to Install Bathroom Tile Flooring: passo 6, imagem 3 %32
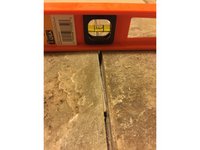
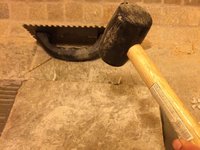
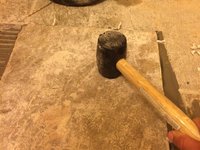
    • Once the area has been completely covered in tile, utilize the rubber mallet and level to evenly flatten the tile.

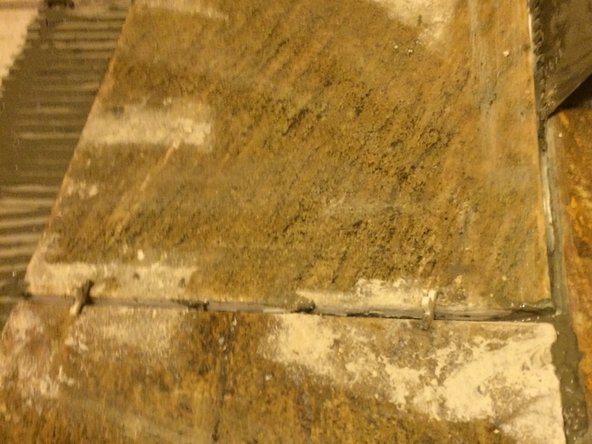
    • Place the level midway between two tile pieces then observe the difference. if there is an obvious difference, hammer the higher tile into the mortar until it is even with its neighbor.

    • When hammering tile use enough force to sink the tile further into the mortar, but not enough to shatter the tile.

  7. How to Install Bathroom Tile Flooring: passo 7, imagem 1 %32 How to Install Bathroom Tile Flooring: passo 7, imagem 2 %32 How to Install Bathroom Tile Flooring: passo 7, imagem 3 %32
    • After leveling the tiled area, use a damp sponge to remove any excess mortar that may be on the tile.

  8. How to Install Bathroom Tile Flooring: passo 8, imagem 1 %32 How to Install Bathroom Tile Flooring: passo 8, imagem 2 %32
    • Continue spreading mortar and tile in the same method as described in steps three through seven until the desired area has been tiled.

    • When placing tile, be sure to start from the back of the room so that you do not work yourself into a wall or corner.

  9. How to Install Bathroom Tile Flooring: passo 9, imagem 1 %32 How to Install Bathroom Tile Flooring: passo 9, imagem 2 %32 How to Install Bathroom Tile Flooring: passo 9, imagem 3 %32
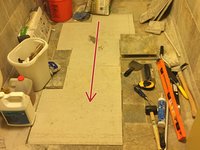
    • Once you have tiled a majority of your floor, you may notice you have an area of flooring where your pre-cut tile will not fit.

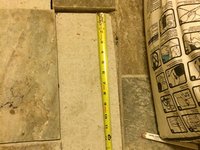
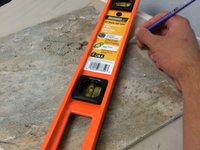
    • Take a measurement of the space remaining.

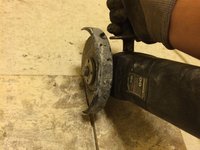
    • Use this measurement to draw a cut-line on the tile with the pencil. Keep in mind the tile will have space between panels.

  10. How to Install Bathroom Tile Flooring: passo 10, imagem 1 %32 How to Install Bathroom Tile Flooring: passo 10, imagem 2 %32 How to Install Bathroom Tile Flooring: passo 10, imagem 3 %32
    • Use the tile saw to cut the tile along the predetermined cut line.

    • Ensure that the tile saw stays moist through the entirety of this process.

    • Eye and hand protection is encouraged whenever cutting tile.

    • Once the tile has been cut, use the file to smooth the edges of the cut pieces.

    • Place the newly cut tile into the flooring that is uncovered.

  11. How to Install Bathroom Tile Flooring: passo 11, imagem 1 %32 How to Install Bathroom Tile Flooring: passo 11, imagem 2 %32 How to Install Bathroom Tile Flooring: passo 11, imagem 3 %32
    • allow the mortar to set for 24 hours.

    • Mix the grout as per manufacturer's instructions. a good mixture will have a thick, pasty feel to it.

    • Remove any tile spacers you may have used.

    • Utilize a trowel to spread the grout along the tile's joints, then diagonally along the joints.

    • Allow the grout to dry for 3 hours.

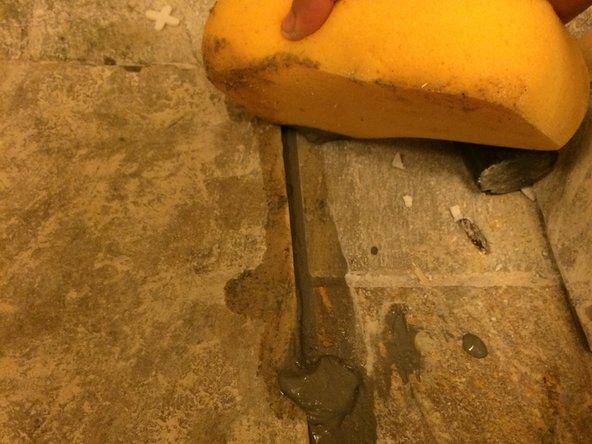
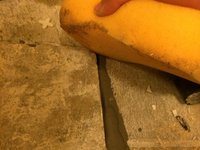
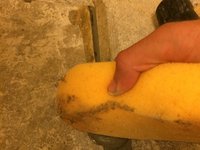
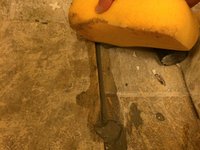
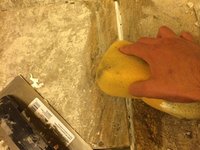
    • use a sponge and water to remove extra grout. The grout should not be level with the tile, instead keep the grout beneath the level of the tile.

  12. How to Install Bathroom Tile Flooring: passo 12, imagem 1 %32
    • Allow the tile and grout to set for three days. Avoid walking over the tile excessively during this time.

Linha de Chegada

Stephen Nelson

Membro desde: 09/29/15

291 Reputação

Autoria de 1 guia

Equipe

Cal Poly, Team 15-1, Green Fall 2015 Membro de Cal Poly, Team 15-1, Green Fall 2015

CPSU-GREEN-F15S15G1

Membros da 5

Autoria de 6 guias

0 comentários

Adicione um comentário

Exibir estatísticas:

Últimas 24 horas: 0

Últimos 7 dias: 4

Últimos 30 dias: 15

Duração total: 1,191