Esta versão pode conter edições incorretas. Mude para o último instantâneo verificado.
O que você precisa
-
Este passo não foi traduzido. Ajude a traduzi-lo
-
First, thoroughly assess your chair for loose elements.
-
Sit and jiggle them to test and note exactly what moves.
-
-
Este passo não foi traduzido. Ajude a traduzi-lo
-
Position an L-bracket as if it will brace the leg to the frame of the chair.
-
Mark the exact outline of the bracket, taking extra care when marking the center hole where your screws will hold the brace in place.
-
-
-
Este passo não foi traduzido. Ajude a traduzi-lo
-
If so, consider marking the drill bit to your desired depth.
-
-
Este passo não foi traduzido. Ajude a traduzi-lo
-
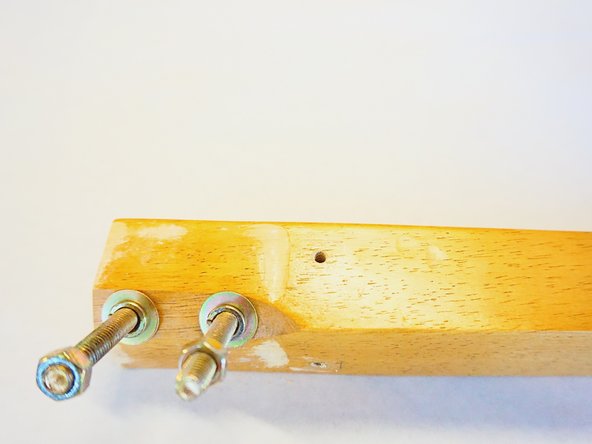
Pre-drill holes through the center of your marked circles on both your chair legs and chair frame.
-
-
Este passo não foi traduzido. Ajude a traduzi-lo
-
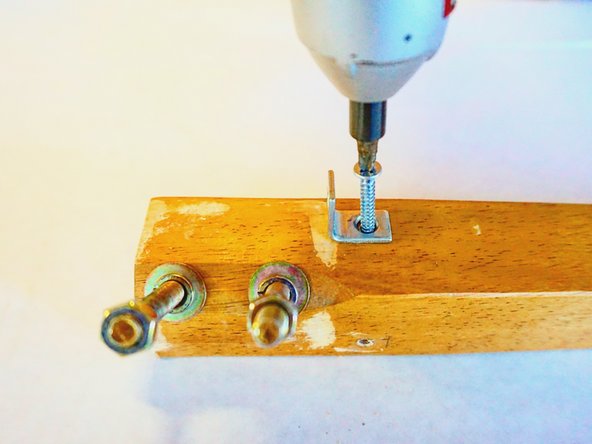
Using the drill, secure your L-brackets to the chair legs first.
-
-
Este passo não foi traduzido. Ajude a traduzi-lo
-
For extra hold and durability, use a small amount of wood glue at the chair legs joints.
-
Be sure to wipe away any excess wood glue.
-
-
Este passo não foi traduzido. Ajude a traduzi-lo
-
Tighten any preexisting hardware holding the legs to the chair base before fixing the L-bracket to the chair.
-
-
Este passo não foi traduzido. Ajude a traduzi-lo
-
Finally, screw the second side of the L-bracket to the base of the chair.
-


Cancelar: não concluí este guia.
2 outras pessoas executaram este guia.
Equipe

UC Davis, Team S2-G6, Cole Spring 2017 Membro de UC Davis, Team S2-G6, Cole Spring 2017
UCD-COLE-S17S2G6
Membros da 3
1 Guia de autoria
Um comentário
My entire corner wood pieces are broken and not fixable and the screen (bolt and nut) is bended also. I would like to purchase those small wood pieces, I am not a saavy. Need some help to find the pieces. you can mail me @ radhu_murali@hotmail.com.