Ir para o conteúdo principal

How to Fill a Crack in a Glass Container

O que você precisa

  1. How to Fill a Crack in a Glass Container, How to Fill a Crack in a Glass Container: passo 1, imagem 1 %32 How to Fill a Crack in a Glass Container, How to Fill a Crack in a Glass Container: passo 1, imagem 2 %32 How to Fill a Crack in a Glass Container, How to Fill a Crack in a Glass Container: passo 1, imagem 3 %32
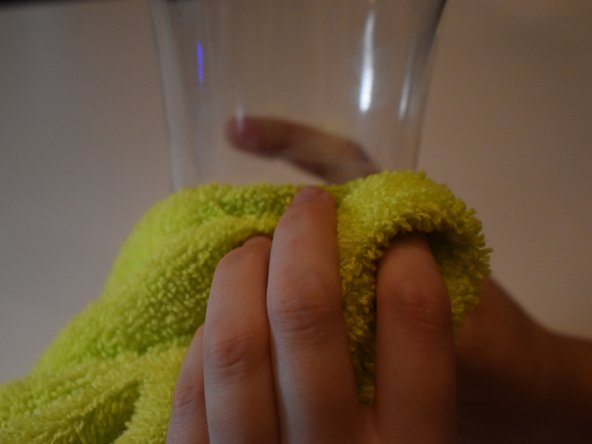
    • Clean the jar or vase with dish soap to remove all dust, fingerprints and dirt.

    • Using a tool such as a sponge or brush is optional but will work better than just your hands.

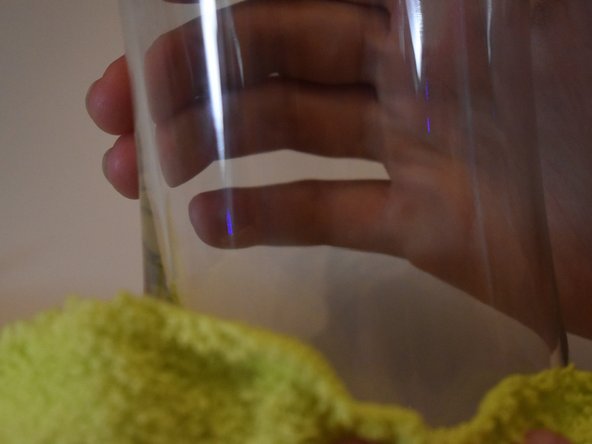
    • Dry the glass using a paper towel, and allow it time to completely dry.

  2. How to Fill a Crack in a Glass Container: passo 2, imagem 1 %32 How to Fill a Crack in a Glass Container: passo 2, imagem 2 %32 How to Fill a Crack in a Glass Container: passo 2, imagem 3 %32
    • Be sure to follow the directions on the specific two part epoxy product you’re using.

    • Mix the two-part epoxy on a piece of cardboard or a disposable plate.

    • Use a toothpick to mix the epoxy for at least 20 seconds.

    • After the epoxy is mixed, be ready to use it immediately, as it will quickly thicken and harden. Oftentimes you will have between 5 -10 minutes of working time before the epoxy is too thick and hard to use.

  3. How to Fill a Crack in a Glass Container: passo 3, imagem 1 %32 How to Fill a Crack in a Glass Container: passo 3, imagem 2 %32 How to Fill a Crack in a Glass Container: passo 3, imagem 3 %32
    • Apply the epoxy to the crack in the glass using a putty knife. Work the adhesive back and forth across the crack, pressing the epoxy into the damaged area.

    • Be sure to fully cover the damaged area.

    • Ensure you use enough pressure to get the epoxy into the crack but not too pressure that could further crack the glass.

    • Allow the epoxy to cure for at least 5 minutes.

  4. How to Fill a Crack in a Glass Container: passo 4, imagem 1 %32 How to Fill a Crack in a Glass Container: passo 4, imagem 2 %32 How to Fill a Crack in a Glass Container: passo 4, imagem 3 %32
    • Remove the excess epoxy with a razor blade.

    • Be careful when using the razor blaze to ensure you do not injure yourself or further crack the glass

    • Wipe the crack with a clean rag moistened with acetone to remove any additional epoxy raised above the crack.

    • Allow the glass to cure for at least 24 hours.

  5. How to Fill a Crack in a Glass Container: passo 5, imagem 1 %32 How to Fill a Crack in a Glass Container: passo 5, imagem 2 %32 How to Fill a Crack in a Glass Container: passo 5, imagem 3 %32
    • After 24 hours, polish the newly repaired glass with a clean rag and glass cleaner.

Conclusão

Thanks for following our guide! We hope it was simple and helped you to reduce your amount of waste!!

2 outras pessoas executaram este guia.

Um comentário

Do you use the epoxy on both sides (inside and outside) of glass?

Sheldon - Responder

Adicione um comentário

Exibir estatísticas:

Últimas 24 horas: 10

Últimos 7 dias: 57

Últimos 30 dias: 163

Duração total: 2,524