Ir para o conteúdo principal

How to Assemble Sigrow Soil Pro Mini

O que você precisa

  1. How to Assemble Sigrow Soil Pro Mini, Necessary parts: passo 1, imagem 1 %32
    • Make sure you have all the necessary parts to assemble the Soil Pro Mini.

    • Soil sensor

    • Battery

    • PCB

    • Wireless charger

  2. How to Assemble Sigrow Soil Pro Mini, Prepare the wireless charger: passo 2, imagem 1 %32 How to Assemble Sigrow Soil Pro Mini, Prepare the wireless charger: passo 2, imagem 2 %32 How to Assemble Sigrow Soil Pro Mini, Prepare the wireless charger: passo 2, imagem 3 %32
    • Carefully fold the wireless charger just above the words "Wireless Charger".

    • There are two parts inside the wireless charger. The fold is placed inbetween these two parts.

  3. How to Assemble Sigrow Soil Pro Mini, Connect parts to the PCB: passo 3, imagem 1 %32 How to Assemble Sigrow Soil Pro Mini, Connect parts to the PCB: passo 3, imagem 2 %32 How to Assemble Sigrow Soil Pro Mini, Connect parts to the PCB: passo 3, imagem 3 %32
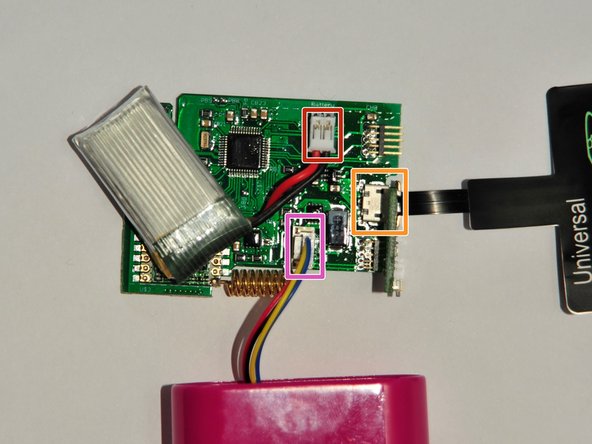
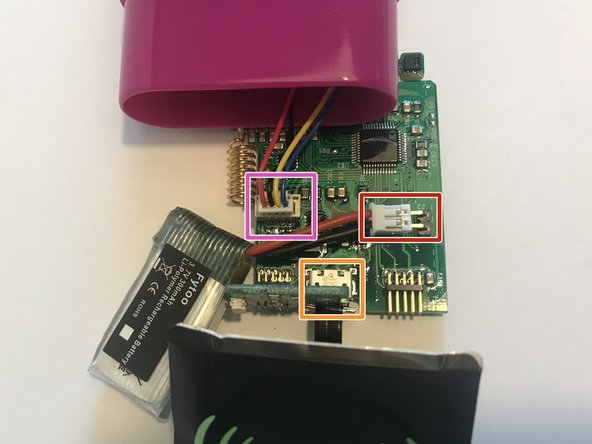
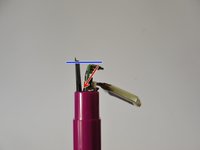
    • The soil sensor, battery and wireless charger all need to be connected to the PCB.

    • Battery

    • Make sure to connect the red wire to the plus (+) side as marked on the PCB. In this photo, the positive side is on the left.

    • Wireless charger

    • Soil sensor

    • When connecting the soil sensor and the PCB, you should hear a *click*.

  4. How to Assemble Sigrow Soil Pro Mini, Insert the PCB into the case: passo 4, imagem 1 %32 How to Assemble Sigrow Soil Pro Mini, Insert the PCB into the case: passo 4, imagem 2 %32 How to Assemble Sigrow Soil Pro Mini, Insert the PCB into the case: passo 4, imagem 3 %32
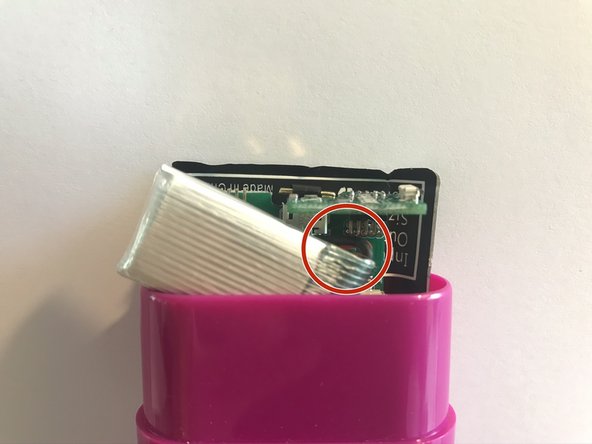
    • The PCB and the wireless charger are inserted into the deep pocket of the soil sensor.

    • Make sure that the Wireless Charger logo is facing towards the outside of the case.

    • Assembly is easiest when the PCB is inserted at a slight angle.

    • Push the wireless charged in behind the PCB.

    • The PCB and wireless charger should be at the same height, but not inserted all the way.

  5. How to Assemble Sigrow Soil Pro Mini, Insert the battery: passo 5, imagem 1 %32 How to Assemble Sigrow Soil Pro Mini, Insert the battery: passo 5, imagem 2 %32 How to Assemble Sigrow Soil Pro Mini, Insert the battery: passo 5, imagem 3 %32
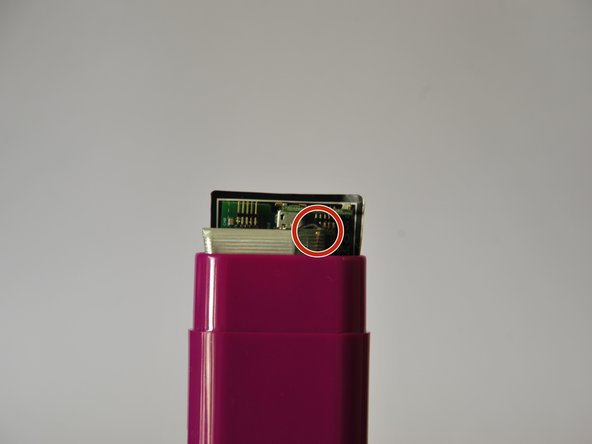
    • The battery should be placed in front of the PCB. This is easiest when diagonally inserted.

    • The battery wires are in the upper righthand corner.

  6. How to Assemble Sigrow Soil Pro Mini, Complete assembly: passo 6, imagem 1 %32 How to Assemble Sigrow Soil Pro Mini, Complete assembly: passo 6, imagem 2 %32 How to Assemble Sigrow Soil Pro Mini, Complete assembly: passo 6, imagem 3 %32
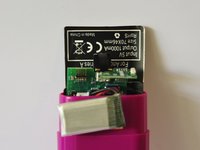
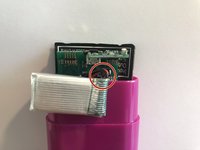
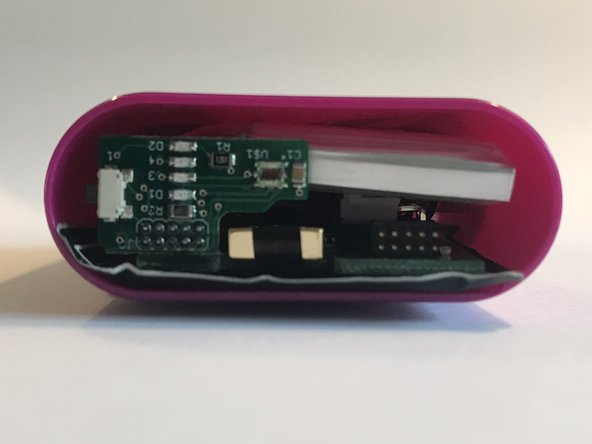
    • The components can now be pressed in all the way.

    • The PCB must be below the edge of the soil sensor. The wireless charger is allowed to stick out a little bit.

  7. How to Assemble Sigrow Soil Pro Mini, Packaging: passo 7, imagem 1 %32 How to Assemble Sigrow Soil Pro Mini, Packaging: passo 7, imagem 2 %32
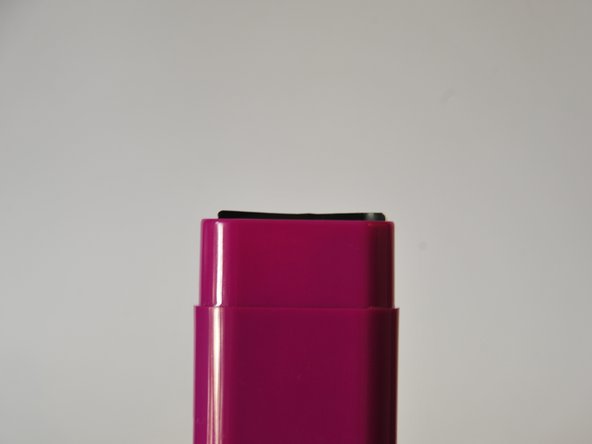
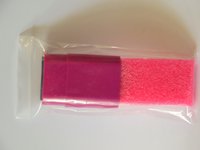
    • Put the assembled Soil Pro Mini back in the bag.

    • Place 20 assembled Soil Pro Minis back in the box.

    • There shoud be two rows of nine sensors in the box. Two sensors can be placed between the rows.

Linha de Chegada

Uma outra pessoa concluiu este guia.

Sigrow

Membro desde: 05/14/20

1.075 Reputação

Autoria de 5 guias

Equipe

Sigrow Membro de Sigrow

Community

Membros da 3

Autoria de 5 guias

0 comentários

Adicione um comentário

Exibir estatísticas:

Últimas 24 horas: 0

Últimos 7 dias: 0

Últimos 30 dias: 2

Duração total: 94