Esta versão pode conter edições incorretas. Mude para o último instantâneo verificado.
O que você precisa
-
Este passo não foi traduzido. Ajude a traduzi-lo
-
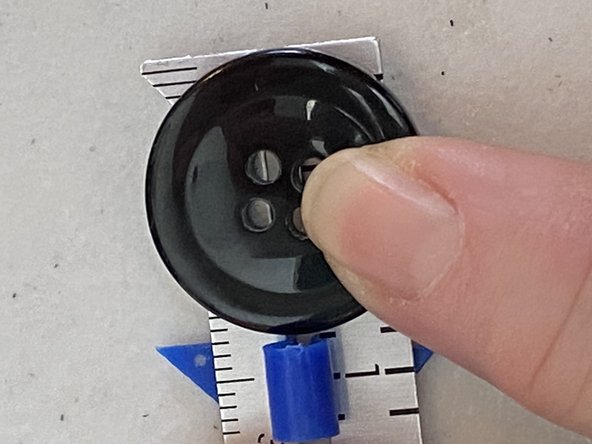
Using the ruler, measure the button you intend to use. Add 1/8” to this measurement for ease of buttoning.
-
-
Este passo não foi traduzido. Ajude a traduzi-lo
-
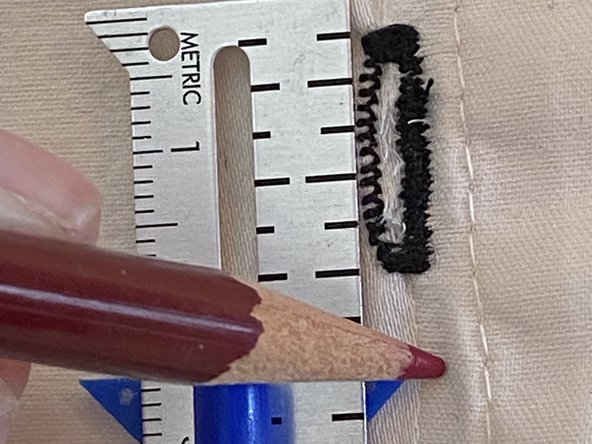
Measure down from the top of the existing buttonhole to the length of your Step 1 measurement.
-
Make a small sewing chalk mark or insert a straight pin to mark how long your adjusted buttonhole should be.
-
-
Este passo não foi traduzido. Ajude a traduzi-lo
-
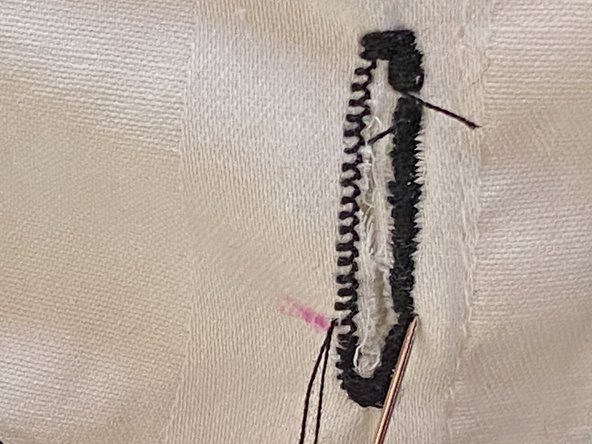
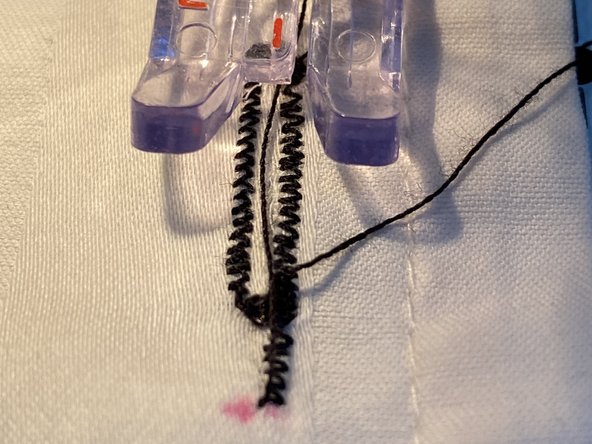
Match the stitch width of the existing bar tack, and sew a new bar tack at the location of your chalk mark.
-
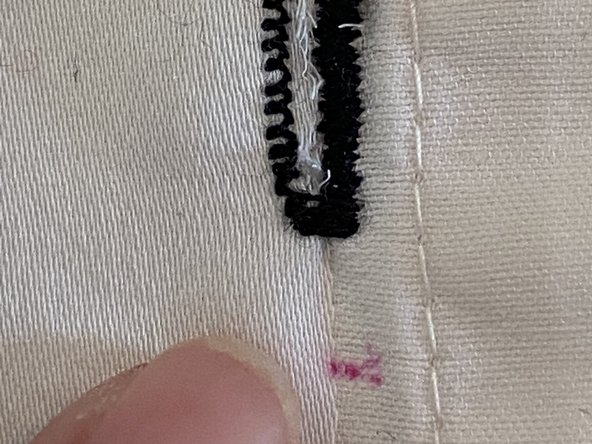
Check to make sure your button fits your adjusted buttonhole well.
-
-
-
Este passo não foi traduzido. Ajude a traduzi-lo
-
Using the ruler, measure the button you intend to use. Add 1/8” to this measurement for ease of buttoning.
-
-
Este passo não foi traduzido. Ajude a traduzi-lo
-
With the ruler, measure down from the top of the existing buttonhole to the length of your Step 4 measurement.
-
Make a small sewing chalk mark or insert a straight pin on the fabric at this place.
-
-
Este passo não foi traduzido. Ajude a traduzi-lo
-
Starting on the right of the existing buttonhole, stitch to your chalk mark or pin, matching the width of the original stitching.
-
Stitch a new bar tack.
-
Stitch back on your left to just past the original bar tack.
-
Tie off or backstitch your thread.
-
-
Este passo não foi traduzido. Ajude a traduzi-lo
-
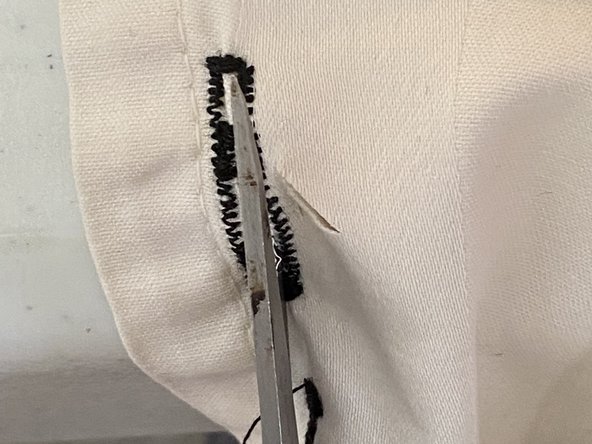
Using the point of your scissors, cut through the original bar tack and between your new side stitching until you have reached the new bar tack.
-
-
Este passo não foi traduzido. Ajude a traduzi-lo
-
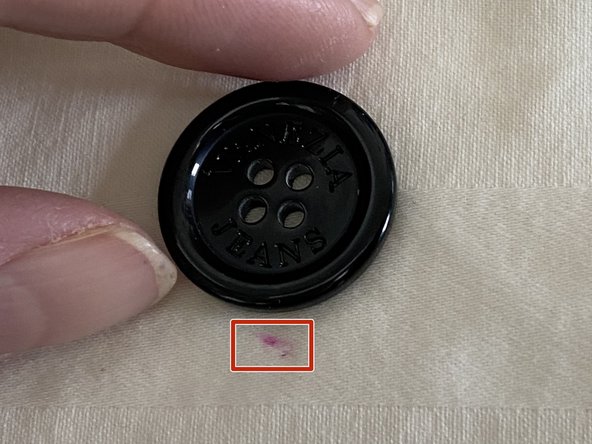
Very near the place where your button was originally sewn on, center your button in your adjusted buttonhole. Using chalk or a pin, mark this location.
-
Sew your button on.
-
Check to make sure it fits through your adjusted buttonhole well.
-


Cancelar: não concluí este guia.
2 outras pessoas executaram este guia.
Equipe

Northern Arizona University, Team S1-G11, Konrad Spring 2021 Membro de Northern Arizona University, Team S1-G11, Konrad Spring 2021
NAU-KONRAD-S21S1G11
Membros da 3
Autoria de 2 guias