Ir para o conteúdo principal
Homelite UT44172 Operating Switch Replacement

Homelite UT44172 Operating Switch Replacement

Adam soto

Adam soto e 8 outros colaboradores

Última atualização em January 3, 2023

2 - 7 minutos
Fácil

Introdução

Ir para o passo 1

If you are having problems turning on the shear or the operating switch seems too loose, this guide might be useful for replacing the part.

O que você precisa

A iFixit ganha comissão quando você compra por estes links.
  1. Homelite UT44172 Operating Switch Replacement, Opening Device: passo 1, imagem 1 %32
    • Use a Philips-head screwdriver to remove the six, 15 mm screws from the casing.

  2. Homelite UT44172 Operating Switch Replacement, Remove Faceplate: passo 2, imagem 1 %32
    • Remove the faceplate from the main body of the device, lift it and expose the inner mechanisms.

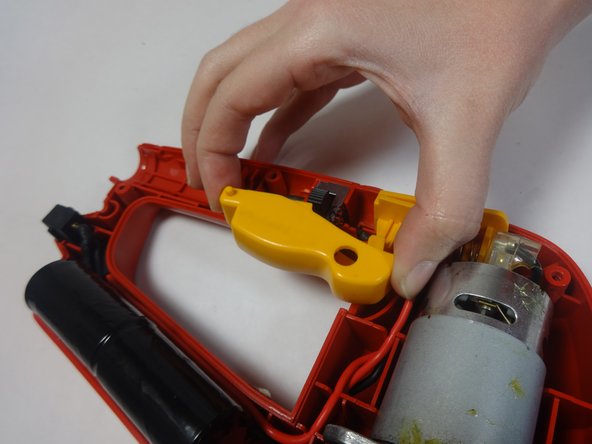
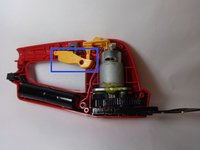
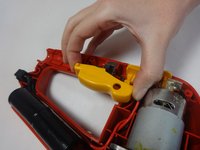
  3. Homelite UT44172 Operating Switch Replacement, Switch Removal: passo 3, imagem 1 %32 Homelite UT44172 Operating Switch Replacement, Switch Removal: passo 3, imagem 2 %32
    • Locate and remove the operating switch from the device.

  4. Homelite UT44172 Operating Switch Replacement, Spring Replacement: passo 4, imagem 1 %32
    • Replace the spring if it is deformed or broken.

    • Be careful that the wires do not get caught in the spring when replacing it.

Conclusão

To reassemble your device, follow these instructions in reverse order.

Adam soto

Membro desde: 01/30/15

301 Reputação

Autoria de 3 guias

Equipe

USF Tampa, Team 17-5, Watkins Winter 2015 Membro de USF Tampa, Team 17-5, Watkins Winter 2015

USFT-WATKINS-W15S17G5

3 Membros

Autoria de 4 guias

0Comentários do guia

Comentar

Visualizações:

Últimas 24 horas: 0

Últimos 7 dias: 0

Últimos 30 dias: 2

Ao todo: 293