Ir para o conteúdo principal
Headphone Jack

Headphone Jack

Tyler Lirio

Tyler Lirio e 3 outros colaboradores

Última atualização em February 25, 2025

15 minutos
Moderada

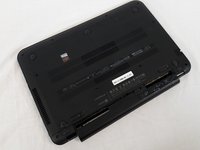
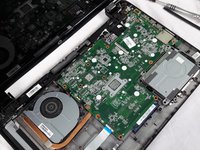
The headphone jack is located on the side of the laptop. This guide will take you through the procedure on how to remove the headphone jack from your laptop in case there is any audio issues such as sound/mic/line in not working and how to remove the headphone jack for replacement.

O que você precisa

Ferramentas

  • Phillips #1 Screwdriver
    Phillips #1 Screwdriver
  • iFixit Opening Tool
    iFixit Opening Tool
  • Spudger
    Spudger

Exibir mais…

  1. Headphone Jack, Battery: passo 1, imagem 1 %32
    • Unplug laptop from adapter and all other devices.

  2. Headphone Jack: passo 2, imagem 1 %32
    • Flip the laptop over with battery facing you.

  3. Headphone Jack: passo 3, imagem 1 %32 Headphone Jack: passo 3, imagem 2 %32
    • Slide the battery lock on the right side open.

    • Slide the Battery release latch on the left side.

  4. Headphone Jack: passo 4, imagem 1 %32
    • Pull battery out.

  5. Headphone Jack, Keyboard: passo 5, imagem 1 %32
    • Remove the two 6.5mm Phillips #1 keyboard screws from bottom of laptop.

  6. Headphone Jack: passo 6, imagem 1 %32
    • Push screwdriver through screw hole top pop the keyboard.

    • Make sure the screen is open.

  7. Headphone Jack: passo 7, imagem 1 %32
    • Pry up the keyboard.

    • The keyboard is still attached by it's ribbon.

  8. Headphone Jack: passo 8, imagem 1 %32
    • Remove keyboard wire by popping latch under blue plastic

  9. Headphone Jack, Case: passo 9, imagem 1 %32
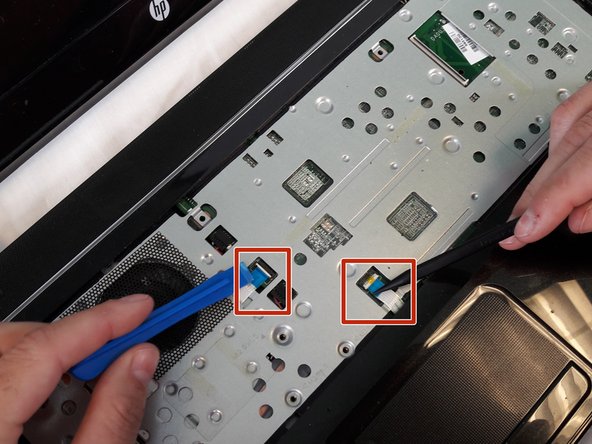
    • Using the spudger to lift up on the white tabs

    • Pull horizontally on the blue ribbon to disconnect the cables

  10. Headphone Jack: passo 10, imagem 1 %32
    • Remove the five 5.5mm Phillips #1 screws from the case

  11. Headphone Jack: passo 11, imagem 1 %32
    • Remove eight 6.5mm Phillips #1 screws from the back cover

  12. Headphone Jack: passo 12, imagem 1 %32 Headphone Jack: passo 12, imagem 2 %32 Headphone Jack: passo 12, imagem 3 %32
    • Starting at a top corner, use the pry tool to split the case.

    • Slowly work around the case, pulling up gently to release the clips.

  13. Headphone Jack, Headphone Jack: passo 13, imagem 1 %32
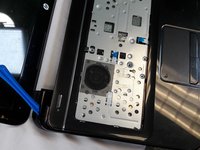
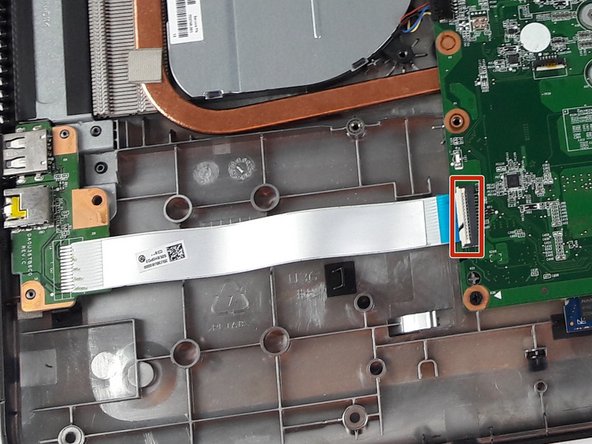
    • Use the spudger to lift the white tab

    • pull horizontally on the blue ribbon to disconnect the cable

  14. Headphone Jack: passo 14, imagem 1 %32
    • Use plastic pry tool to lift up on headphone jack assembly

Conclusão

To reassemble your device, follow these instructions in reverse order.

Tyler Lirio

Membro desde: 02/13/18

93 Reputação

Autoria de 1 guia

Equipe

USF Tampa, Team S11-G2, Cheng Spring 2018 Membro de USF Tampa, Team S11-G2, Cheng Spring 2018

USFT-CHENG-S18S11G2

Membros da 4

Autoria de 18 guias

0 comentários

Adicione um comentário

Exibir estatísticas:

Últimas 24 horas: 0

Últimos 7 dias: 10

Últimos 30 dias: 15

Duração total: 260