Esta versão pode conter edições incorretas. Mude para o último instantâneo verificado.
O que você precisa
-
Este passo não foi traduzido. Ajude a traduzi-lo
-
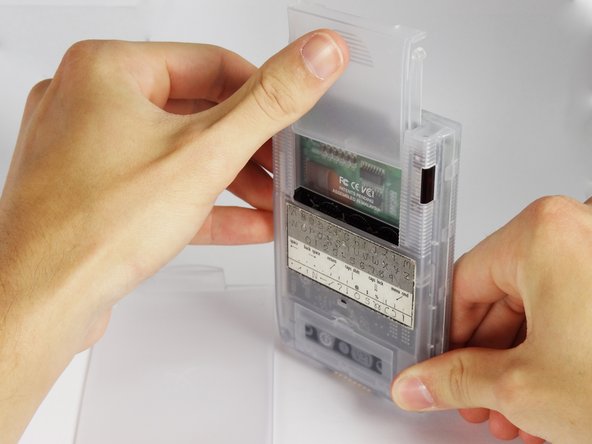
Remove the outer screen cover by releasing the top clip from the main body of the device.
-
-
Este passo não foi traduzido. Ajude a traduzi-lo
-
Pull out the stylus from the top right corner of the device.
-
-
Este passo não foi traduzido. Ajude a traduzi-lo
-
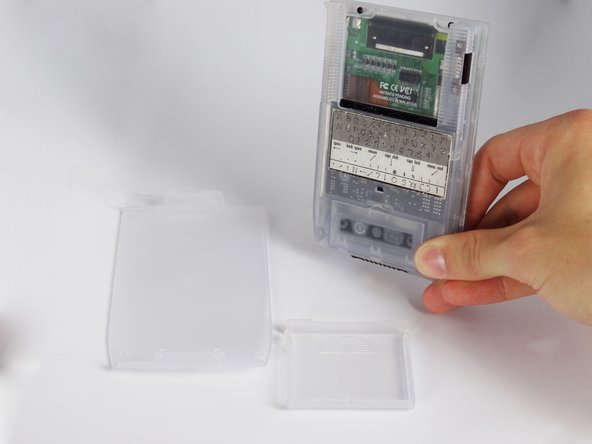
Slide the memory cartridge cover up and off the device.
-
-
Este passo não foi traduzido. Ajude a traduzi-lo
-
Remove the battery cover by releasing the clip from the main body of the device.
-
-
-
Este passo não foi traduzido. Ajude a traduzi-lo
-
Unscrew the four 2.94mm screws with a #00 Phillips screwdriver.
-
-
Este passo não foi traduzido. Ajude a traduzi-lo
-
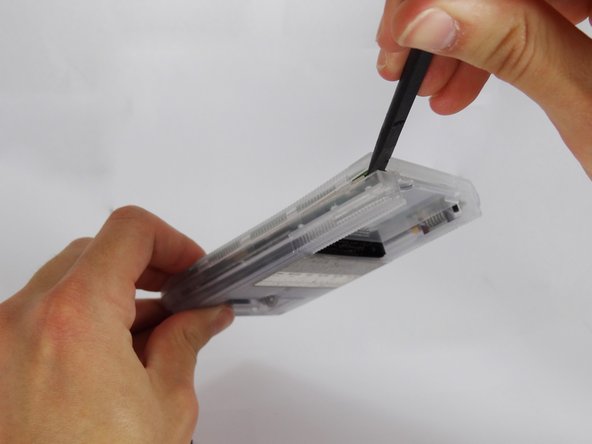
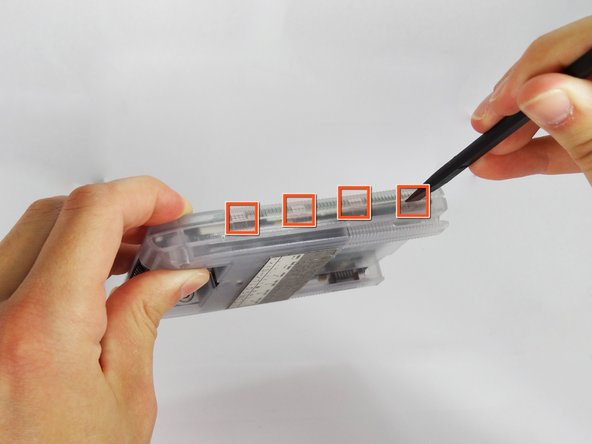
Use the spudger to pry open the casing by applying pressure at 4 clips on both sides of the device.
-
-
Este passo não foi traduzido. Ajude a traduzi-lo
-
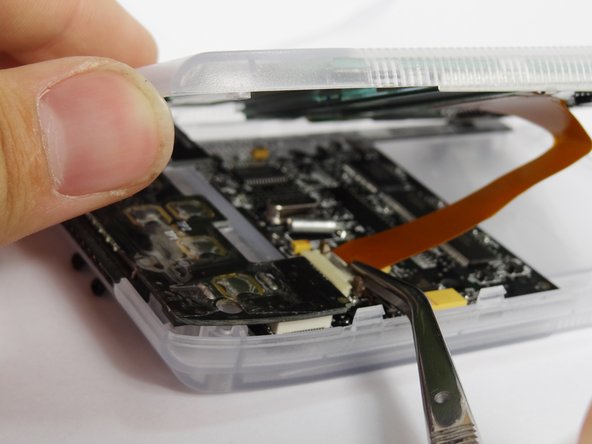
Disconnect the flex strip from the motherboard with tweezers.
-
-
Este passo não foi traduzido. Ajude a traduzi-lo
-
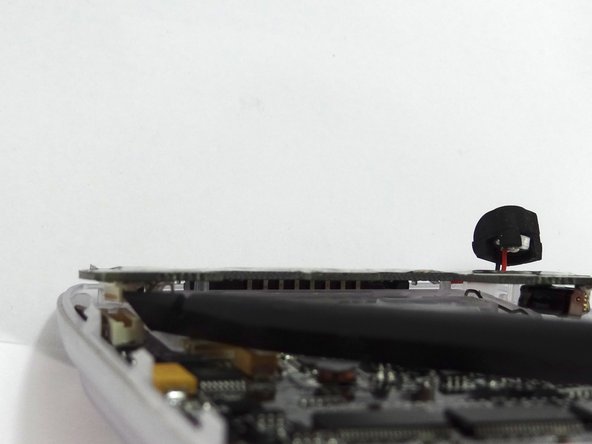
Use tweezers to remove the power button from the back case.
-
-
Este passo não foi traduzido. Ajude a traduzi-lo
-
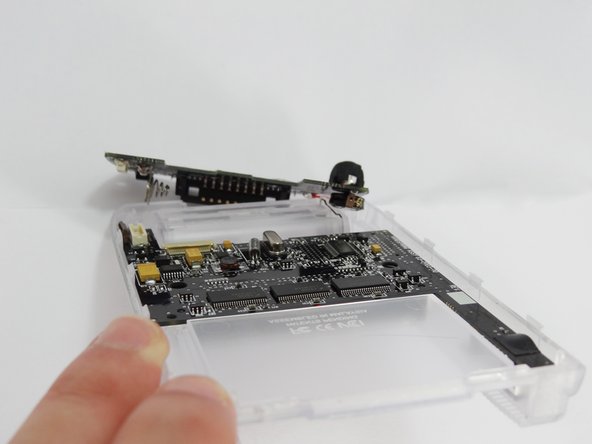
Disconnect the button pad by using the spudger to pry it off the motherboard.
-
Remove the button pad.
-


Equipe

Cal Poly, Team 1-2, Regan SU 2012 Membro de Cal Poly, Team 1-2, Regan SU 2012
CPSU-REGAN-SU12S1G2
Membros da 4
Autoria de 6 guias