Ir para o conteúdo principal
Participe da comunidade de reparos - Criar conta

HTC Wizard 100 Camera Replacement

O que você precisa

  1. HTC Wizard 100 Camera Replacement, Battery: passo 1, imagem 1 %32 HTC Wizard 100 Camera Replacement, Battery: passo 1, imagem 2 %32
    • Power the phone off.

    • Use your thumb to gently press downward and away from the camera to remove the battery cover.

    Pergunte ao FixBot
  2. HTC Wizard 100 Camera Replacement: passo 2, imagem 1 %32 HTC Wizard 100 Camera Replacement: passo 2, imagem 2 %32
    • Pull on the plastic tab to release the battery.

    Pergunte ao FixBot
  3. HTC Wizard 100 Camera Replacement, Back Case: passo 3, imagem 1 %32 HTC Wizard 100 Camera Replacement, Back Case: passo 3, imagem 2 %32
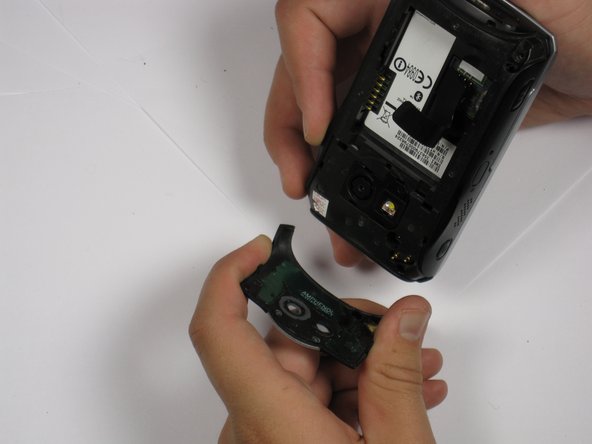
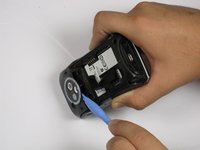
    • Use a plastic opening tool to remove the camera cover.

    • Work around the corners to avoid breaking the plastic clips that hold the camera cover on.

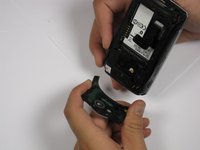
    • Lift the camera cover off of the phone.

    Pergunte ao FixBot
  4. HTC Wizard 100 Camera Replacement: passo 4, imagem 1 %32
    • Remove the stylus from the phone.

    • Remove the four 5.5 mm screws with the T6 Torx Screwdriver.

    • One of the screws might be under a sticker, which will void your warranty.

    Pergunte ao FixBot
  5. HTC Wizard 100 Camera Replacement: passo 5, imagem 1 %32 HTC Wizard 100 Camera Replacement: passo 5, imagem 2 %32 HTC Wizard 100 Camera Replacement: passo 5, imagem 3 %32
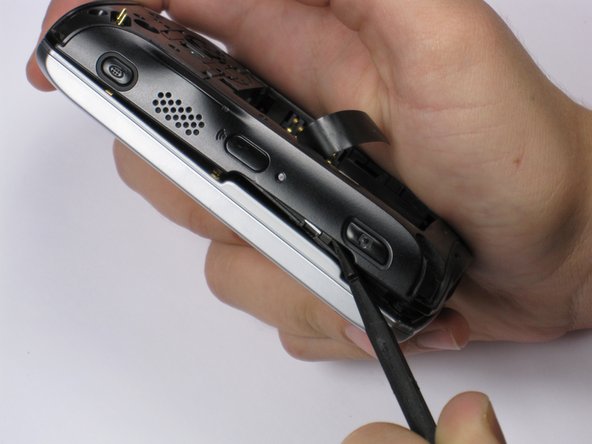
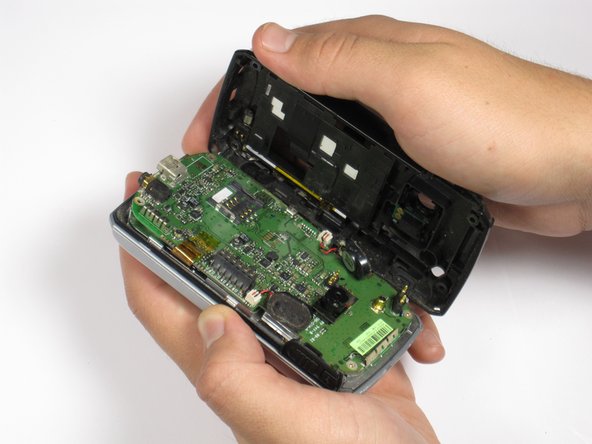
    • Be Careful! Do not insert the spudger in between the keyboard and screen. This could break the keyboard off the phone.

    • If your phone contains a memory card, you may want to remove it before proceeding with this step.

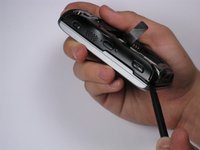
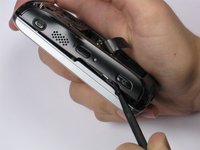
    • Insert spudger in the bottom corner as seen in the picture. Carefully slide the spudger from the bottom towards the top as seen in the second picture.

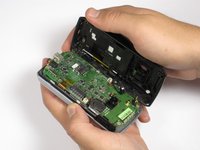
    • Lift the back case off completely.

    • The speakers might be dangling and unsecured.

    Pergunte ao FixBot
  6. HTC Wizard 100 Camera Replacement, Camera: passo 6, imagem 1 %32
    • Locate the camera and pry off with the plastic opening tool or spudger.

    Pergunte ao FixBot
Conclusão

To reassemble your device, follow these instructions in reverse order.

Kevin Gingrich

Membro desde: 10/06/11

180 Reputação

Autoria de 2 guias

Equipe

Cal Poly, Team 20-28, Maness Fall 2011 Membro de Cal Poly, Team 20-28, Maness Fall 2011

CPSU-MANESS-F11S20G28

4 Membros

Autoria de 15 guias

0Comentários do guia

Comentar

Visualizações:

Últimas 24 horas: 2

Últimos 7 dias: 6

Últimos 30 dias: 46

Ao todo: 1,022