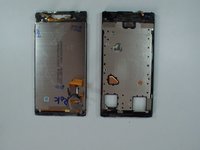
Ir para o conteúdo principal

HTC Windows Phone 8S Display Assembly Replacement

O que você precisa

Vídeo de Apresentação

  1. HTC Windows Phone 8S Display Assembly Replacement, Loudspeaker: passo 1, imagem 1 %32 HTC Windows Phone 8S Display Assembly Replacement, Loudspeaker: passo 1, imagem 2 %32 HTC Windows Phone 8S Display Assembly Replacement, Loudspeaker: passo 1, imagem 3 %32
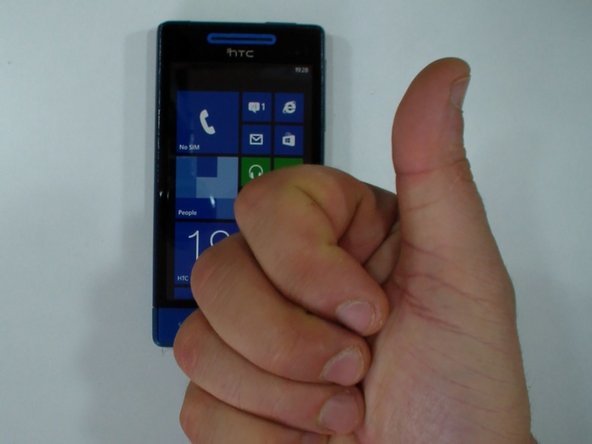
    • Switch off the phone.

    • Remove the SIM / memory card cover.

    • Remove any SIM and memory cards.

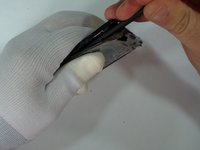
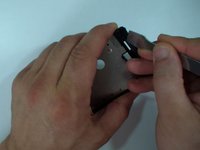
    • Use screwdriver torx T5 and unscrew the two screws at the bottom of the battery / back cover.

  2. HTC Windows Phone 8S Display Assembly Replacement: passo 2, imagem 1 %32 HTC Windows Phone 8S Display Assembly Replacement: passo 2, imagem 2 %32 HTC Windows Phone 8S Display Assembly Replacement: passo 2, imagem 3 %32
    • Use a plastic tool and slowly separate the back cover.

    • The loudspeaker is inside on the back cover.

  3. HTC Windows Phone 8S Display Assembly Replacement, Battery: passo 3, imagem 1 %32 HTC Windows Phone 8S Display Assembly Replacement, Battery: passo 3, imagem 2 %32 HTC Windows Phone 8S Display Assembly Replacement, Battery: passo 3, imagem 3 %32
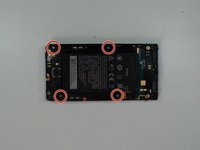
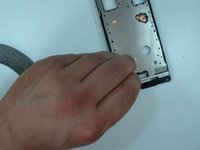
    • Use a Phillips #0 screwdriver and remove the 4x silver screws.

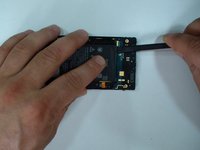
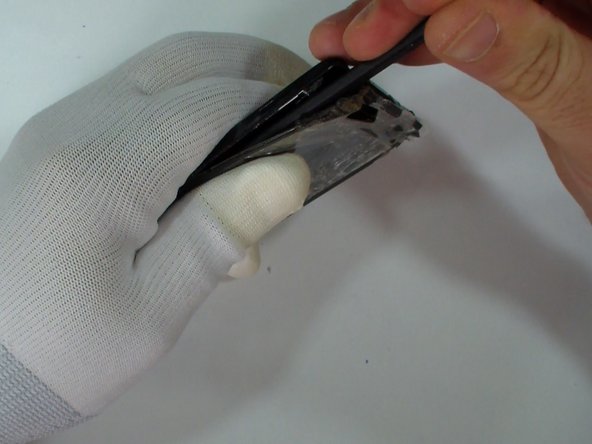
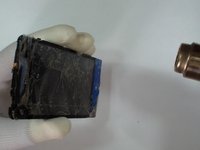
    • With a plastic tool carefully separate the battery from the logic board.

  4. HTC Windows Phone 8S Display Assembly Replacement: passo 4, imagem 1 %32 HTC Windows Phone 8S Display Assembly Replacement: passo 4, imagem 2 %32 HTC Windows Phone 8S Display Assembly Replacement: passo 4, imagem 3 %32
    • The battery connector is under the middle frame. Remove it and disconnect the battery.

    • Model: BM59100 / 3,8VDC / 1700mAh

  5. HTC Windows Phone 8S Display Assembly Replacement, Flex Cables: passo 5, imagem 1 %32 HTC Windows Phone 8S Display Assembly Replacement, Flex Cables: passo 5, imagem 2 %32 HTC Windows Phone 8S Display Assembly Replacement, Flex Cables: passo 5, imagem 3 %32
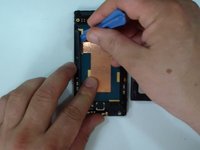
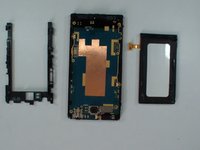
    • Remove the USB dock connector metal plate.

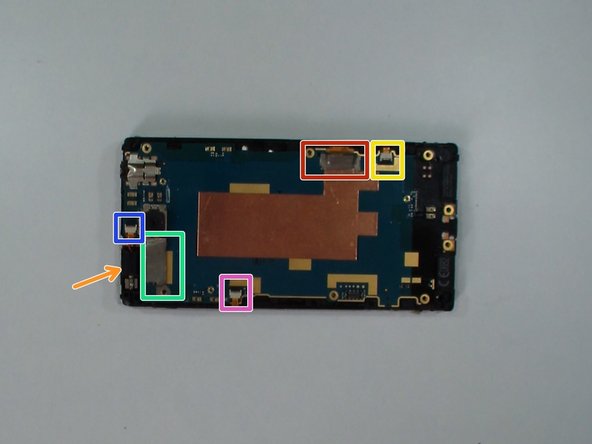
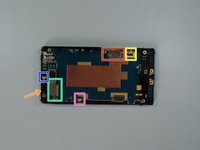
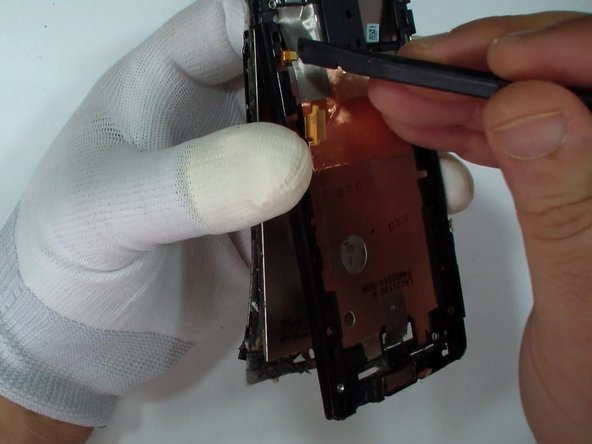
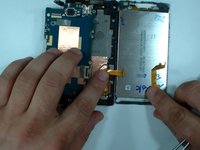
    • Open flex cable connectors:

    • LCD display flex cable

    • Menu buttons flex cable

    • Volume buttons flex cable

    • Touch screen flex cable

    • Power button flex cable

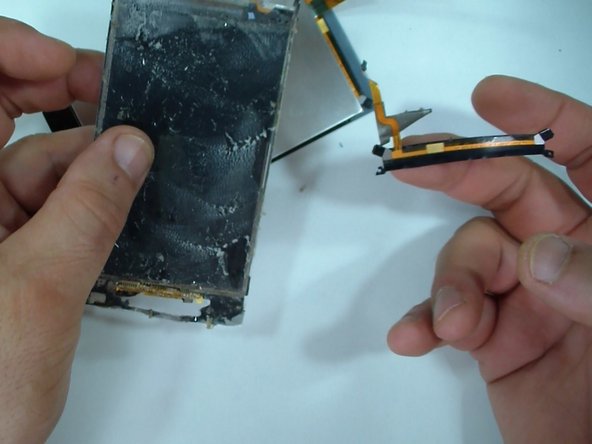
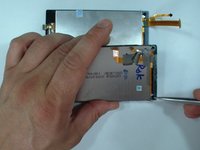
    • Pick up the vibrating motor and take out all flex cables except the LCD display flex cable.

  6. HTC Windows Phone 8S Display Assembly Replacement, Logic Board Removal: passo 6, imagem 1 %32 HTC Windows Phone 8S Display Assembly Replacement, Logic Board Removal: passo 6, imagem 2 %32 HTC Windows Phone 8S Display Assembly Replacement, Logic Board Removal: passo 6, imagem 3 %32
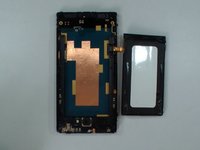
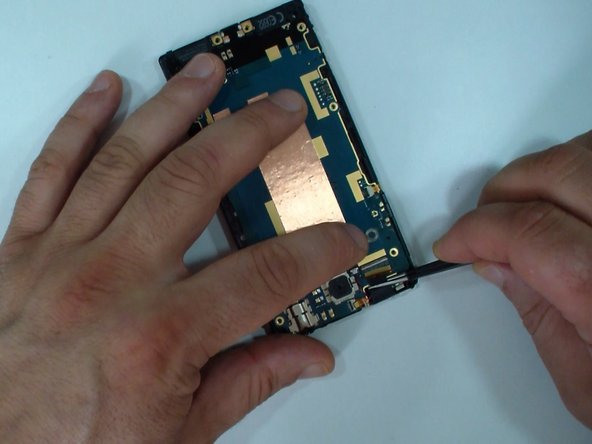
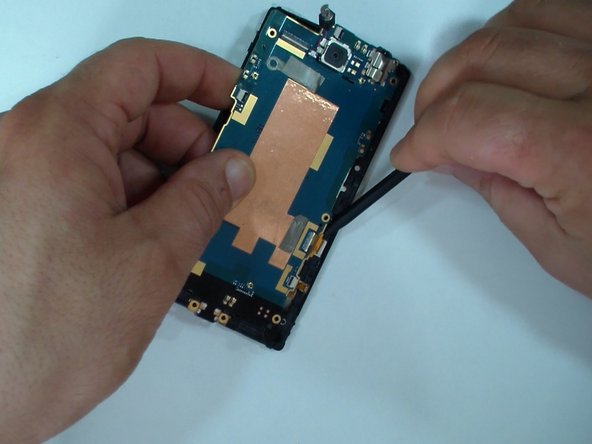
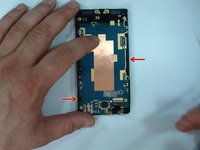
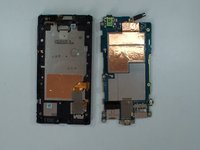
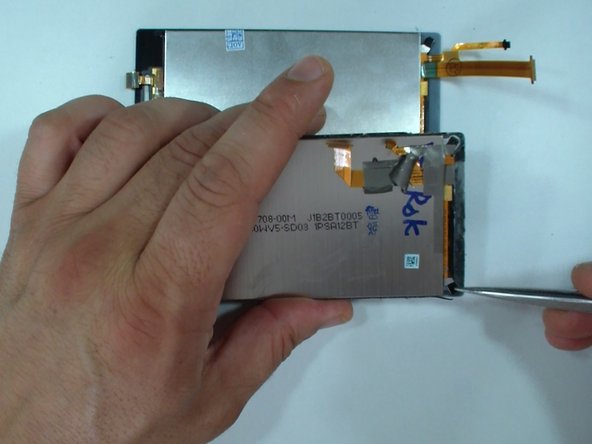
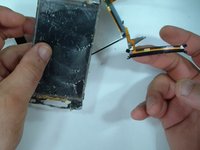
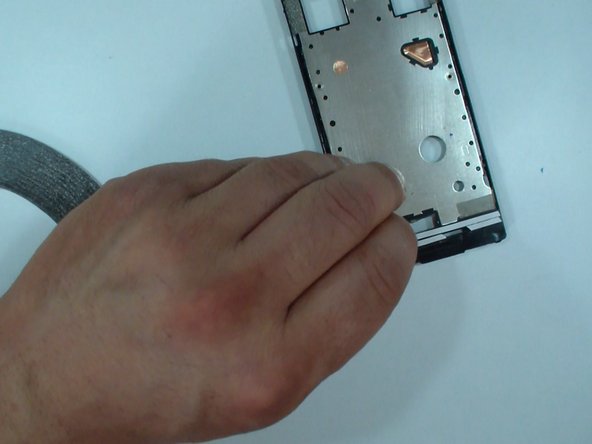
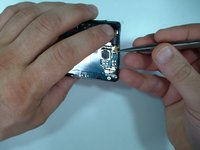
    • The logic board is secured to the display frame by two locking clips.

    • Use a plastic tool to release it.

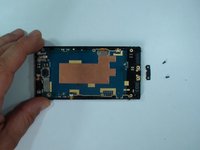
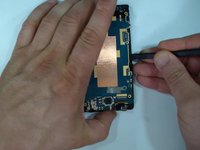
    • Now remove the LCD display flex cable from its connector.

  7. HTC Windows Phone 8S Display Assembly Replacement, Logic Board / Main Board: passo 7, imagem 1 %32 HTC Windows Phone 8S Display Assembly Replacement, Logic Board / Main Board: passo 7, imagem 2 %32
    • HTC Windows Phone 8S Logic Board.

  8. HTC Windows Phone 8S Display Assembly Replacement, Display Assembly: passo 8, imagem 1 %32 HTC Windows Phone 8S Display Assembly Replacement, Display Assembly: passo 8, imagem 2 %32 HTC Windows Phone 8S Display Assembly Replacement, Display Assembly: passo 8, imagem 3 %32
    • Insert wisdom here.

  9. HTC Windows Phone 8S Display Assembly Replacement: passo 9, imagem 1 %32 HTC Windows Phone 8S Display Assembly Replacement: passo 9, imagem 2 %32 HTC Windows Phone 8S Display Assembly Replacement: passo 9, imagem 3 %32
    • Check your spare part for the menu buttons flex cable.

    • Remove the flex cable from the old touch screen if you need.

  10. HTC Windows Phone 8S Display Assembly Replacement: passo 10, imagem 1 %32 HTC Windows Phone 8S Display Assembly Replacement: passo 10, imagem 2 %32 HTC Windows Phone 8S Display Assembly Replacement: passo 10, imagem 3 %32
    • Clean the frame from the old adhesive tape.

    • Install new adhesive tape.

    • It would be better if you use adhesive sticker ready for the model.

    • Install the display assembly.

  11. HTC Windows Phone 8S Display Assembly Replacement: passo 11, imagem 1 %32 HTC Windows Phone 8S Display Assembly Replacement: passo 11, imagem 2 %32 HTC Windows Phone 8S Display Assembly Replacement: passo 11, imagem 3 %32
    • Prepare the menu buttons and LCD display flex cables.

    • Start with reassembling.

    • .

    • .

    • .

    • .

    • Did you do it successfully?

Conclusão

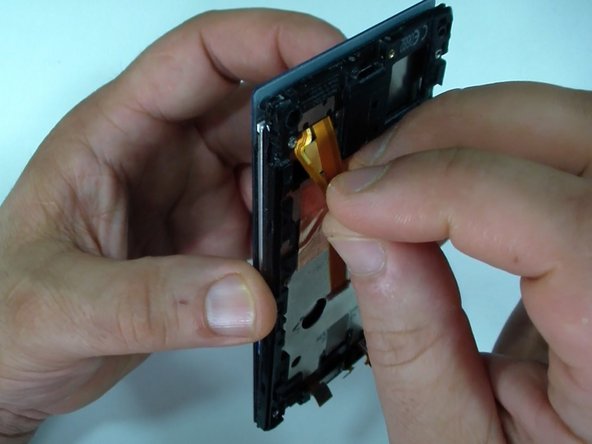
To reassemble your device, follow these instructions in reverse order.

ZFix

Membro desde: 12/09/13

191.308 Reputação

Autoria de 330 guias

Equipe

Master Techs Membro de Master Techs

Community

Membros da 322

Autoria de 2.539 guias

0 comentários

Adicione um comentário

Exibir estatísticas:

Últimas 24 horas: 2

Últimos 7 dias: 3

Últimos 30 dias: 12

Duração total: 2,739