Ir para o conteúdo principal

HTC Trophy Display Assembly Replacement

O que você precisa

  1. HTC Trophy Display Assembly Replacement, Battery: passo 1, imagem 1 %32 HTC Trophy Display Assembly Replacement, Battery: passo 1, imagem 2 %32 HTC Trophy Display Assembly Replacement, Battery: passo 1, imagem 3 %32
    • Power off the phone before starting.

    • Remove the back panel by inserting the IFixIt opening tool into gap at the top of the rear and prying upward.

  2. HTC Trophy Display Assembly Replacement: passo 2, imagem 1 %32 HTC Trophy Display Assembly Replacement: passo 2, imagem 2 %32 HTC Trophy Display Assembly Replacement: passo 2, imagem 3 %32
    • Remove the battery by inserting the IFixIt opening tool into the small gap between the battery and the surrounding plastic.

    • Apply a small force towards the bottom of the phone and lift upwards.

    • Be careful not to puncture the battery.

  3. HTC Trophy Display Assembly Replacement, Display Assembly: passo 3, imagem 1 %32 HTC Trophy Display Assembly Replacement, Display Assembly: passo 3, imagem 2 %32 HTC Trophy Display Assembly Replacement, Display Assembly: passo 3, imagem 3 %32
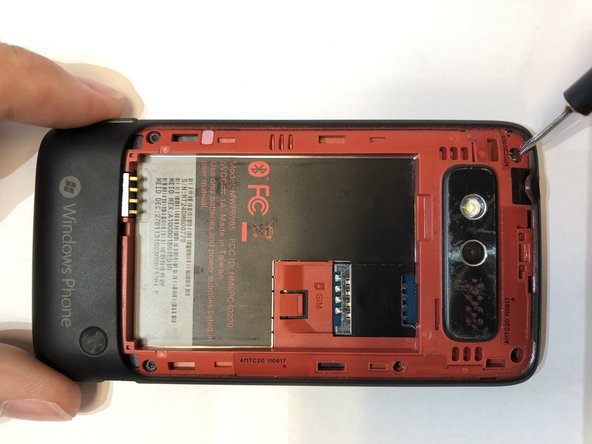
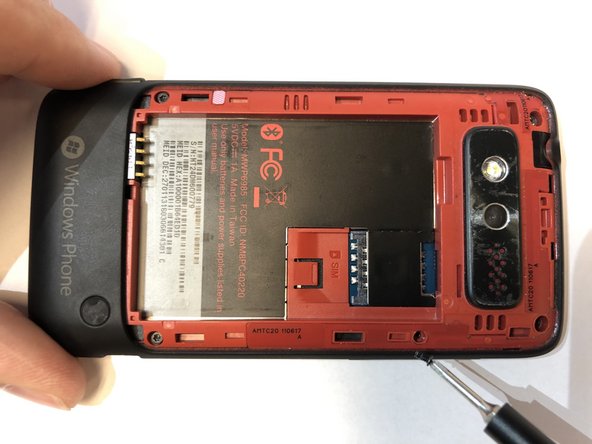
    • Remove the 5 screws holding the two phone halves together.

    • Three 4mm long T5 Torx screws.

    • Press a T5 Torx screwdriver into the void sticker and remove the 4mm long T5 Torx screw.

    • One 4mm long Philips #000 screw.

    • Remove the installed SIM card if one is present.

  4. HTC Trophy Display Assembly Replacement: passo 4, imagem 1 %32 HTC Trophy Display Assembly Replacement: passo 4, imagem 2 %32 HTC Trophy Display Assembly Replacement: passo 4, imagem 3 %32
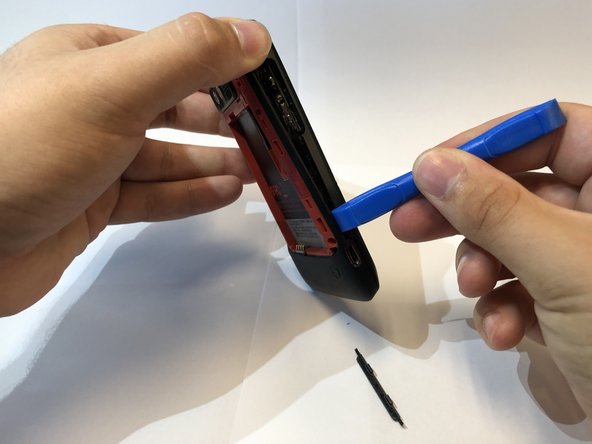
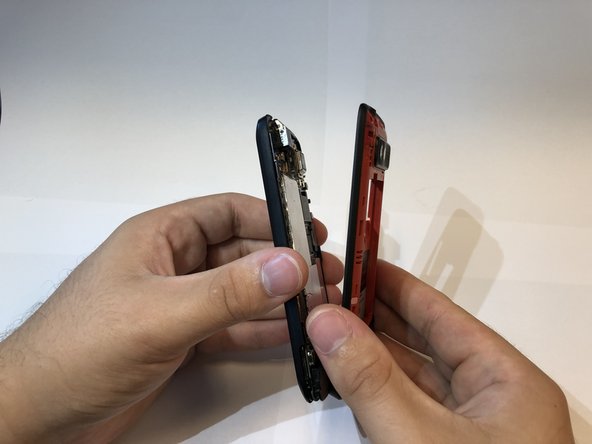
    • Insert the IFixIt opening tool into the seem of the plastic around the edge of the phone and pry the two halves apart.

    • There are small plastic clips holding the phone together. Slide the opening tool around the edge until it clicks apart to avoid damage.

    • The volume button will fall out when the phone is opened.

    • The black sticker beneath the battery will rip once the phone is separated.

  5. HTC Trophy Display Assembly Replacement: passo 5, imagem 1 %32 HTC Trophy Display Assembly Replacement: passo 5, imagem 2 %32 HTC Trophy Display Assembly Replacement: passo 5, imagem 3 %32
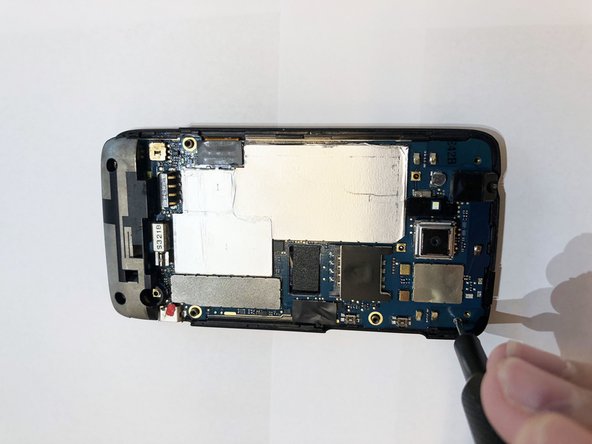
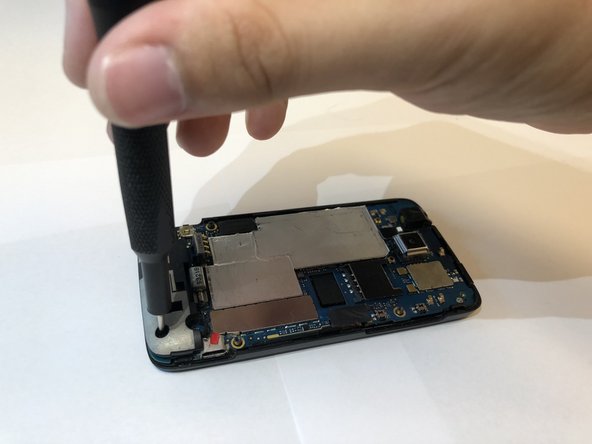
    • Remove the three screws holding the mother board to the display assembly.

    • One 2mm long Philips #000 screw.

    • Two 4mm long T5 Torx screws in the holes of the plastic.

  6. HTC Trophy Display Assembly Replacement: passo 6, imagem 1 %32 HTC Trophy Display Assembly Replacement: passo 6, imagem 2 %32 HTC Trophy Display Assembly Replacement: passo 6, imagem 3 %32
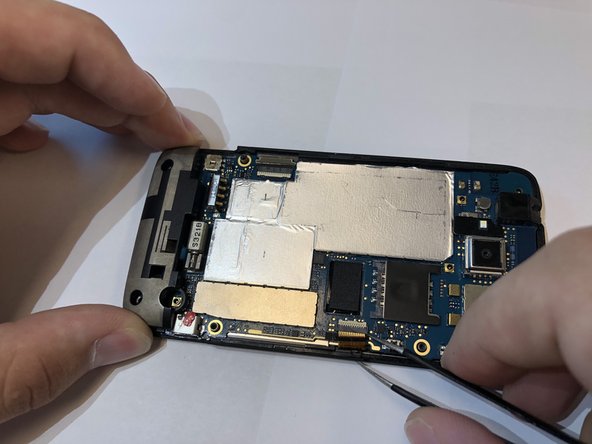
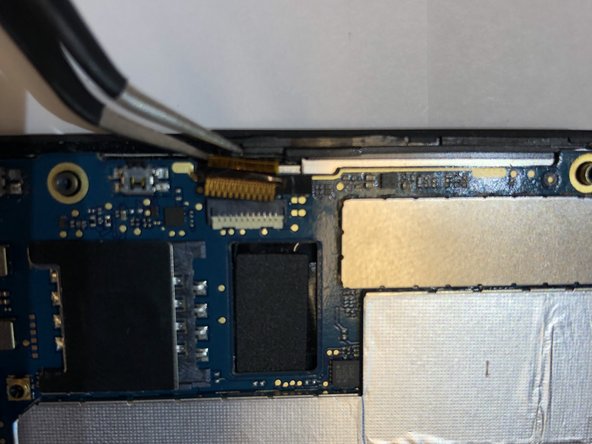
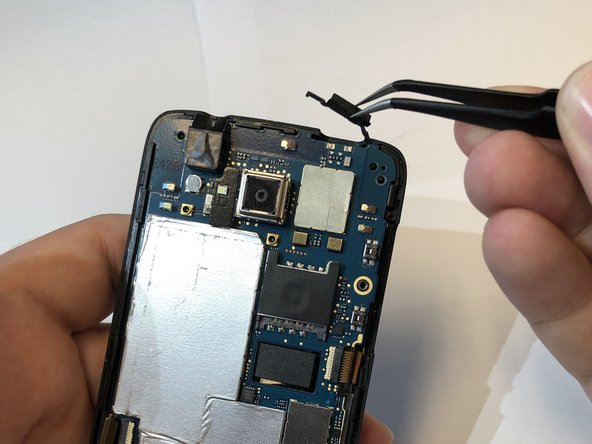
    • Remove the black tape cover the ribbon cable connectors with tweezers.

    • Disconnect the ribbon cables from the connectors.

    • Ribbon cables are extremely fragile.

  7. HTC Trophy Display Assembly Replacement: passo 7, imagem 1 %32 HTC Trophy Display Assembly Replacement: passo 7, imagem 2 %32
    • Remove power button from the top of the phone with tweezers.

  8. HTC Trophy Display Assembly Replacement: passo 8, imagem 1 %32 HTC Trophy Display Assembly Replacement: passo 8, imagem 2 %32 HTC Trophy Display Assembly Replacement: passo 8, imagem 3 %32
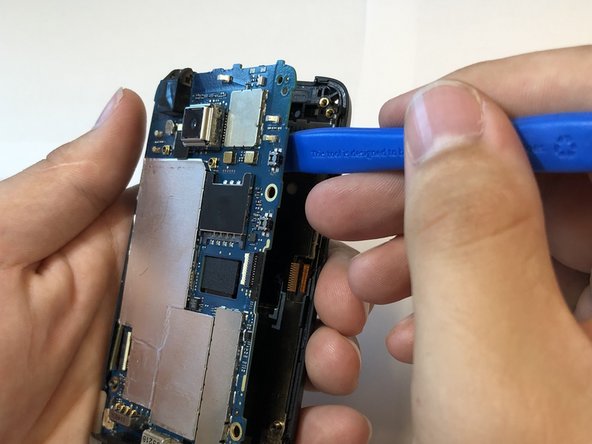
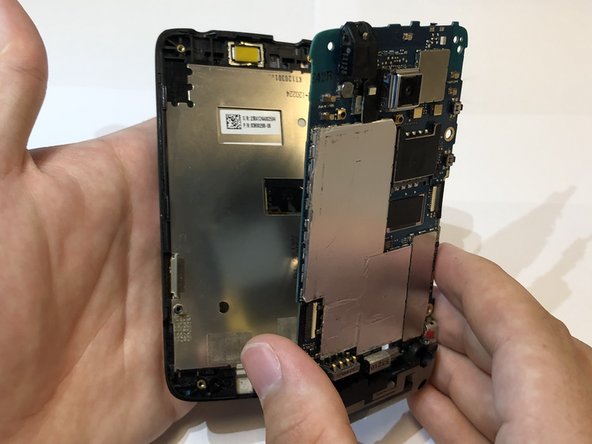
    • Use the iFixit opening tool to separate the motherboard from the display assembly.

Conclusão

To reassemble your device, follow these instructions in reverse order.

Uma outra pessoa concluiu este guia.

0 comentários

Adicione um comentário

Exibir estatísticas:

Últimas 24 horas: 0

Últimos 7 dias: 1

Últimos 30 dias: 2

Duração total: 111