Esta versão pode conter edições incorretas. Mude para o último instantâneo verificado.
O que você precisa
-
Este passo não foi traduzido. Ajude a traduzi-lo
-
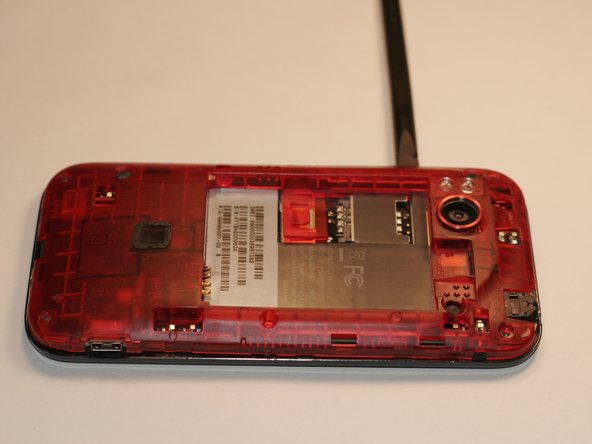
Use a plastic opening tool or your fingers to get into the groove between the cover and case. Remove the back covering so that the red battery is visible.
-
-
Este passo não foi traduzido. Ajude a traduzi-lo
-
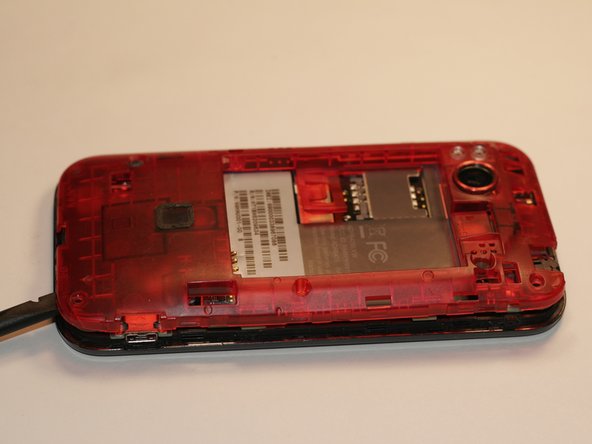
Using a Torx T4 screwdriver, remove the six screws from the six spots shown in the photo.
-
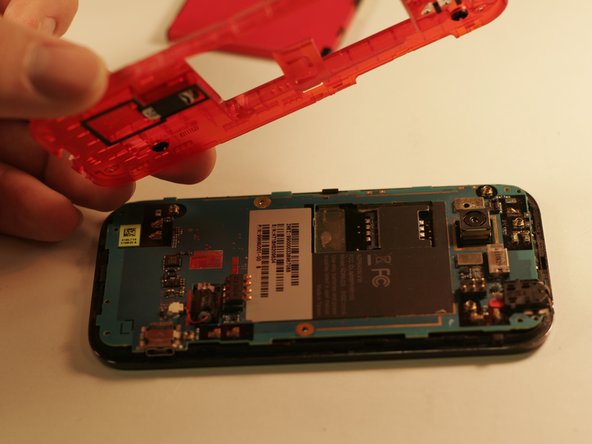
Use a spudger to pry the casing from the phone.
-
-
-
Este passo não foi traduzido. Ajude a traduzi-lo
-
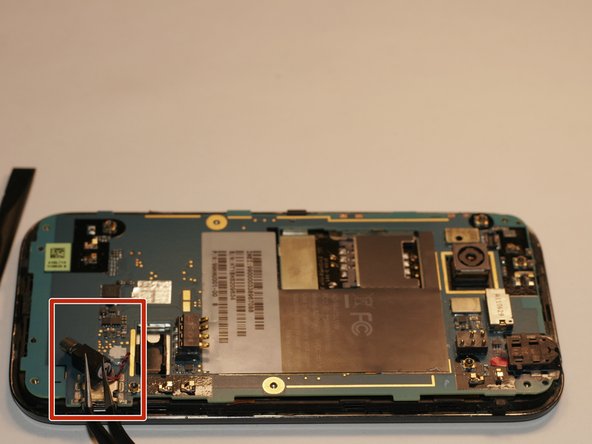
Shown here is the vibration Monitor, this is what you will be replacing.
-
-
Este passo não foi traduzido. Ajude a traduzi-lo
-
Remove the body of the monitor from the case attaching it to the motherboard.
-
Make sure to remove any potential obstruction that could be blocking the weight at the end!
-
-
Este passo não foi traduzido. Ajude a traduzi-lo
-
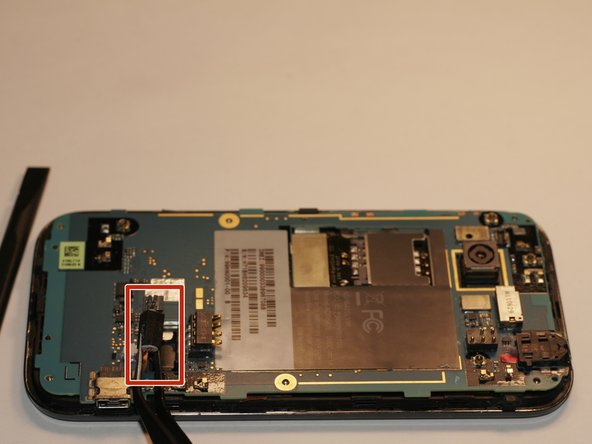
Carefully disconnect the cable attached at the motherboard.
-
-
Este passo não foi traduzido. Ajude a traduzi-lo
-
Insert the replacement's cable into the same spot on the logic board! Then just set it back into the slot on the logic board and you are done!
-


Equipe

University of Alabama, Team S3-G12, Bedsole Spring 2018 Membro de University of Alabama, Team S3-G12, Bedsole Spring 2018
UA-BEDSOLE-S18S3G12
Membros da 4
Autoria de 7 guias