Esta versão pode conter edições incorretas. Mude para o último instantâneo verificado.
O que você precisa
-
Este passo não foi traduzido. Ajude a traduzi-lo
-
Flip the phone over to have the rear cover facing up.
-
The camera lens should be towards the top of the phone.
-
-
Este passo não foi traduzido. Ajude a traduzi-lo
-
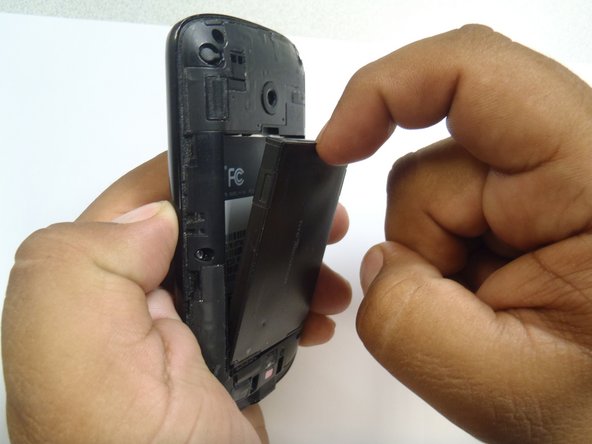
Slide the cover up, towards the top of phone, to unlock the battery cover.
-
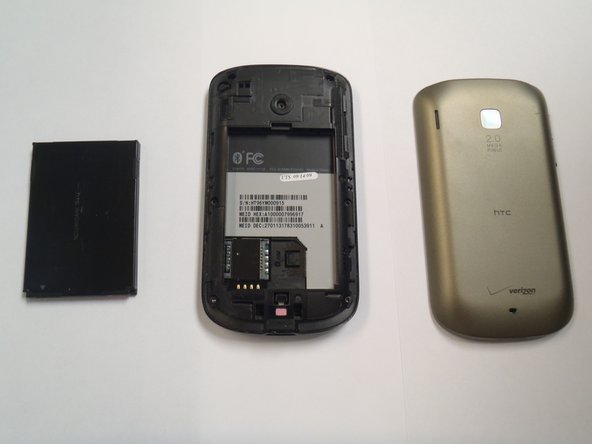
Lift the cover off phone and remove it.
-
-
Este passo não foi traduzido. Ajude a traduzi-lo
-
Use your finger to push the top of the battery downwards and lift the battery out of the phone.
-
-
Este passo não foi traduzido. Ajude a traduzi-lo
-
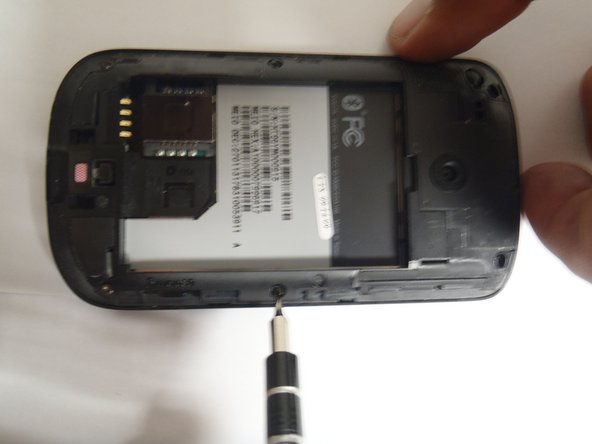
Remove the six Torx #5 screws that are securing the rear frame.
-
-
Este passo não foi traduzido. Ajude a traduzi-lo
-
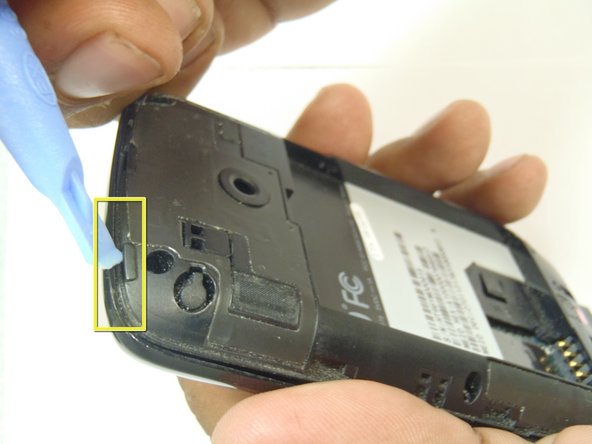
Pry the frame open, releasing the eight plastic tabs around the edge of the frame, using the plastic opening tool.
-
-
-
Este passo não foi traduzido. Ajude a traduzi-lo
-
Remove the single Phillips #0 screw that is securing the motherboard to the front case of the phone.
-
-
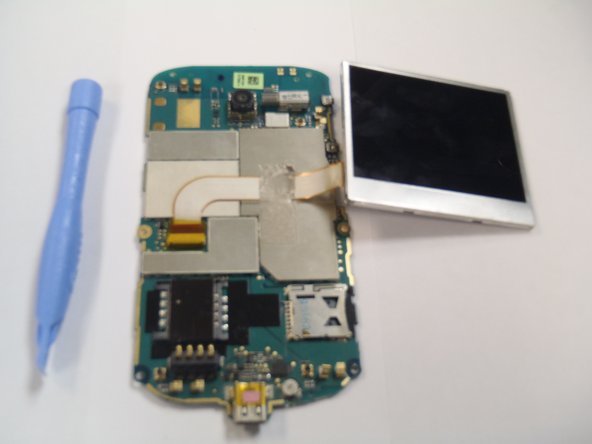
Este passo não foi traduzido. Ajude a traduzi-lo
-
Pry the motherboard away from the front of the plastic case using a plastic opening tool.
-
-
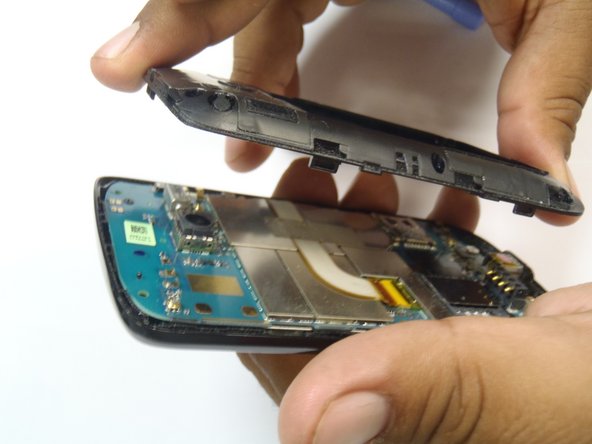
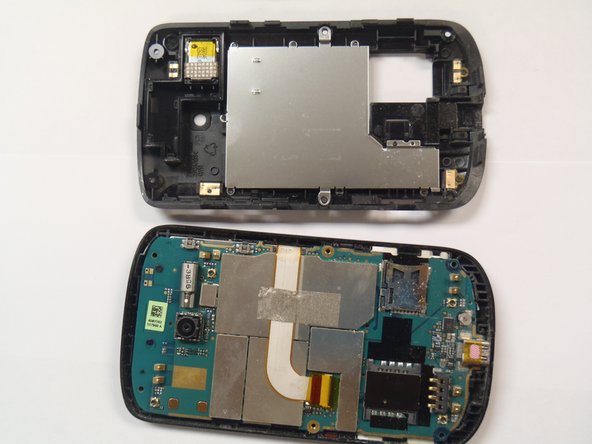
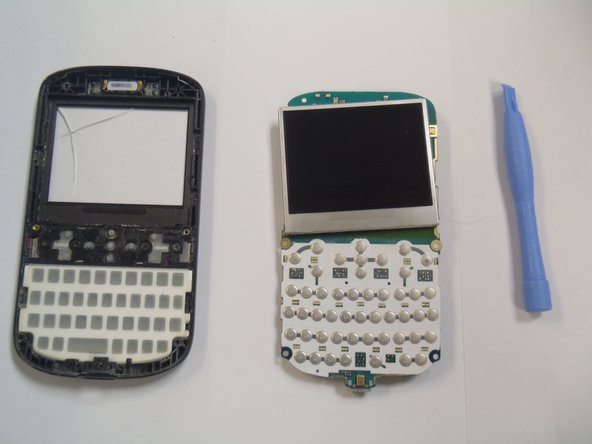
Este passo não foi traduzido. Ajude a traduzi-lo
-
Remove the plastic cover from the LCD display and the motherboard.
-
-
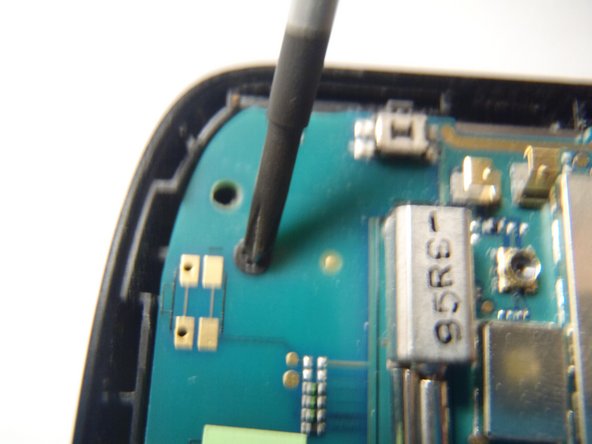
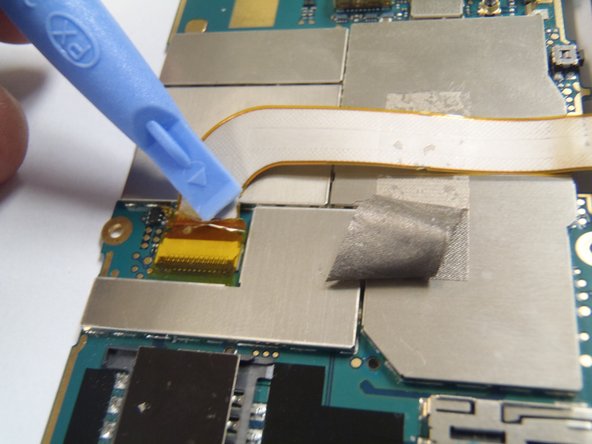
Este passo não foi traduzido. Ajude a traduzi-lo
-
Remove the yellow tape securing the connector lock.
-
-
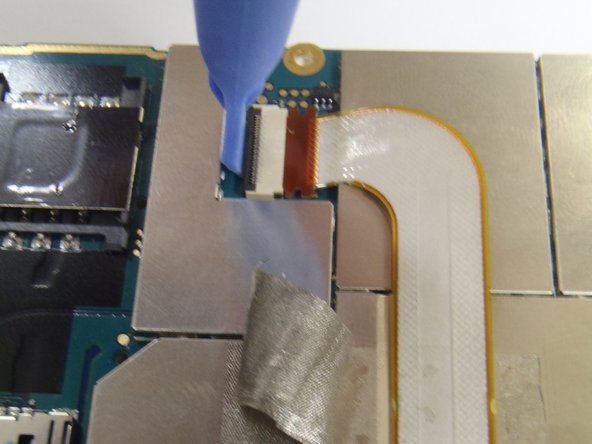
Este passo não foi traduzido. Ajude a traduzi-lo
-
Carefully lift the black lock to release the ribbon cable, using the plastic opening tool.
-
-
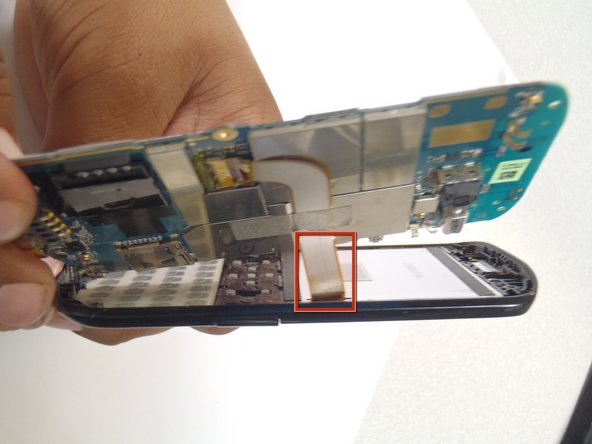
Este passo não foi traduzido. Ajude a traduzi-lo
-
Pull the ribbon cable upwards, disconnecting it from the Motherboard.
-


Cancelar: não concluí este guia.
2 outras pessoas executaram este guia.
Equipe

CSU Los Angeles, Team 1-2, Nelson Spring 2011 Membro de CSU Los Angeles, Team 1-2, Nelson Spring 2011
CSULA-NELSON-S11S1G2
Membros da 5
Autoria de 12 guias