Esta versão pode conter edições incorretas. Mude para o último instantâneo verificado.
O que você precisa
-
Este passo não foi traduzido. Ajude a traduzi-lo
-
Turn off your HTC Droid Eris.
-
Remove the back cover, battery, and memory card (if installed).
-
-
Este passo não foi traduzido. Ajude a traduzi-lo
-
Use a T4 screwdriver to remove the T4 screws at the locations shown in red circles.
-
-
Este passo não foi traduzido. Ajude a traduzi-lo
-
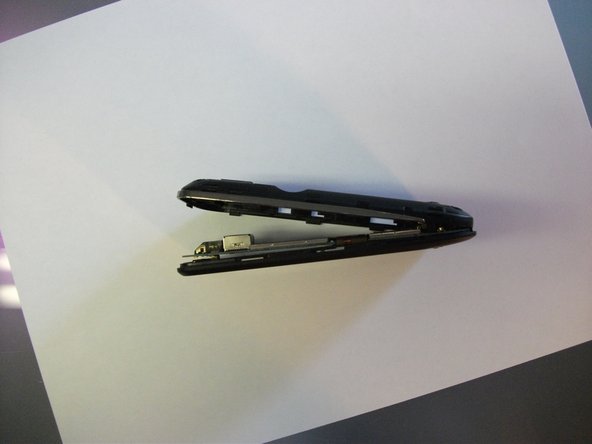
Insert a spudger or a pry pick between the front cover and the chrome on the sides of the device. Work the tool from the bottom on one side, to the top, and then back around to the bottom on the other side.
-
Remove the back cover by lifting from the top.
-
-
-
Este passo não foi traduzido. Ajude a traduzi-lo
-
Remove the RF shield by carefully peeling off the 4 pieces of metallic tape.
-
Don't damage or discard the 4 pieces of tape and the RF shield. You will need to reuse these items in later steps.
-
-
Este passo não foi traduzido. Ajude a traduzi-lo
-
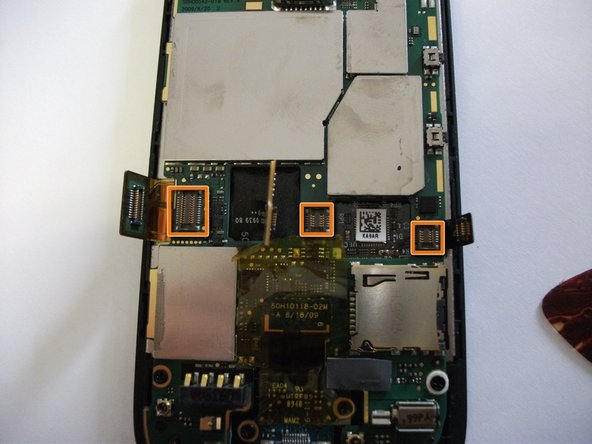
Use a spudger or a pry pick to release the 3 connectors marked in red in the photo. (The middle connector will be covered with a piece of tape.)
-
-
Este passo não foi traduzido. Ajude a traduzi-lo
-
Remove the Philips screws circled in red. Be careful with the moisture indicator (indicated by the blue rectangle).
-
Be sure to move the connectors out of the way. (One connector extends across the main board, so be careful the connector does not snag.)
-
Carefully remove the mainboard and set it aside.
-
-
Este passo não foi traduzido. Ajude a traduzi-lo
-
Remove the trackball indicated by the orange square. (It should come out easily.)
-
-
Este passo não foi traduzido. Ajude a traduzi-lo
-
Carefully peel the cable (indicated by a large blue square) away from the back of the LCD screen.
-
There may be a piece of tape between the track ball and the back of the LCD screen (as indicated by the small blue square). Remove the tape if present.
-
-
Este passo não foi traduzido. Ajude a traduzi-lo
-
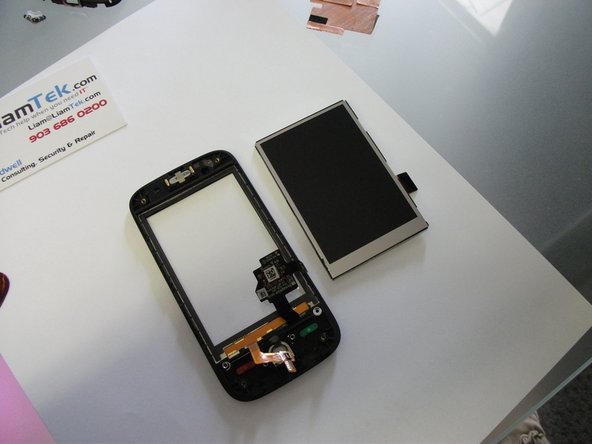
Carefully separate the face of the phone from the LCD screen by using a spudger or a pry pick.
-
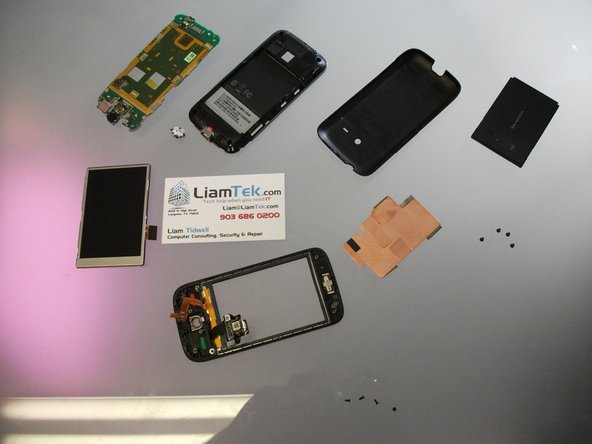
Replace the broken LCD or digitizer and reassemble in reverse.
-
If replacing the digitizer, you may either replace the entire front as part of an assembly or use a heat gun to separate and replace the glass only.
-


Cancelar: não concluí este guia.
Uma outra pessoa concluiu este guia.