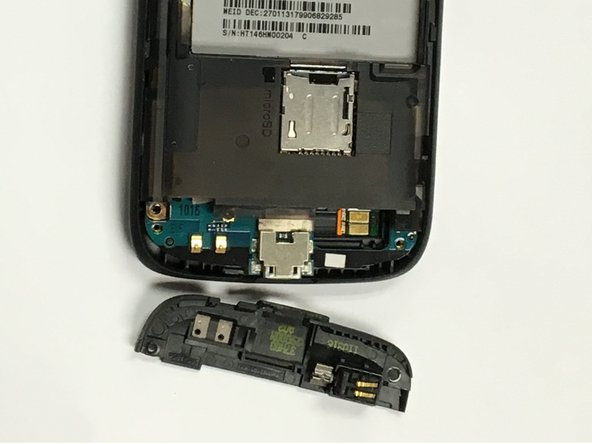
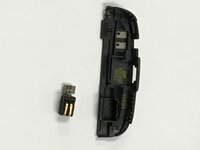
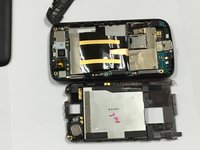
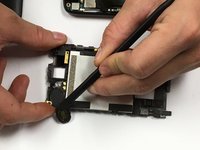
Ir para o conteúdo principal

HTC Desire HTC Desire Speaker Replacement

O que você precisa

  1. HTC Desire HTC Desire Speaker Replacement, Battery: passo 1, imagem 1 %32 HTC Desire HTC Desire Speaker Replacement, Battery: passo 1, imagem 2 %32
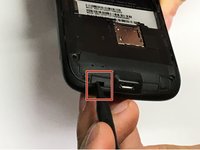
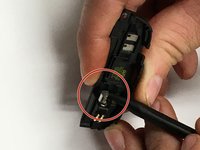
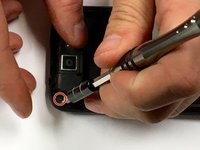
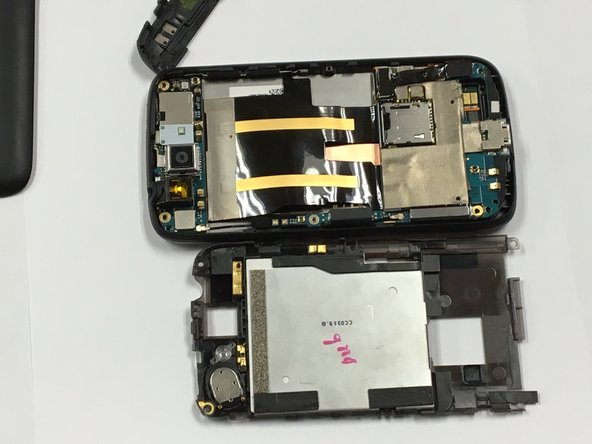
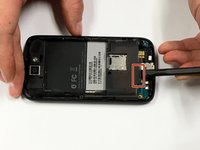
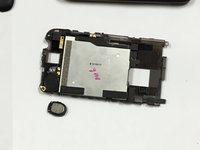
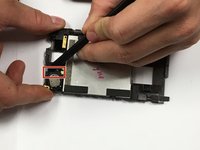
    • Insert flat end of spudger into slot on the top of phone to pry off the back plate.

  2. HTC Desire HTC Desire Speaker Replacement: passo 2, imagem 1 %32 HTC Desire HTC Desire Speaker Replacement: passo 2, imagem 2 %32
    • Use flat edge of spudger to lift the bottom right corner of the battery.

    • Lift the battery out of the phone.

  3. HTC Desire HTC Desire Speaker Replacement, Vibrator: passo 3, imagem 1 %32
    • Remove the lower, two 0.5 mm screws using Torx T5 screwdriver.

  4. HTC Desire HTC Desire Speaker Replacement: passo 4, imagem 1 %32 HTC Desire HTC Desire Speaker Replacement: passo 4, imagem 2 %32
    • Use spudger to pry vibrator panel off.

  5. HTC Desire HTC Desire Speaker Replacement: passo 5, imagem 1 %32 HTC Desire HTC Desire Speaker Replacement: passo 5, imagem 2 %32
    • Use spudger to remove the vibrator.

  6. HTC Desire HTC Desire Speaker Replacement, HTC Desire Speaker: passo 6, imagem 1 %32 HTC Desire HTC Desire Speaker Replacement, HTC Desire Speaker: passo 6, imagem 2 %32
    • Take out the upper, two 0.5 mm Torx screws with a Torx T5 bit.

  7. HTC Desire HTC Desire Speaker Replacement: passo 7, imagem 1 %32
    • Take the middle 0.3 mm phillips screw out with the phillips J000 tip.

  8. HTC Desire HTC Desire Speaker Replacement: passo 8, imagem 1 %32 HTC Desire HTC Desire Speaker Replacement: passo 8, imagem 2 %32 HTC Desire HTC Desire Speaker Replacement: passo 8, imagem 3 %32
    • Using the spudger, pry up to remove the battery holder.

  9. HTC Desire HTC Desire Speaker Replacement: passo 9, imagem 1 %32 HTC Desire HTC Desire Speaker Replacement: passo 9, imagem 2 %32 HTC Desire HTC Desire Speaker Replacement: passo 9, imagem 3 %32
    • Using the spudger, pry the speaker out of its place.

  10. HTC Desire HTC Desire Speaker Replacement: passo 10, imagem 1 %32
    • With the springs up, place the new speaker into position.

Conclusão

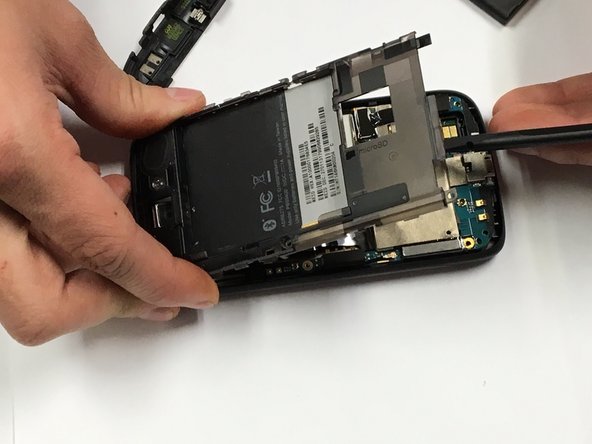
To reassemble your device, follow these instructions in reverse order.

4 outras pessoas executaram este guia.

Scott Olson

Membro desde: 10/22/15

274 Reputação

Autoria de 1 guia

Equipe

Montana Tech, Team 10-2, Shirk Fall 2015 Membro de Montana Tech, Team 10-2, Shirk Fall 2015

MTUM-SHIRK-F15S10G2

Membros da 4

Autoria de 8 guias

0 comentários

Adicione um comentário

Exibir estatísticas:

Últimas 24 horas: 0

Últimos 7 dias: 0

Últimos 30 dias: 0

Duração total: 1,167