Este guia tem alterações mais recentes. Mudar para a última versão não verificada.
Introdução
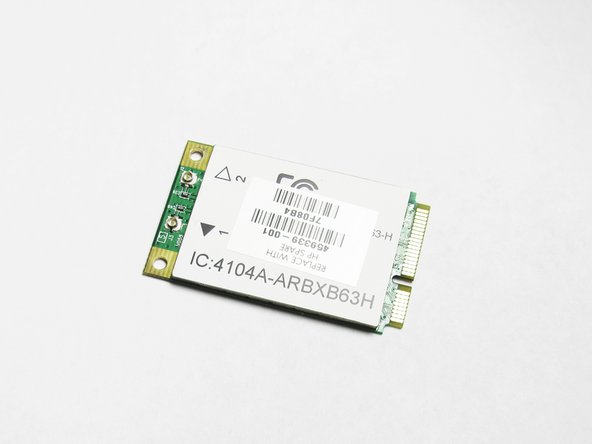
If your wifi isn't working, it might just be a loose connection to your wireless card. Follow this guide to replace your wireless card.
O que você precisa
-
-
Remove the two 5mm Phillips screws on the hard drive cover using a Phillips #00 screwdriver.
-
-
-
-
Locate the wireless card and the two wires attached to it.
-
Using a plastic spudger tool, carefully lift up on each wire connecting the card to unsnap the connectors.
-


To reassemble your device, follow these instructions in reverse order.
To reassemble your device, follow these instructions in reverse order.
Cancelar: não concluí este guia.
Uma outra pessoa concluiu este guia.

Equipe

Cal Poly, Team 9-15, Regan Spring 2014 Membro de Cal Poly, Team 9-15, Regan Spring 2014
CPSU-REGAN-S14S9G15
Membros da 4
Autoria de 10 guias