Esta versão pode conter edições incorretas. Mude para o último instantâneo verificado.
O que você precisa
-
Este passo não foi traduzido. Ajude a traduzi-lo
-
Acquire the metal spudger and a Precision Magnetized Driver with J1 size bit.
-
Flip your HP TouchSmart 15 over.
-
-
Este passo não foi traduzido. Ajude a traduzi-lo
-
Locate tabs on the underside of the laptop.
-
Push both tabs towards the center of the laptop and pull away to remove battery.
-
-
Este passo não foi traduzido. Ajude a traduzi-lo
-
Take the sharp end of the pry tool and pop out the black screw cover.
-
Repeat on opposite side.
-
-
Este passo não foi traduzido. Ajude a traduzi-lo
-
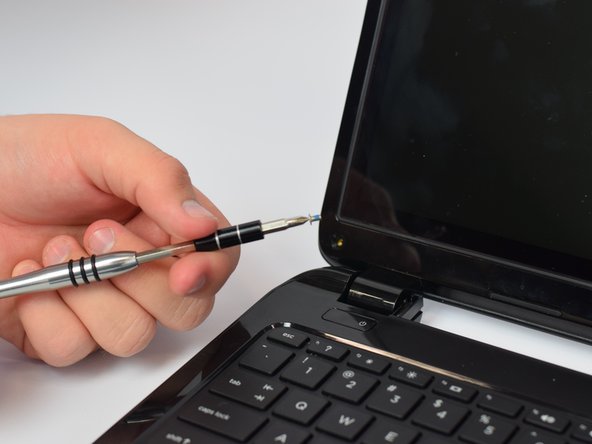
Take the Precision Magnetized Driver with J1 size bit and unscrew the screw.
-
Repeat on opposite side.
-
-
-
Este passo não foi traduzido. Ajude a traduzi-lo
-
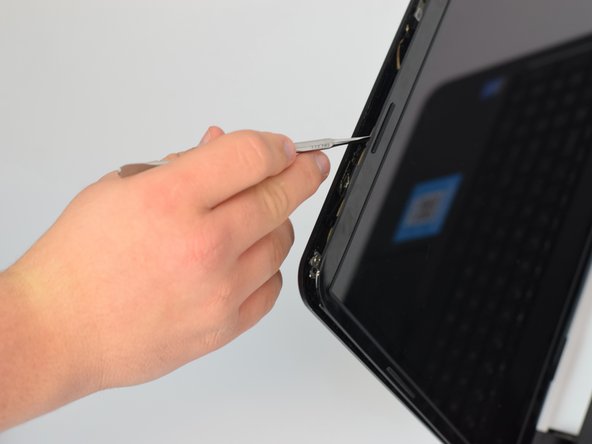
Using the pry tool, begin to separate the touchscreen from the plastic backing.
-
-
Este passo não foi traduzido. Ajude a traduzi-lo
-
Close the laptop and flip it over once again.
-
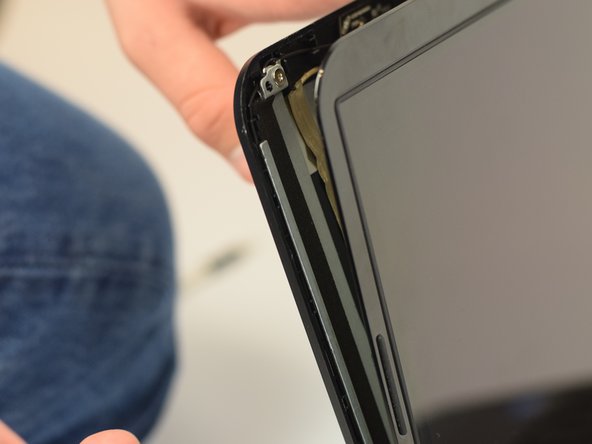
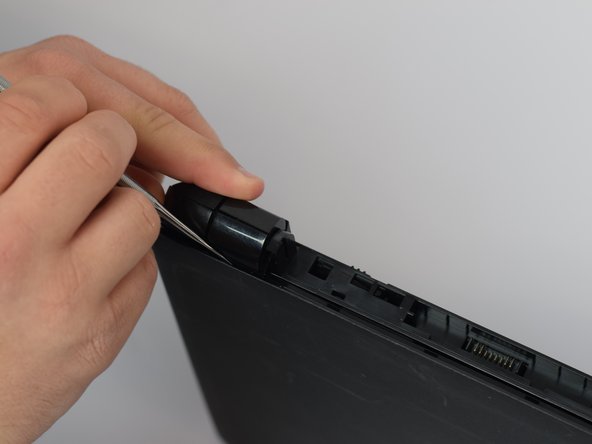
Continue to pry the touchscreen from the plastic backing in the hinged area of the laptop.
-
-
Este passo não foi traduzido. Ajude a traduzi-lo
-
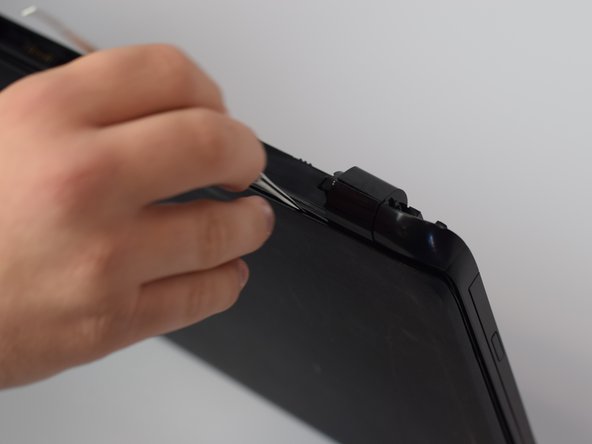
Flip over the laptop and open it.
-
Pull up on the separated touchscreen while pulling it away from the plastic backing.
-
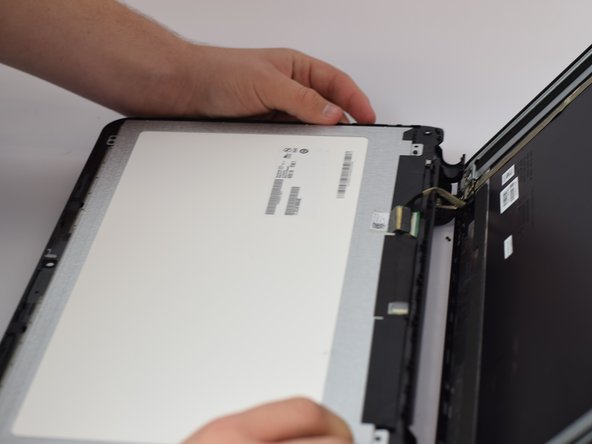
Lay the touchscreen on the keyboard facedown.
-
-
Este passo não foi traduzido. Ajude a traduzi-lo
-
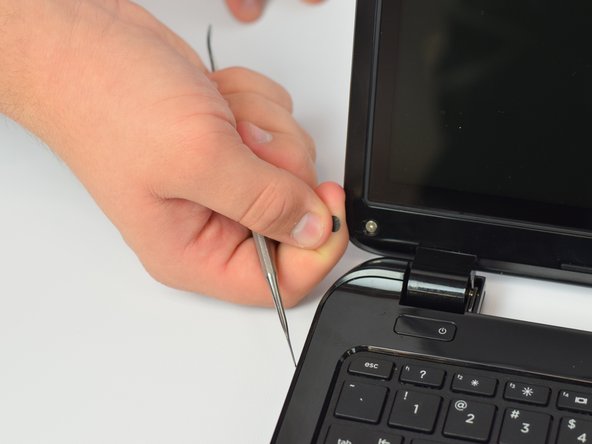
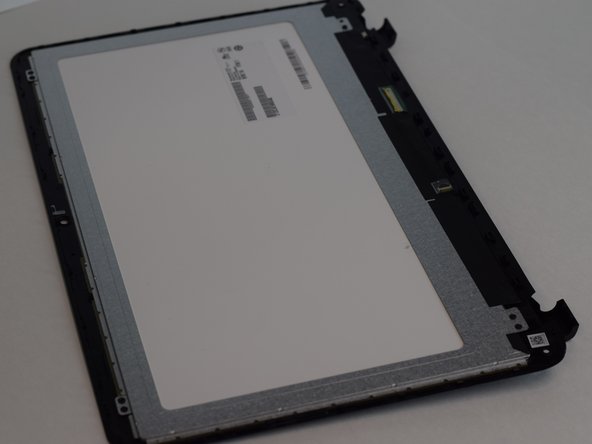
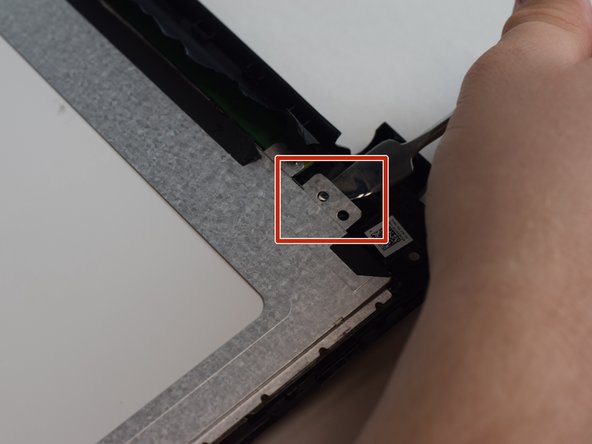
Locate the connection point.
-
Slowly and carefully peel off.
-
-
Este passo não foi traduzido. Ajude a traduzi-lo
-
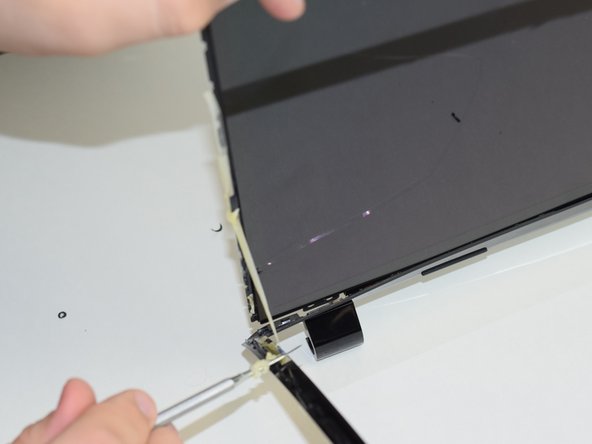
Begin by peeling off the black adhesive tape using the pry tool.
-
Once adhesive tape is removed, use the pry tool to remove the tab in the corner. Repeat in each corner.
-
-
Este passo não foi traduzido. Ajude a traduzi-lo
-
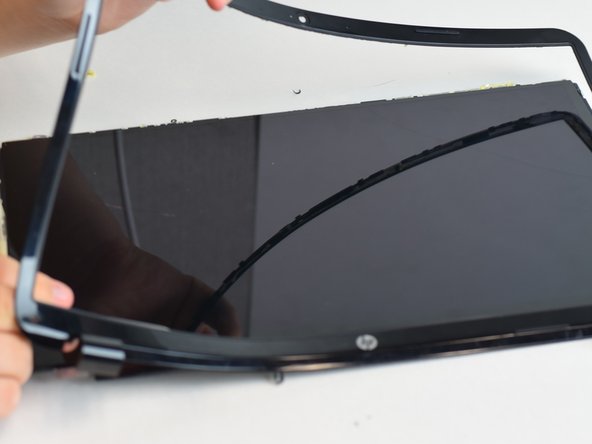
Using the sharp end of the pry tool, separate the plastic from the screen.
-
-
Este passo não foi traduzido. Ajude a traduzi-lo
-
Now it is time to reassemble your device with a new screen.
-


Cancelar: não concluí este guia.
3 outras pessoas executaram este guia.

Equipe

Coast Union High School, Team S1-G1, Hartzell Fall 2017 Membro de Coast Union High School, Team S1-G1, Hartzell Fall 2017
CUHS-HARTZELL-F17S1G1
Membros da 2
1 Guia de autoria