Introdução
Speakers can malfunction over time due to several factors such as damage and wear causing blow-out severely compromising the audio quality of the product.
During the replacement of the speaker in the HP Stream 13-c002dx the user will need to exercise caution when handling electronic parts with lithium ion batteries that potentially pose a hazard.⏎
If a battery becomes swollen take precautions.
The laptop will need to be disassembled to gain access to the internal components and remove the speakers to be replaced.
O que você precisa
-
-
Flip the laptop over so the bottom is facing up.
-
Use your Phillips #0 screwdriver to remove the eleven visible 5 mm screws on the back of the laptop.
-
Unscrew the two remaining 2.5mm screws. Keep these screws separate from the first eleven 5mm screws.
-
-
-
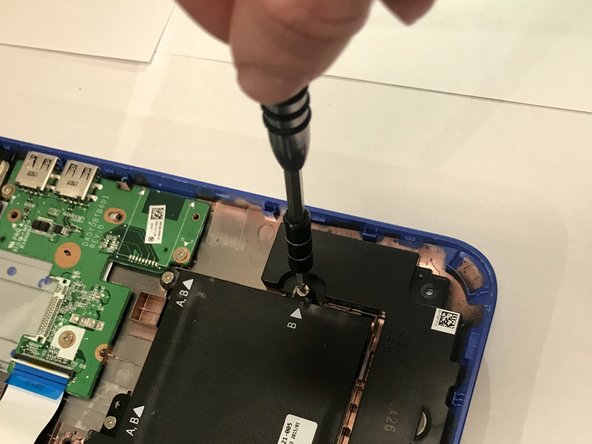
You will notice various screws located on the outer edges of the speakers. Using your Philips screwdriver, remove each of these screws.
-
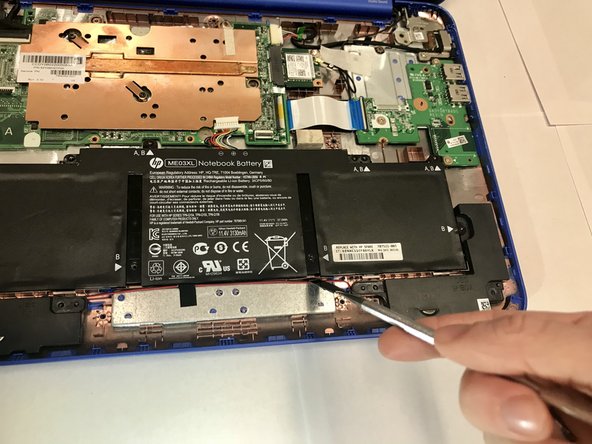
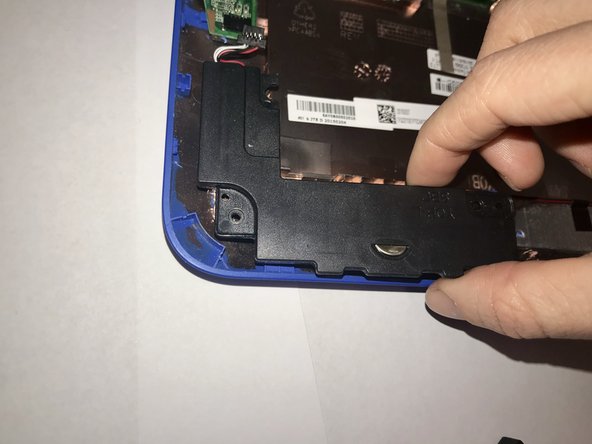
Connecting the two speakers is a red and black wire located at the edge of the battery. Using your flathead screwdriver, lift the wire upward.
-


To reassemble your device, follow these instructions in reverse order.
To reassemble your device, follow these instructions in reverse order.

Equipe

Western Carolina University, Team S1-G1, Virtue Spring 2018 Membro de Western Carolina University, Team S1-G1, Virtue Spring 2018
WCU-VIRTUE-S18S1G1
Membros da 4
Autoria de 11 guias