Introdução
This guide will give you step-by-step instructions on how to remove and replace a faulty motherboard. Make sure you have a clean, dry, uncluttered, and roomy work space that has good lighting before you start. Also, make sure that your motherboard actually needs to be replaced by consulting our troubleshooting guide troubleshooting guide.
O que você precisa
-
-
Turn the computer upside down.
-
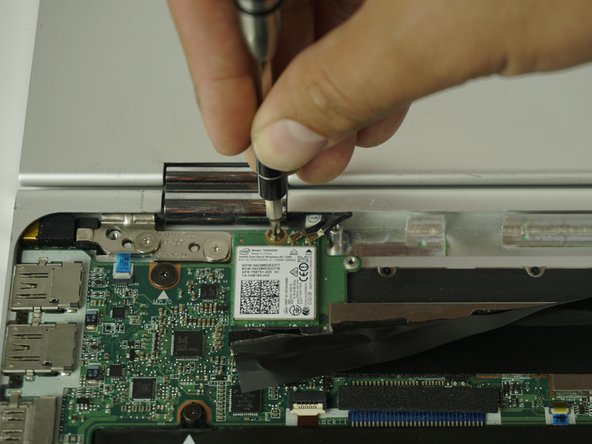
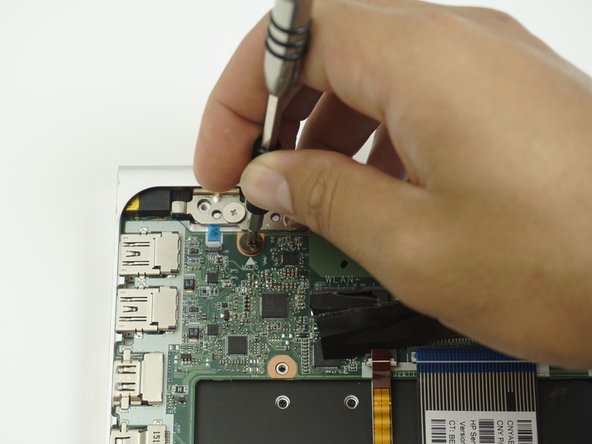
Use the T5 Torx Screwdriver to remove the eight 3.3 mm screws.
-
-
-
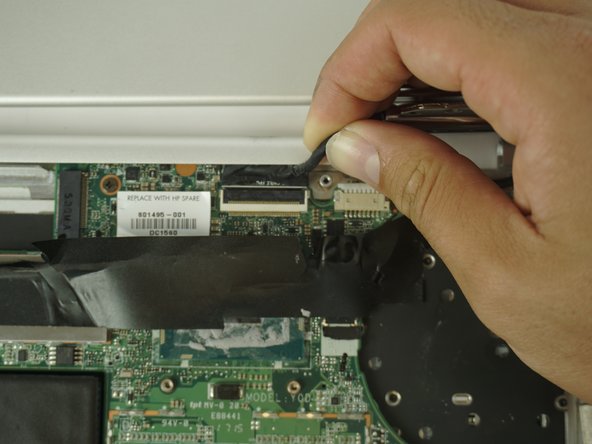
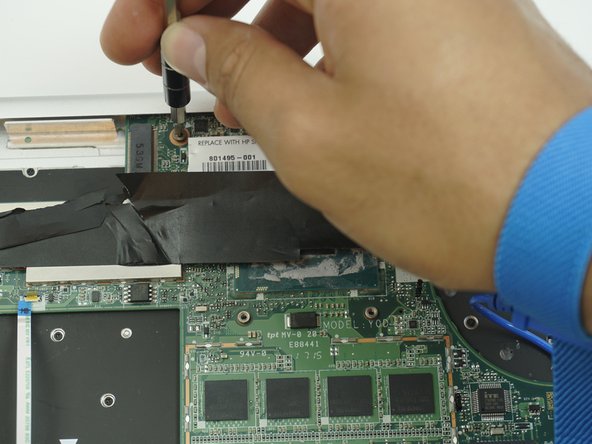
Remove the two 2mm Phillips #00 screws from the fan.
-
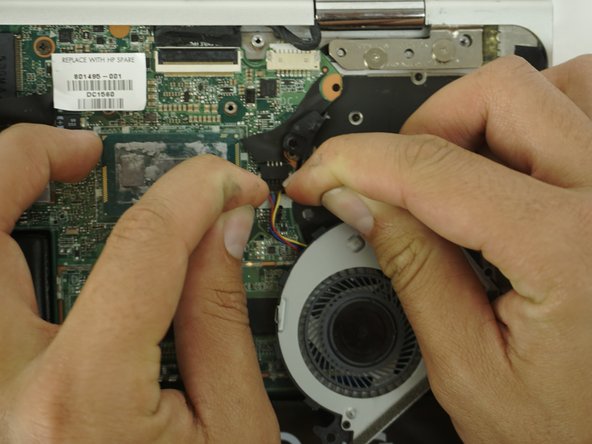
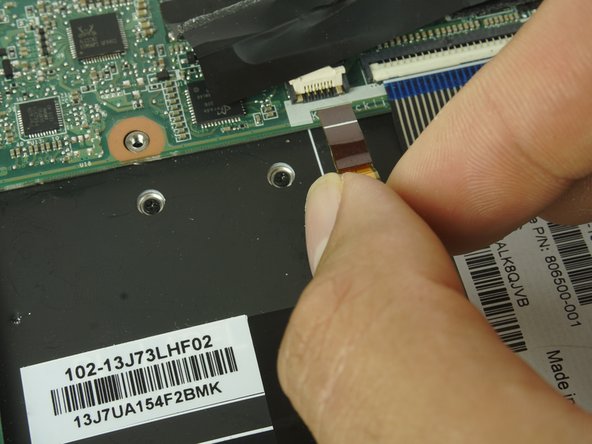
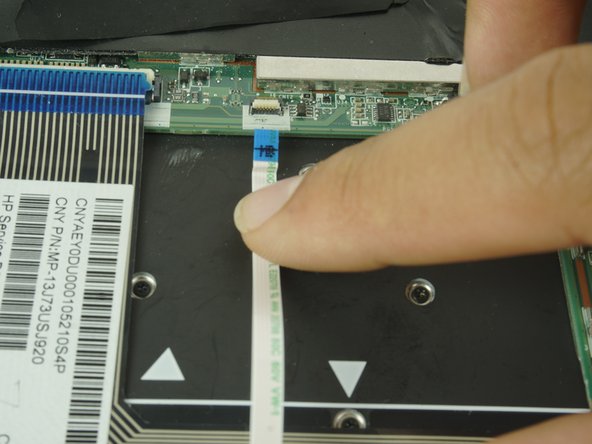
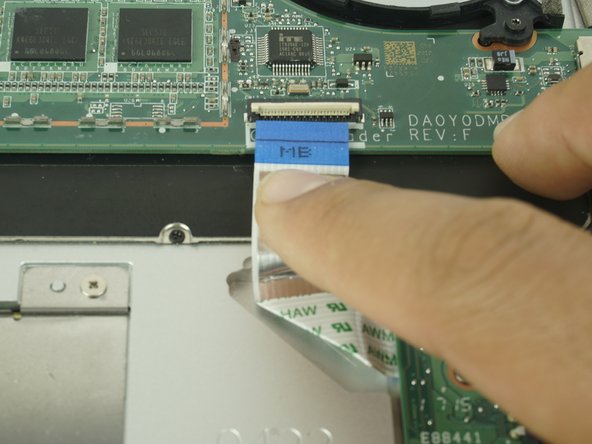
Disconnect the fan from the motherboard.
-
-


To reassemble your device, follow these instructions in reverse order.
To reassemble your device, follow these instructions in reverse order.
Cancelar: não concluí este guia.
7 outras pessoas executaram este guia.
Equipe

USF Tampa, Team S5-G4, Passmore Spring 2018 Membro de USF Tampa, Team S5-G4, Passmore Spring 2018
USFT-PASSMORE-S18S5G4
Membros da 3
Autoria de 8 guias
3 comentários
Thanks good instructions once I source a replacement board I will apply you're method. I live near Barcelona Spain any ideas on sourcing a new board??
Thanks, it’s easy with your explications
Merci pour vos explications très détaillés qui m'ont permis de changer la carte mère d'un hp spectre x360-13 sans trop de difficultées le 13 juillet 2020.
J'ai tout particuliérement apprécié les détails pour ouvrir les différents connecteurs.
Seule difficulté était l'ouverture de la vis de fixation de la carte wifi, qui état extrêmement ferme.
Une fois la nouvelle carte mère installé le portable a démarré sans aucune autre intervention.
J'ai horreur de jetter des équipements dont seulement un élément est défectueux et je suis donc très reconnaissant de votre publication.
Un grand Merci
Albrect E.
Chantilly France