Ir para o conteúdo principal

HP ProBook 440 G1 Keyboard Replacement

O que você precisa

  1. HP ProBook 440 G1 Keyboard Replacement, Battery: passo 1, imagem 1 %32 HP ProBook 440 G1 Keyboard Replacement, Battery: passo 1, imagem 2 %32
    • Make sure the laptop is turned off before you start.

    • Push and hold the release tab on the right and left toward the center.

  2. HP ProBook 440 G1 Keyboard Replacement: passo 2, imagem 1 %32 HP ProBook 440 G1 Keyboard Replacement: passo 2, imagem 2 %32
    • Pull the battery out.

  3. HP ProBook 440 G1 Keyboard Replacement, Backplate: passo 3, imagem 1 %32 HP ProBook 440 G1 Keyboard Replacement, Backplate: passo 3, imagem 2 %32 HP ProBook 440 G1 Keyboard Replacement, Backplate: passo 3, imagem 3 %32
    • Push and hold the release tabs on the right and left toward the center again.

  4. HP ProBook 440 G1 Keyboard Replacement: passo 4, imagem 1 %32
    • Slide the backplate off.

  5. HP ProBook 440 G1 Keyboard Replacement, Keyboard: passo 5, imagem 1 %32 HP ProBook 440 G1 Keyboard Replacement, Keyboard: passo 5, imagem 2 %32
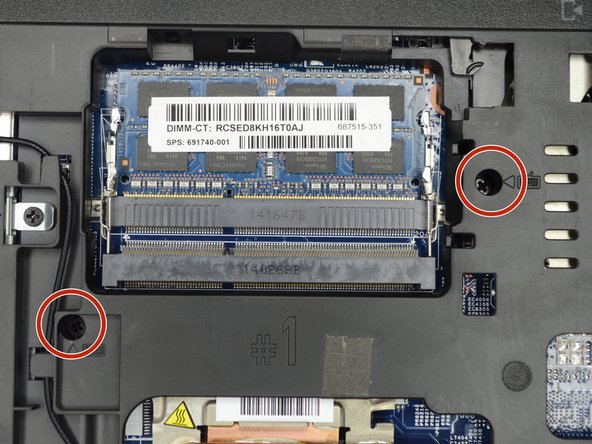
    • Locate the two screws on the back of the laptop, holding the keyboard.

    • Remove the two screws using a Phillips #00 screwdriver.

  6. HP ProBook 440 G1 Keyboard Replacement: passo 6, imagem 1 %32
    • Flip the computer over so as to see the keyboard.

  7. HP ProBook 440 G1 Keyboard Replacement: passo 7, imagem 1 %32 HP ProBook 440 G1 Keyboard Replacement: passo 7, imagem 2 %32
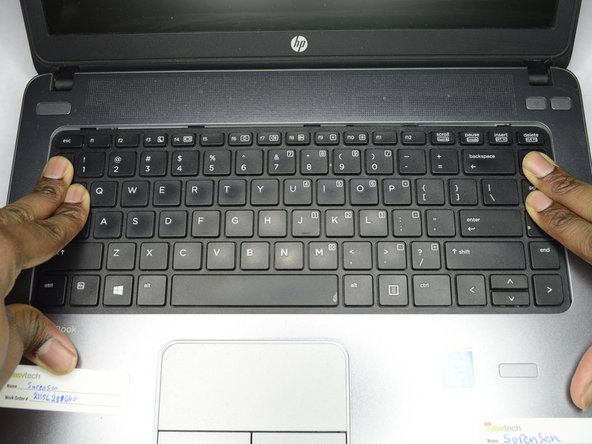
    • Place both hands on the keyboard and slide it back.

    • The keyboard will only slide back a small amount.

  8. HP ProBook 440 G1 Keyboard Replacement: passo 8, imagem 1 %32 HP ProBook 440 G1 Keyboard Replacement: passo 8, imagem 2 %32
    • Using a plastic opening tool, pull the keyboard up.

  9. HP ProBook 440 G1 Keyboard Replacement: passo 9, imagem 1 %32 HP ProBook 440 G1 Keyboard Replacement: passo 9, imagem 2 %32 HP ProBook 440 G1 Keyboard Replacement: passo 9, imagem 3 %32
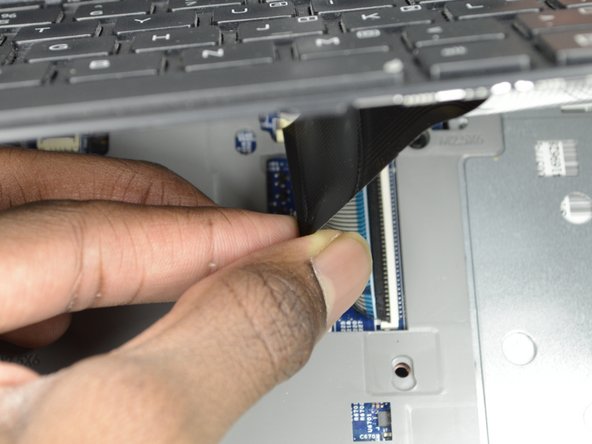
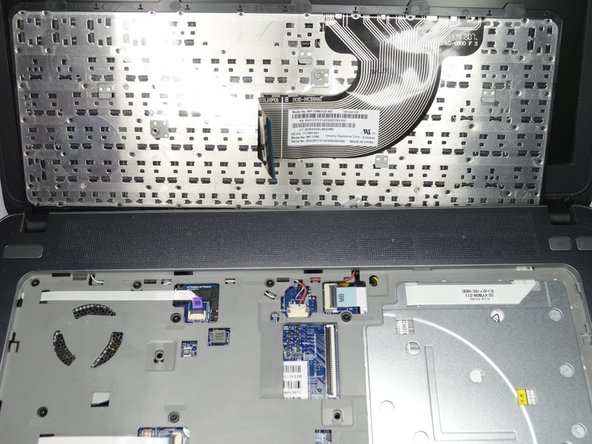
    • Locate the connector strip between the keyboard and the laptop.

    • Pull the strip away from the connector until it unplugs.

    • It may take some force to make the strip disconnect.

Conclusão

To reassemble your device, follow these instructions in reverse order.

Uma outra pessoa concluiu este guia.

Um comentário

thanks for that

sir i want original keyboard 440 G1

if u dont mine suggest me

karun kumar - Responder

Adicione um comentário

Exibir estatísticas:

Últimas 24 horas: 1

Últimos 7 dias: 5

Últimos 30 dias: 10

Duração total: 2,187