Ir para o conteúdo principal

HP Pavilion dv6t-1200 Disk Tray Replacement

O que você precisa

  1. HP Pavilion dv6t-1200 Disk Tray Replacement, Disk Tray: passo 1, imagem 1 %32 HP Pavilion dv6t-1200 Disk Tray Replacement, Disk Tray: passo 1, imagem 2 %32
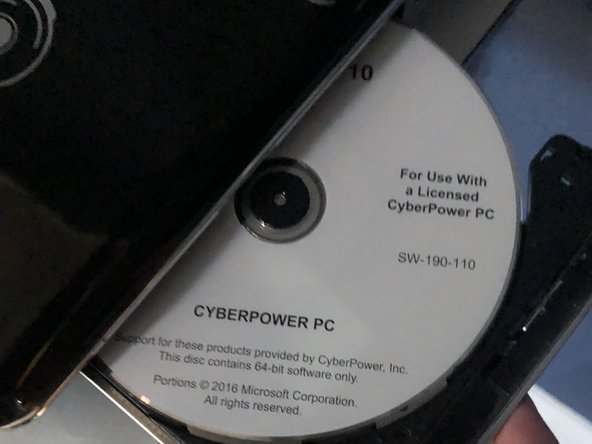
    • Locate the small hole on the right side of the disk tray next to the button.

  2. HP Pavilion dv6t-1200 Disk Tray Replacement: passo 2, imagem 1 %32 HP Pavilion dv6t-1200 Disk Tray Replacement: passo 2, imagem 2 %32
    • Extend the paper clip into a straight line and insert it into the disk tray hole located next to the release button.

    • When the disk tray is removed, make sure to clean the general area with canned air.

  3. HP Pavilion dv6t-1200 Disk Tray Replacement: passo 3, imagem 1 %32
    • Flip the laptop to the other side and remove the four screws on the bottom of the disk tray using a Phillips #0 screwdriver.

  4. HP Pavilion dv6t-1200 Disk Tray Replacement: passo 4, imagem 1 %32 HP Pavilion dv6t-1200 Disk Tray Replacement: passo 4, imagem 2 %32
    • Remove the metal plate and locate the bottom right tool for the disk tray.

  5. HP Pavilion dv6t-1200 Disk Tray Replacement: passo 5, imagem 1 %32 HP Pavilion dv6t-1200 Disk Tray Replacement: passo 5, imagem 2 %32
    • Replace the motor piece that is being held and reclose the device.

  6. HP Pavilion dv6t-1200 Disk Tray Replacement: passo 6, imagem 1 %32 HP Pavilion dv6t-1200 Disk Tray Replacement: passo 6, imagem 2 %32
    • After replacing the motor and the placing the metal tray apply a good amount of WD40.

    • Once all completed the disk tray should be working smoothly.

Conclusão

To reassemble your device, follow these instructions in reverse order.

Uma outra pessoa concluiu este guia.

Daniel Pelayo

Membro desde: 10/05/21

210 Reputação

Autoria de 1 guia

Equipe

0 comentários

Adicione um comentário

Exibir estatísticas:

Últimas 24 horas: 3

Últimos 7 dias: 5

Últimos 30 dias: 24

Duração total: 263