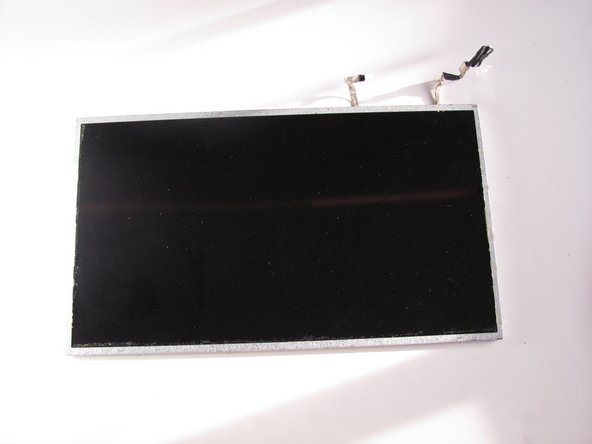
Introdução
Before removing the LCD Monitor, follow these steps:
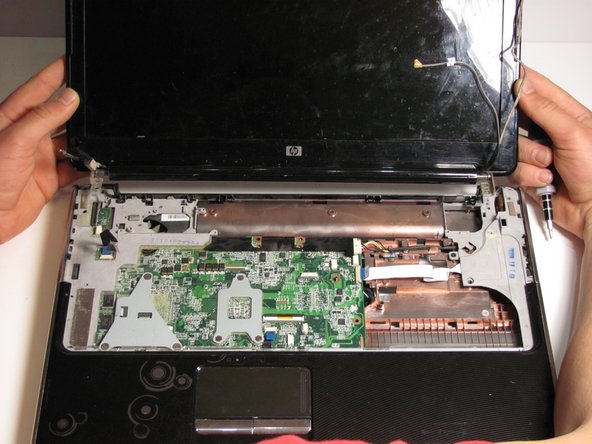
Shut down the computer
If unsure whether your computer is off or in hibernation, turn it on, and then shut down through the operating system.
Disconnect devices and power
Disconnect all external devices, plug-ins and power from the computer.
O que você precisa
-
-
Locate the battery on the bottom side of the laptop.
-
Slide the release switch and the battery will pop out.
-
Remove the battery
-
-
-
Using a Philips #1 Loosen the three 7mm captive screws that secure the memory module compartment cover to the computer.
-
Lift the rear edge of the cover, swing it up and to the front, and remove the cover.
-
-
-
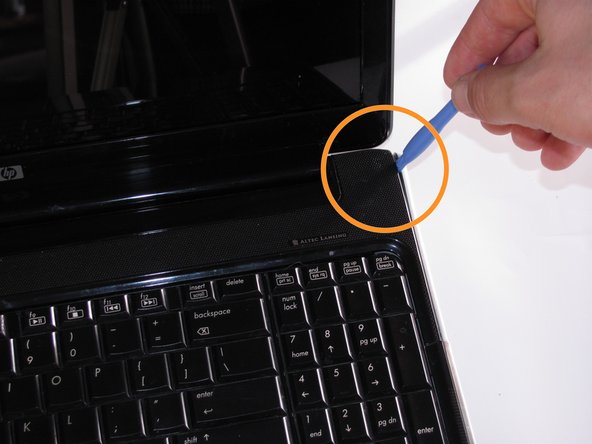
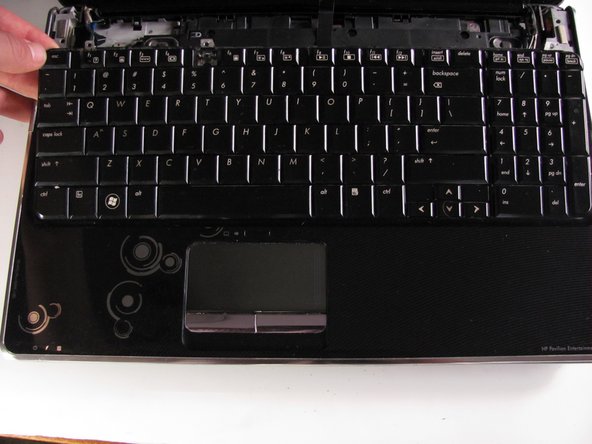
With laptop upside down locate the three sets of screws that fasten the keyboard and switch cover.
-
Two Phillips 7mm screws that secure the switch cover to the computer.
-
Four Phillips 4.0mm screws that secure the switch cover to the computer. (these are inside the battery bay)
-
Four Philips 7mm screws that secure the keyboard to the computer.
-
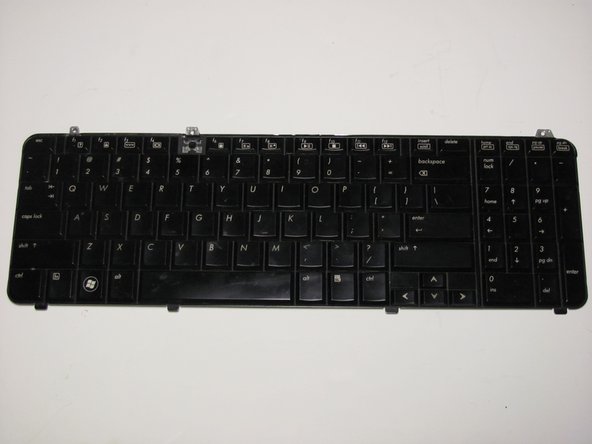
Remove all ten screws.
-
-
-
-
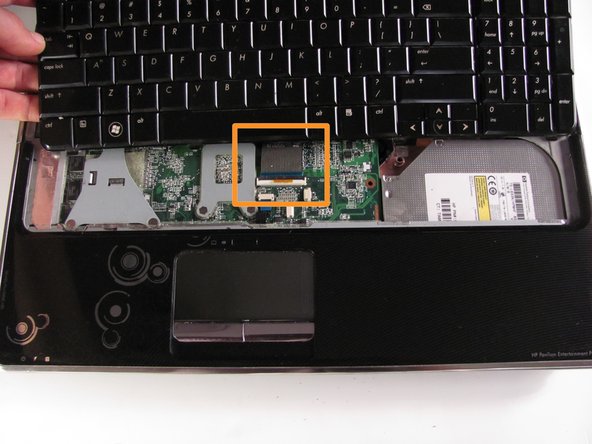
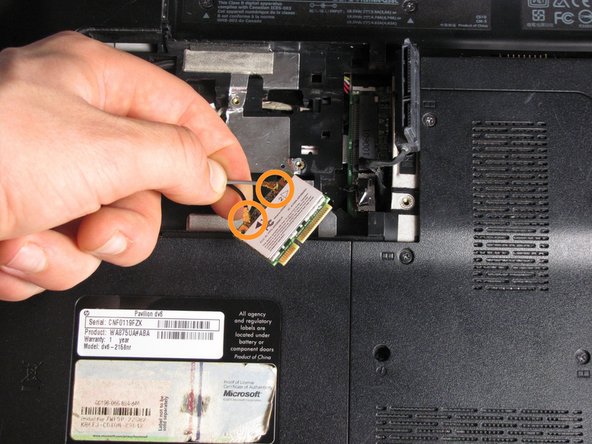
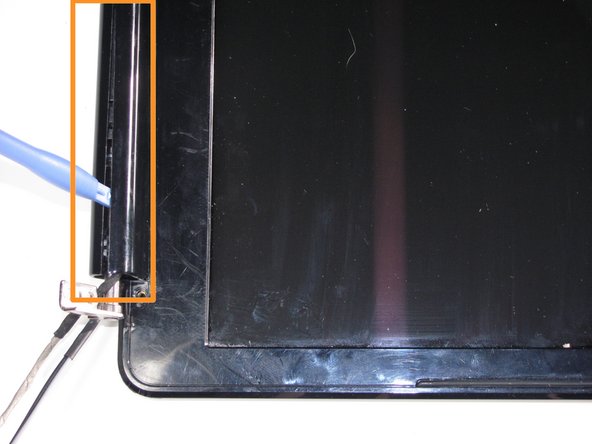
Remove the 3mm screw that secures the WLAN module to the computer. (The edge of the module opposite the slot rises away from the computer.)
-
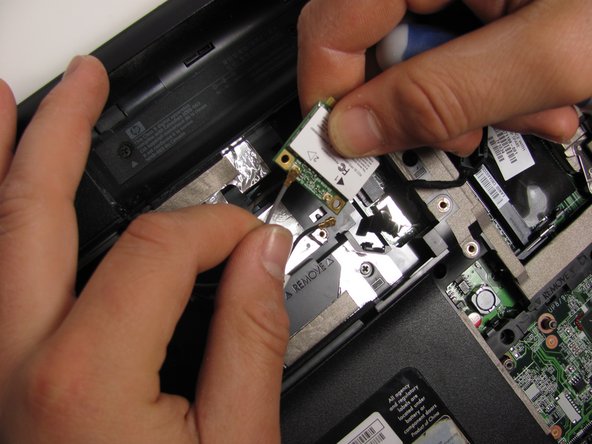
Remove the WLAN module by pulling it away from the slot at an angle.
-
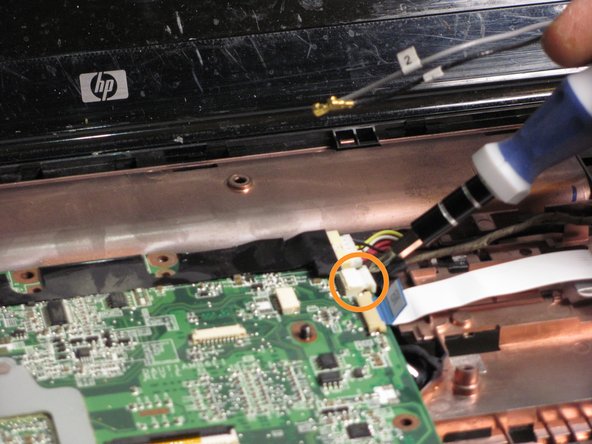
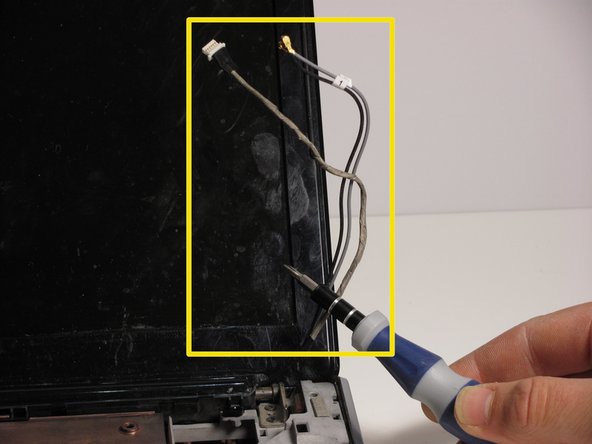
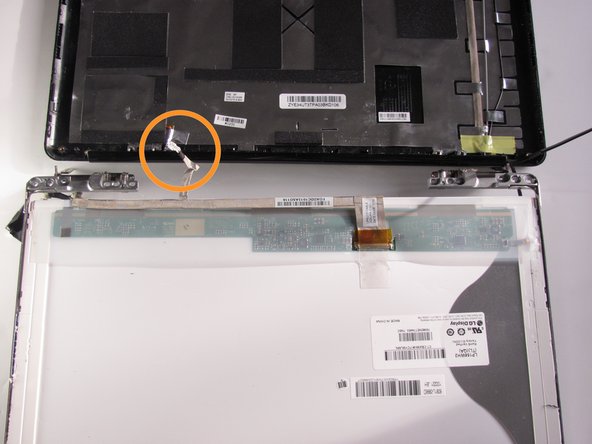
Disconnect the two WLAN antenna cables from the WLAN module.
-


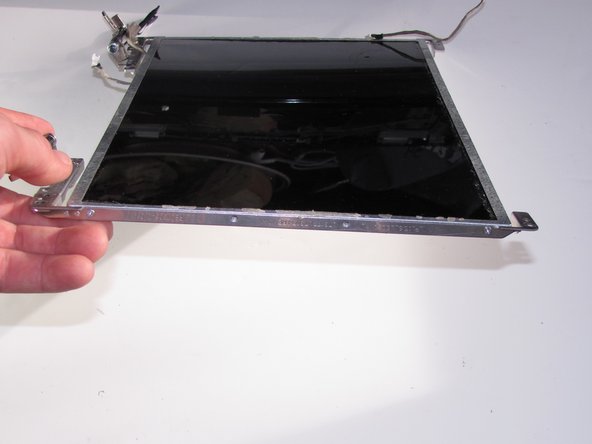

To reassemble your device, follow these instructions in reverse order.
To reassemble your device, follow these instructions in reverse order.
Cancelar: não concluí este guia.
8 outras pessoas executaram este guia.

Equipe

Cal Poly, Team 10-34, Maness Winter 2014 Membro de Cal Poly, Team 10-34, Maness Winter 2014
CPSU-MANESS-W14S10G34
Membros da 4
Autoria de 6 guias