Introdução
These instructions detail how to take apart an HP dv5000 laptop computer, how to identify and remove the fan from the computer, and how to reassemble the computer.
O que você precisa
-
-
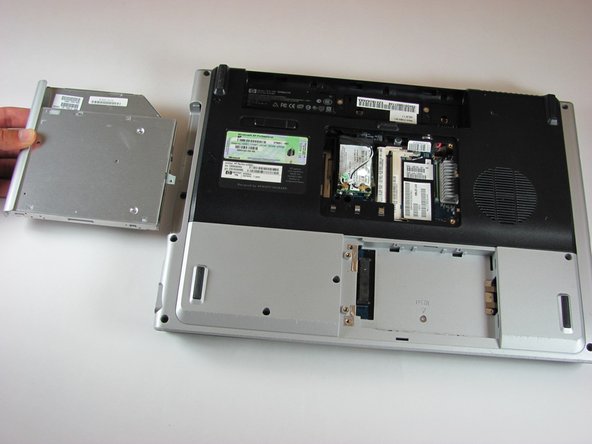
Lay the computer face-down on a flat surface. Orient the computer to match the image.
-
Locate the battery release switch, as indicated in the image by the red rectangle. Slide the switch from right to left, and remove the battery.
-
-
-
Remove the two 5mm Phillips screws on the right side of the RAM cover.
-
Lift the right side of the RAM cover, and remove it.
-
-
-
Release the RAM by pressing the metal heads of the RAM clips to the sides. Use tweezers and the spudger to spread the clips until they are completely off the RAM.
-
-
-
Disconnect the antenna leads from the wifi card by lifting the gold ends of the wires off the prongs on the wifi card.
-
The white wire connects to the AUX terminal.
-
The black wire connects to the MAIN terminal.
-
-
-
Locate the hard drive cover. Note that in this image, the RAM cover is still in place.
-
-
-
-
Remove the two 11.0mm screws at the corners on either side of the battery compartment.
-
Remove the three 6.0mm screws.
-
Remove the two 5.0mm screws.
-
Remove the 6.0mm screw in the middle of the battery compartment.
-
-
-
Use the plastic prying tool to disconnect the screen cable from the system board.
-
-
-
Flip the computer over to access the screws on the underside of the frame.
-
Remove the two 3.0mm screws.
-
Remove the 5.0mm screw.
-
-
-
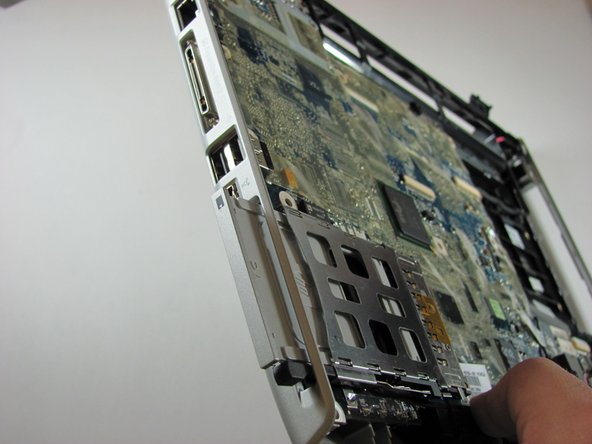
Remove the two 10.0 mm screws securing the fan on either side of the external monitor port.
-


To reassemble your device, follow these instructions in reverse order.
To reassemble your device, follow these instructions in reverse order.
Cancelar: não concluí este guia.
13 outras pessoas executaram este guia.
Equipe

Cal Poly, Team 21-34, Regan Fall 2010 Membro de Cal Poly, Team 21-34, Regan Fall 2010
CPSU-REGAN-F10S21G34
Membros da 4
Autoria de 11 guias
2 comentários
Kindly add this on dv 4000 also