Esta versão pode conter edições incorretas. Mude para o último instantâneo verificado.
O que você precisa
-
Este passo não foi traduzido. Ajude a traduzi-lo
-
Start with the bottom of the laptop facing up.
-
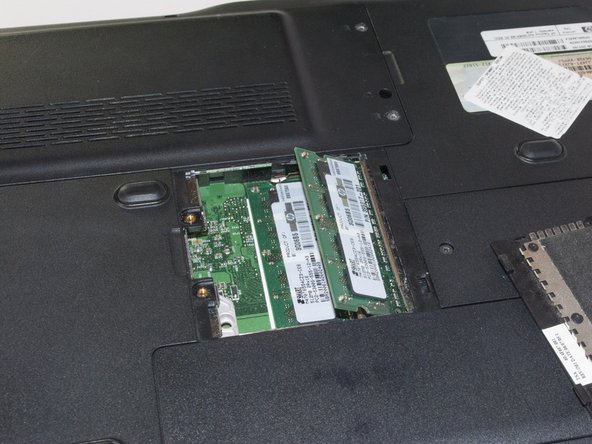
Locate the panel that is covering the RAM compartment.
-
Unscrew the two 5mm Phillips #0 screws that are securing the RAM compartment.
-
-
-
Este passo não foi traduzido. Ajude a traduzi-lo
-
Lift up the panel that is by the end that held the screws. Set it aside.
-
-
Este passo não foi traduzido. Ajude a traduzi-lo
-
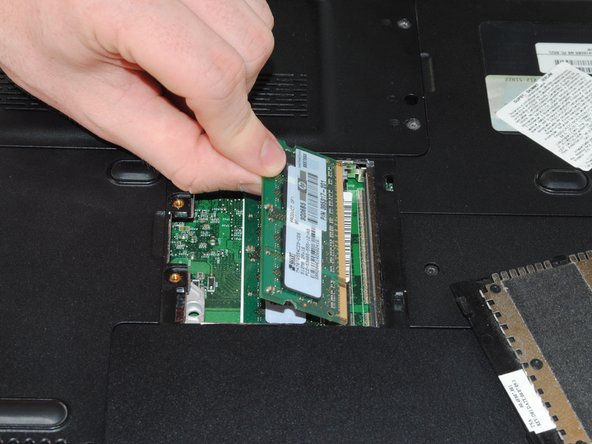
Using 2 prying tools, push the 2 buttons on the sides of one RAM module simultaneously, so that one side of the module pops up and out of the clips holding it down.
-
Grab the RAM module and carefully pull it straight out of its slot.
-
Repeat this step for the second RAM module, which is located just underneath the first RAM module.
-


Equipe

Cal Poly, Team 13-66, Johann Spring 2013 Membro de Cal Poly, Team 13-66, Johann Spring 2013
CPSU-JOHANN-S13S13G66
Membros da 3
Autoria de 6 guias