Introdução
This guide is used as a prereq to other guides.
O que você precisa


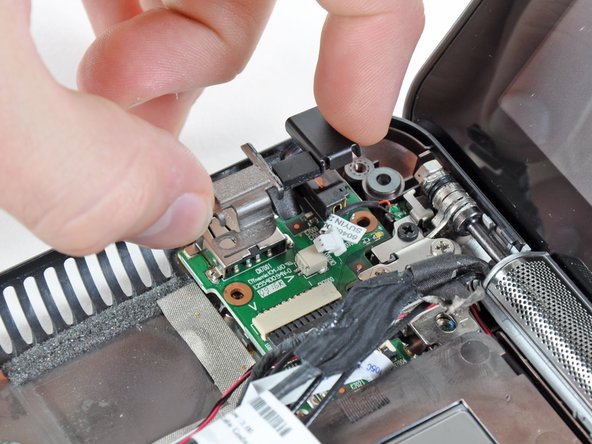

Quase terminado!
To reassemble your device, follow these instructions in reverse order.
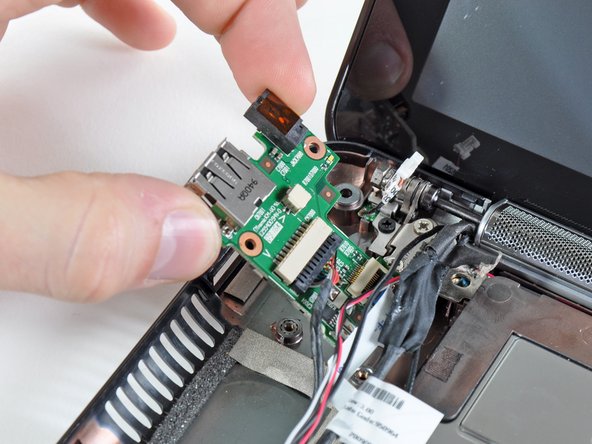
Conclusão
To reassemble your device, follow these instructions in reverse order.
