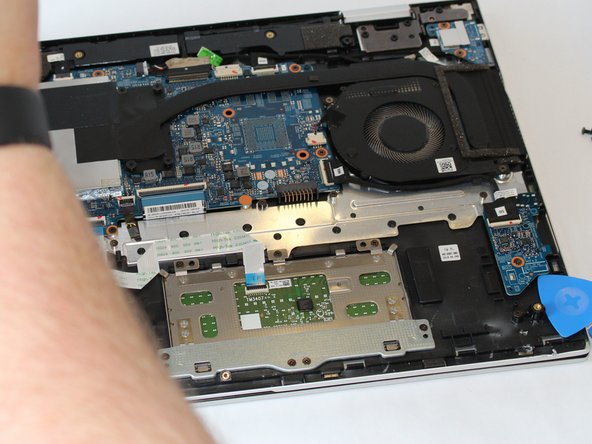
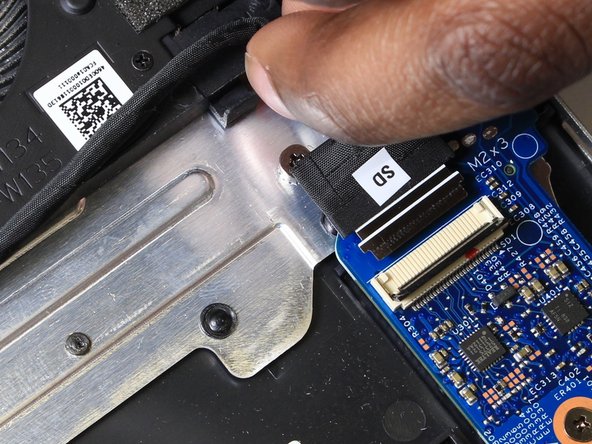
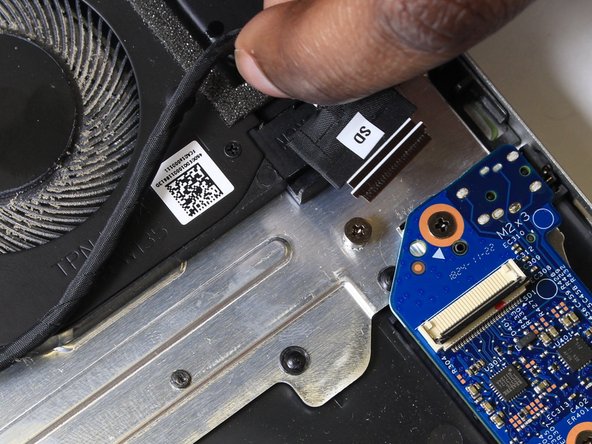
Ir para o conteúdo principal

HP Envy x360 15m-cn0012dx Daughterboard Replacement

O que você precisa

  1. HP Envy x360 15m-cn0012dx Daughterboard Replacement, Daughterboard: passo 1, imagem 1 %32 HP Envy x360 15m-cn0012dx Daughterboard Replacement, Daughterboard: passo 1, imagem 2 %32
    • Make sure the computer is turned off, and remove all cables.

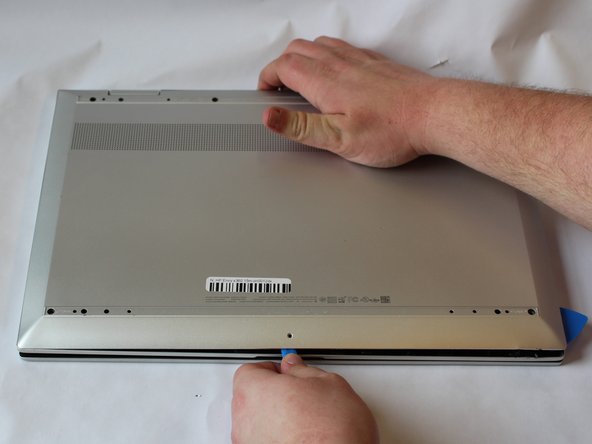
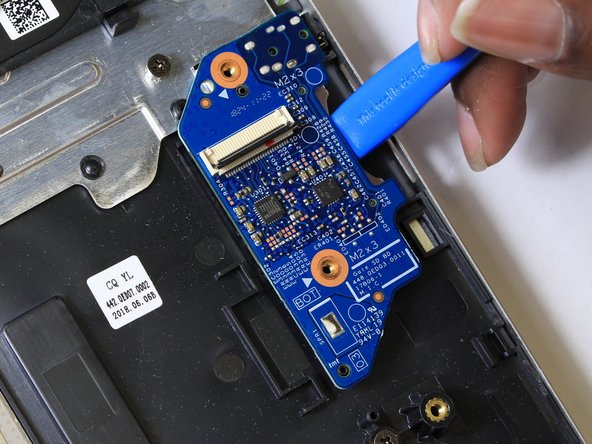
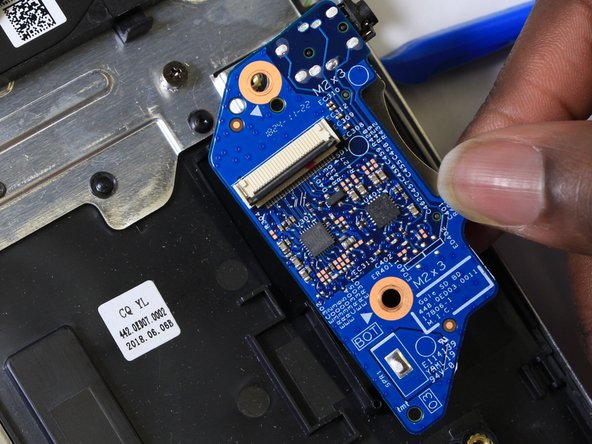
    • Set the laptop face down.

    • Peel back the grey screw guards, along the top and bottom edge of the back case. It may be helpful to use a spudger to get started.

    • Peel slowly to avoid tearing the rubber covers.

  2. HP Envy x360 15m-cn0012dx Daughterboard Replacement: passo 2, imagem 1 %32 HP Envy x360 15m-cn0012dx Daughterboard Replacement: passo 2, imagem 2 %32 HP Envy x360 15m-cn0012dx Daughterboard Replacement: passo 2, imagem 3 %32
    • Using the Phillips #0 screwdriver, remove the seven 5mm screws from the back case.

  3. HP Envy x360 15m-cn0012dx Daughterboard Replacement: passo 3, imagem 1 %32 HP Envy x360 15m-cn0012dx Daughterboard Replacement: passo 3, imagem 2 %32 HP Envy x360 15m-cn0012dx Daughterboard Replacement: passo 3, imagem 3 %32
    • Pry open the back cover using the iFixit Opening Tool.

    • While using the tool, place a pick at each corner of the computer (be careful and do it slowly).

    • Once all the corners are slightly lifted, carefully pop off the back cover.

  4. HP Envy x360 15m-cn0012dx Daughterboard Replacement: passo 4, imagem 1 %32 HP Envy x360 15m-cn0012dx Daughterboard Replacement: passo 4, imagem 2 %32 HP Envy x360 15m-cn0012dx Daughterboard Replacement: passo 4, imagem 3 %32
    • Use the iFixit opening tool to unlatch the ZIF connector with the cable labelled 'SD' from the daughterboard.

    • Slide out the interconnect ribbon cable.

  5. HP Envy x360 15m-cn0012dx Daughterboard Replacement: passo 5, imagem 1 %32 HP Envy x360 15m-cn0012dx Daughterboard Replacement: passo 5, imagem 2 %32 HP Envy x360 15m-cn0012dx Daughterboard Replacement: passo 5, imagem 3 %32
    • Using a Phillips #0 screwdriver, remove the two 4mm screws on holding down the SD card daughterboard.

    • Remove the SD card daughterboard.

Conclusão

To reassemble your device, follow these instructions in reverse order.

Uma outra pessoa concluiu este guia.

Grace Daleki

Membro desde: 02/04/20

475 Reputação

Autoria de 3 guias

Equipe

UW Stout, Team S1-G3, Schneider-Bateman Spring 2020 Membro de UW Stout, Team S1-G3, Schneider-Bateman Spring 2020

UWSTOUT-SCHNEIDER-BATEMAN-S20S1G3

Membros da 3

Autoria de 5 guias

0 comentários

Adicione um comentário

Exibir estatísticas:

Últimas 24 horas: 2

Últimos 7 dias: 4

Últimos 30 dias: 15

Duração total: 711