Introdução
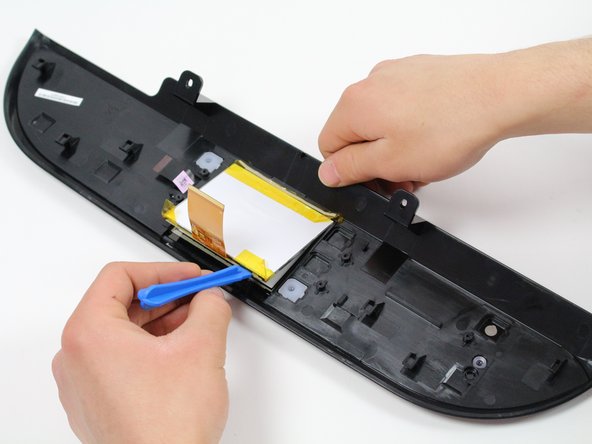
Damage to the device screen may prevent you from using your printer to its designed functionality. In this scenario, replacing the screen is a prudent option. However, following the entirety of this guide will void the warranty agreement. Proceed with caution. While following the steps in this guide, ensure your printer is grounded (plugged into a wall socket rated for 15A, 120V) to ensure that static discharge does not damage your printer after the replacement.
O que você precisa
-
-
Open the printer by pushing upwards against the plastic tabs on the printer body's sides.
-
Remove the opening assist by pushing it toward the front of the printer with a nylon spudger.
-
Remove the spring-loaded clip attached to the top of the printer by pushing it off of the hook.
-
-
-
Place the T9 Torx screwdriver in the screw slot and turn counterclockwise to remove the two 12 mm screws that hold the screen manifold to the printer.
-
Push with minimal force to the right to dislodge the manifold from the printer body.
-
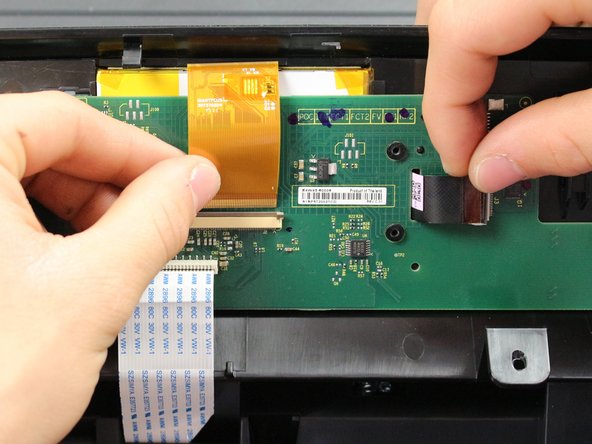
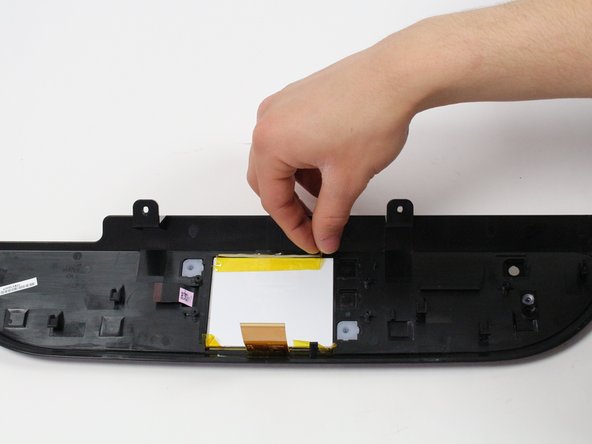
Lift the panel up and turn it over to reveal the green micro-controller board underneath.
-
-
To reassemble your device, follow these instructions in reverse order.
Cancelar: não concluí este guia.
Uma outra pessoa concluiu este guia.


