Ir para o conteúdo principal

HP Envy 4520 LCD Screen Replacement

O que você precisa

  1. HP Envy 4520 LCD Screen  Replacement, LCD Screen: passo 1, imagem 1 %32 HP Envy 4520 LCD Screen  Replacement, LCD Screen: passo 1, imagem 2 %32
    • Lift the scanner bed.

  2. HP Envy 4520 LCD Screen  Replacement: passo 2, imagem 1 %32 HP Envy 4520 LCD Screen  Replacement: passo 2, imagem 2 %32
    • Remove the T10, 13 mm center screw.

  3. HP Envy 4520 LCD Screen  Replacement: passo 3, imagem 1 %32 HP Envy 4520 LCD Screen  Replacement: passo 3, imagem 2 %32 HP Envy 4520 LCD Screen  Replacement: passo 3, imagem 3 %32
    • Slide the front panel to the right, then lift the front panel upwards.

  4. HP Envy 4520 LCD Screen  Replacement: passo 4, imagem 1 %32 HP Envy 4520 LCD Screen  Replacement: passo 4, imagem 2 %32 HP Envy 4520 LCD Screen  Replacement: passo 4, imagem 3 %32
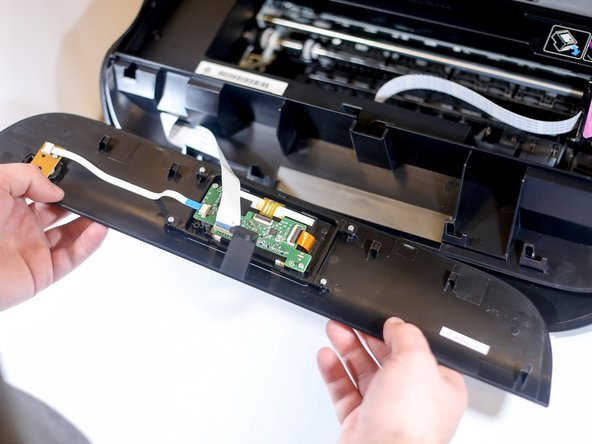
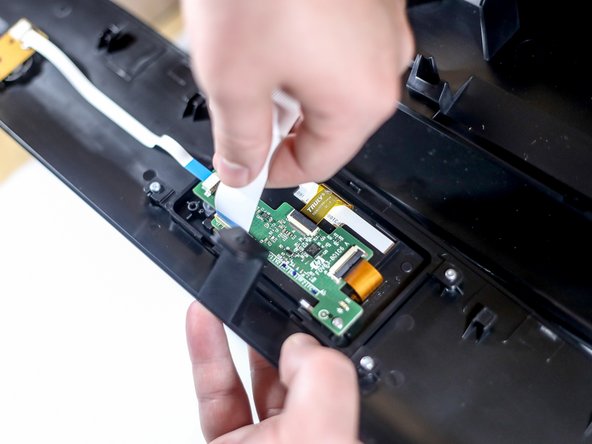
    • Remove the large flat ribbon cable by pinching the top and bottom of the cable between thumb and index finger and pulling away from the mother board.

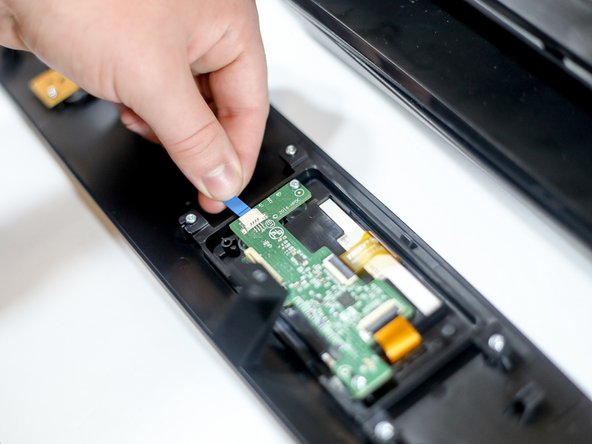
    • Remove the small flat ribbon cable by pinching the top and bottom of the cable between thumb and index finger and pulling away from the mother board.

  5. HP Envy 4520 LCD Screen  Replacement: passo 5, imagem 1 %32 HP Envy 4520 LCD Screen  Replacement: passo 5, imagem 2 %32 HP Envy 4520 LCD Screen  Replacement: passo 5, imagem 3 %32
    • Remove the four T6, 7 mm mounting screws.

    • Remove the LCD screen out of the plastic housing.

Conclusão

To reassemble your device, follow these instructions in reverse order.

Uma outra pessoa concluiu este guia.

0 comentários

Adicione um comentário

Exibir estatísticas:

Últimas 24 horas: 1

Últimos 7 dias: 7

Últimos 30 dias: 42

Duração total: 1,456