Ir para o conteúdo principal

HP Deskjet D1660 Power Button Replacement

O que você precisa

  1. HP Deskjet D1660 Power Button Replacement, Top Cover: passo 1, imagem 1 %32
    • Remove the back two 14.0 mm Torx #10 screws.

  2. HP Deskjet D1660 Power Button Replacement: passo 2, imagem 1 %32
    • Lay the printer on its back.

    • Grab the paper tray by its right side and pull it to the left and up.

  3. HP Deskjet D1660 Power Button Replacement: passo 3, imagem 1 %32
    • Open the frontal access panel by lifting it from the top.

    • Similar to the paper tray, grab it from the right side and pull it to the left and up.

  4. HP Deskjet D1660 Power Button Replacement: passo 4, imagem 1 %32 HP Deskjet D1660 Power Button Replacement: passo 4, imagem 2 %32 HP Deskjet D1660 Power Button Replacement: passo 4, imagem 3 %32
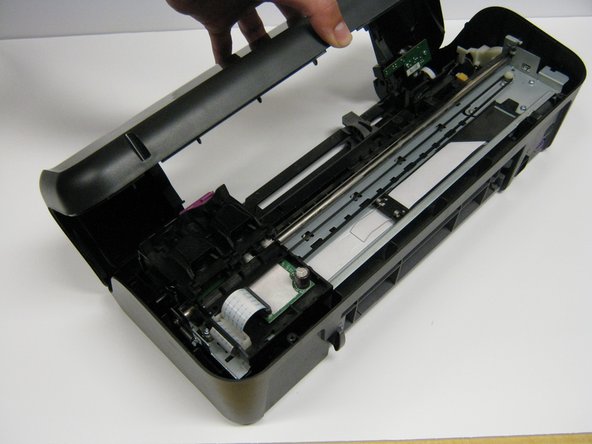
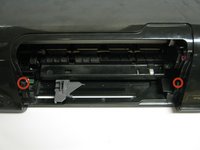
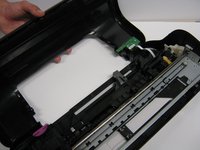
    • Take out the two frontal 14.0 mm Torx #10 screws.

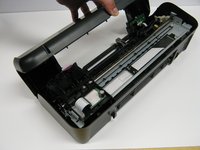
    • Carefully lift the frontal cover.

    • Don't lift it up aggressively. A strip will be attached to it.

  5. HP Deskjet D1660 Power Button Replacement, Power Button: passo 5, imagem 1 %32
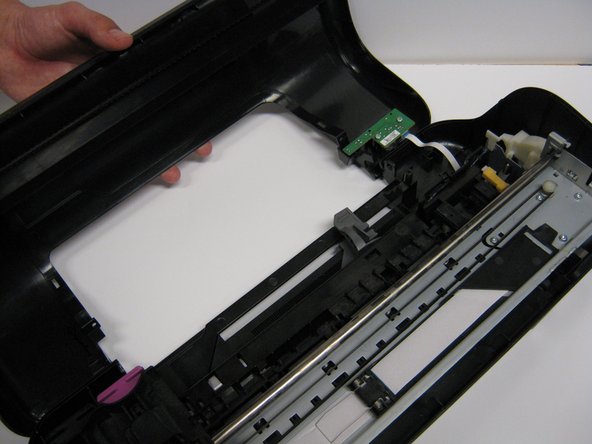
    • Remove the strip that connects the printer to the front cover.

  6. HP Deskjet D1660 Power Button Replacement: passo 6, imagem 1 %32 HP Deskjet D1660 Power Button Replacement: passo 6, imagem 2 %32
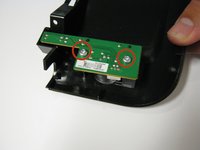
    • Remove the two 13.0 mm Torx #10 screws.

    • Carefully lift it up. The button will be located under it.

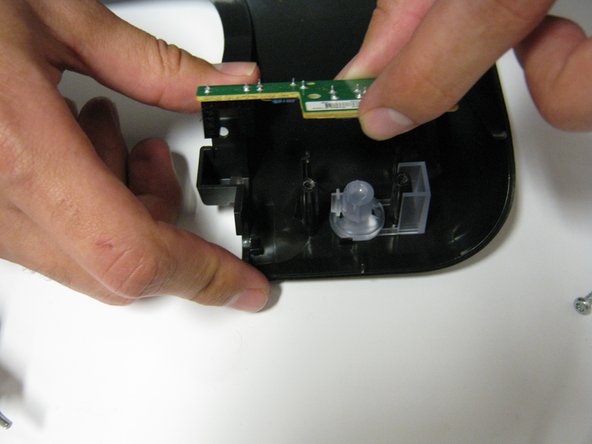
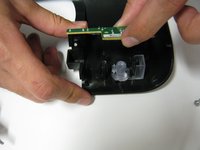
  7. HP Deskjet D1660 Power Button Replacement: passo 7, imagem 1 %32
    • Lift up the power button.

Conclusão

To reassemble your device, follow these instructions in reverse order.

Uma outra pessoa concluiu este guia.

Equipe

Cal Poly, Team 1-41, Maness Winter 2014 Membro de Cal Poly, Team 1-41, Maness Winter 2014

CPSU-MANESS-W14S1G41

Membros da 4

Autoria de 14 guias

0 comentários

Adicione um comentário

Exibir estatísticas:

Últimas 24 horas: 0

Últimos 7 dias: 1

Últimos 30 dias: 3

Duração total: 959