Ir para o conteúdo principal
Participe da comunidade de reparos - Criar conta

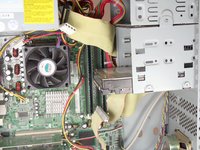
HP Compaq dx2000MT RAM Replacement

O que você precisa

  1. HP Compaq dx2000MT RAM Replacement, Removing the HP Compaq dx2000MT Case Doors: passo 1, imagem 1 %32
    • Turn off your computer and remove the power cable by pulling it straight out of its socket.

    Pergunte ao FixBot
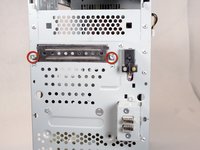
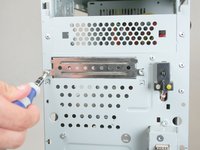
  2. HP Compaq dx2000MT RAM Replacement: passo 2, imagem 1 %32 HP Compaq dx2000MT RAM Replacement: passo 2, imagem 2 %32
    • Remove the two Phillips #2 screws that secure the case door to the device.

    Pergunte ao FixBot
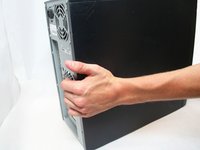
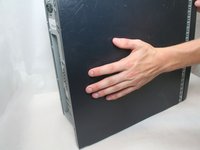
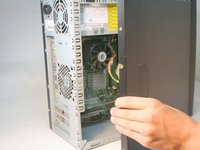
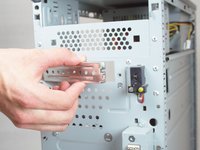
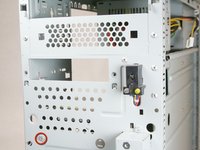
  3. HP Compaq dx2000MT RAM Replacement: passo 3, imagem 1 %32 HP Compaq dx2000MT RAM Replacement: passo 3, imagem 2 %32 HP Compaq dx2000MT RAM Replacement: passo 3, imagem 3 %32
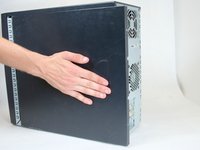
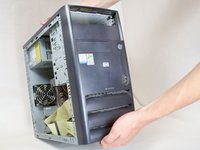
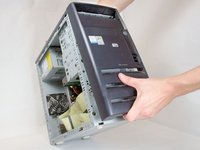
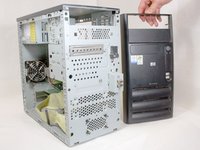
    • Remove the side case door by pushing towards the rear of the device with your hand.

    • This may take considerable force so keep pushing!

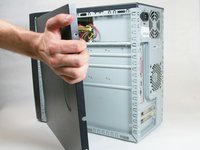
    • Once you slide the door back, remove it by pulling it outwards from the device.

    Pergunte ao FixBot
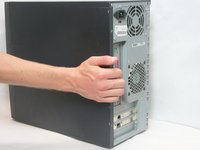
  4. HP Compaq dx2000MT RAM Replacement: passo 4, imagem 1 %32 HP Compaq dx2000MT RAM Replacement: passo 4, imagem 2 %32 HP Compaq dx2000MT RAM Replacement: passo 4, imagem 3 %32
    • Remove the side case door by pushing towards the rear of the device with your hand.

    • Once again, this may take considerable force.

    • Once you slide the door back, remove it by pulling it outwards from the device.

    Pergunte ao FixBot
  5. HP Compaq dx2000MT RAM Replacement, Disassembling HP Compaq dx2000MT Hard Drive: passo 5, imagem 1 %32 HP Compaq dx2000MT RAM Replacement, Disassembling HP Compaq dx2000MT Hard Drive: passo 5, imagem 2 %32 HP Compaq dx2000MT RAM Replacement, Disassembling HP Compaq dx2000MT Hard Drive: passo 5, imagem 3 %32
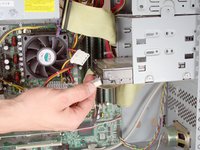
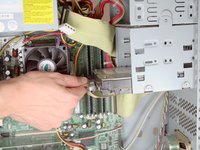
    • Remove the IDE data and power cables from the hard drive.

    Pergunte ao FixBot
  6. HP Compaq dx2000MT RAM Replacement: passo 6, imagem 1 %32 HP Compaq dx2000MT RAM Replacement: passo 6, imagem 2 %32 HP Compaq dx2000MT RAM Replacement: passo 6, imagem 3 %32
    • Remove the front bezel by pulling upwards and out from below the lowest air vent.

    Pergunte ao FixBot
  7. HP Compaq dx2000MT RAM Replacement: passo 7, imagem 1 %32 HP Compaq dx2000MT RAM Replacement: passo 7, imagem 2 %32 HP Compaq dx2000MT RAM Replacement: passo 7, imagem 3 %32
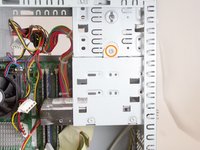
    • Remove the external drive faceplate by removing the two Torx T15 screws.

    Pergunte ao FixBot
  8. HP Compaq dx2000MT RAM Replacement: passo 8, imagem 1 %32 HP Compaq dx2000MT RAM Replacement: passo 8, imagem 2 %32
    • Remove the following screws:

    • Front Torx T15.

    • Torx T15 mounting the hard drive cage to the optical drive bay.

    Pergunte ao FixBot
  9. HP Compaq dx2000MT RAM Replacement: passo 9, imagem 1 %32 HP Compaq dx2000MT RAM Replacement: passo 9, imagem 2 %32 HP Compaq dx2000MT RAM Replacement: passo 9, imagem 3 %32
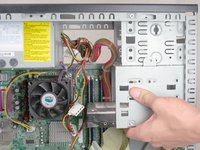
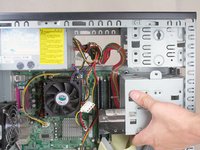
    • Fully remove the hard drive cage by sliding it towards the back of the device and pulling down.

    Pergunte ao FixBot
  10. HP Compaq dx2000MT RAM Replacement: passo 10, imagem 1 %32 HP Compaq dx2000MT RAM Replacement: passo 10, imagem 2 %32 HP Compaq dx2000MT RAM Replacement: passo 10, imagem 3 %32
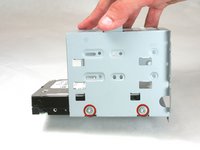
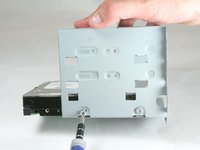
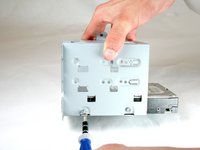
    • Remove the two Torx T15 screws holding this side of the hard drive in place.

    Pergunte ao FixBot
  11. HP Compaq dx2000MT RAM Replacement: passo 11, imagem 1 %32 HP Compaq dx2000MT RAM Replacement: passo 11, imagem 2 %32 HP Compaq dx2000MT RAM Replacement: passo 11, imagem 3 %32
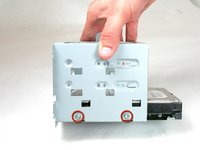
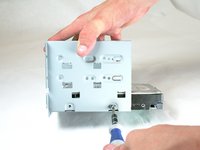
    • Proceed to the other side of the hard drive cage.

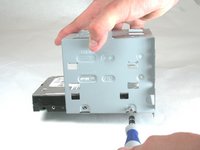
    • Remove the two Torx T15 screws holding this side of the hard drive in place.

    Pergunte ao FixBot
  12. HP Compaq dx2000MT RAM Replacement: passo 12, imagem 1 %32 HP Compaq dx2000MT RAM Replacement: passo 12, imagem 2 %32
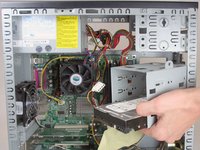
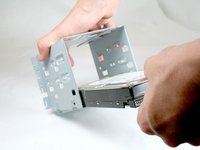
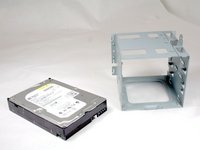
    • Remove the hard drive from the hard drive cage by pulling it outward from the cage.

    Pergunte ao FixBot
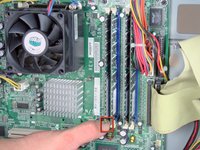
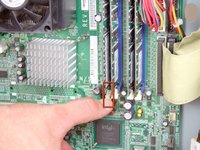
  13. HP Compaq dx2000MT RAM Replacement, RAM: passo 13, imagem 1 %32 HP Compaq dx2000MT RAM Replacement, RAM: passo 13, imagem 2 %32
    • Release the lower portion of the RAM by pushing down on the bottom tab.

    Pergunte ao FixBot
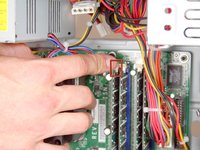
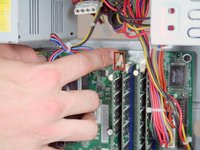
  14. HP Compaq dx2000MT RAM Replacement: passo 14, imagem 1 %32 HP Compaq dx2000MT RAM Replacement: passo 14, imagem 2 %32
    • Release the upper portion of the RAM by pushing down on the upper tab.

    Pergunte ao FixBot
  15. HP Compaq dx2000MT RAM Replacement: passo 15, imagem 1 %32 HP Compaq dx2000MT RAM Replacement: passo 15, imagem 2 %32 HP Compaq dx2000MT RAM Replacement: passo 15, imagem 3 %32
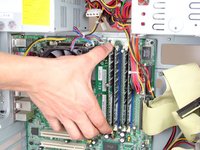
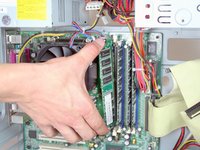
    • Remove the RAM by pulling it out towards the side of the device

    • Be careful about touching the top (right) and bottom (left)sides of the RAM! The static electricity in your fingers could short it. If you can, only touch the top and bottom of the RAM.

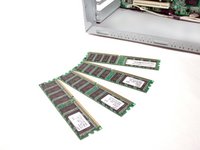
    • If replacing RAM, make sure it is the right type, speed, and size for your computer. Otherwise the RAM may not fit or your computer may not start up.

    Pergunte ao FixBot
Conclusão

To reassemble your device, follow these instructions in reverse order.

Uma outra pessoa concluiu este guia.

Logan Pace

Membro desde: 10/12/11

2.390 Reputação

Autoria de 9 guias

Equipe

Cal Poly, Team 17-16, Regan Fall 2011 Membro de Cal Poly, Team 17-16, Regan Fall 2011

CPSU-REGAN-F11S17G16

4 Membros

Autoria de 17 guias

0Comentários do guia

Comentar

Visualizações:

Últimas 24 horas: 4

Últimos 7 dias: 18

Últimos 30 dias: 93

Ao todo: 5,195