Ir para o conteúdo principal

HP 17-x116dx RAM Replacement

O que você precisa

  1. HP 17-x116dx RAM Replacement, RAM: passo 1, imagem 1 %32 HP 17-x116dx RAM Replacement, RAM: passo 1, imagem 2 %32
    • Turn off your computer before starting, and remove the battery.

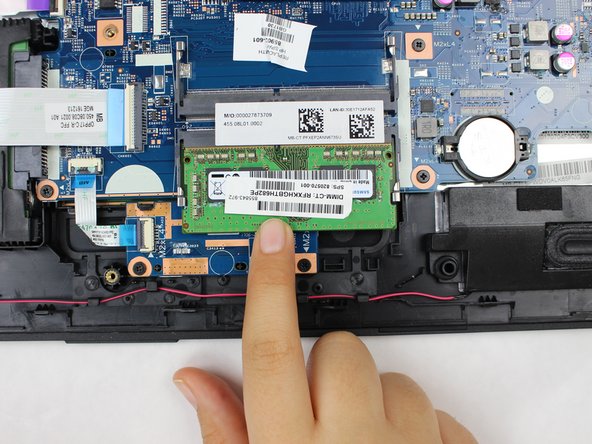
    • Locate all 8mm screws on the back of the computer and remove them with the Phillips #1 screwdriver.

  2. HP 17-x116dx RAM Replacement: passo 2, imagem 1 %32 HP 17-x116dx RAM Replacement: passo 2, imagem 2 %32 HP 17-x116dx RAM Replacement: passo 2, imagem 3 %32
    • Remove the optical drive by pushing it in and then it will pop out.

  3. HP 17-x116dx RAM Replacement: passo 3, imagem 1 %32 HP 17-x116dx RAM Replacement: passo 3, imagem 2 %32 HP 17-x116dx RAM Replacement: passo 3, imagem 3 %32
    • Use a spudger to remove the back panel.

  4. HP 17-x116dx RAM Replacement: passo 4, imagem 1 %32 HP 17-x116dx RAM Replacement: passo 4, imagem 2 %32 HP 17-x116dx RAM Replacement: passo 4, imagem 3 %32
    • Once you remove the back panel, locate the RAM.

    • Use your fingernails to release the clips holding the memory by pulling them away from the RAM.

  5. HP 17-x116dx RAM Replacement: passo 5, imagem 1 %32 HP 17-x116dx RAM Replacement: passo 5, imagem 2 %32
    • The RAM will pop out, and you can remove it.

Conclusão

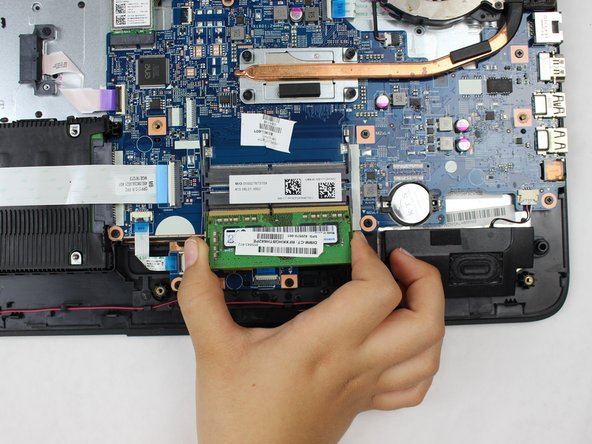
To reassemble your device, follow these instructions in reverse order.

4 outras pessoas executaram este guia.

Sarah Coral

Membro desde: 03/22/18

346 Reputação

Autoria de 2 guias

Equipe

0 comentários

Adicione um comentário

Exibir estatísticas:

Últimas 24 horas: 0

Últimos 7 dias: 2

Últimos 30 dias: 8

Duração total: 2,371