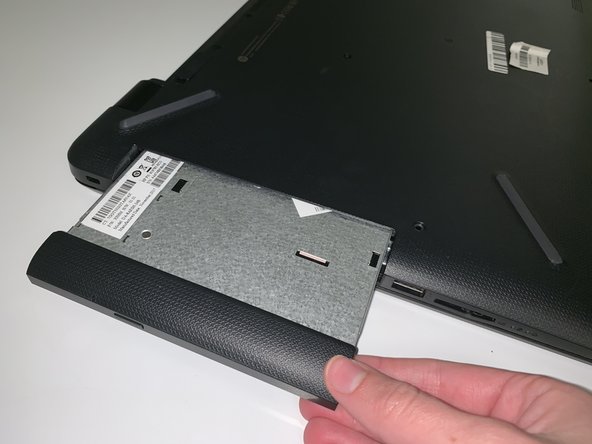
Ir para o conteúdo principal

HP 17-bs049dx Back Panel Replacement

O que você precisa

  1. HP 17-bs049dx Back Panel Replacement, Battery: passo 1, imagem 1 %32
    • To remove the battery, simply push the tabs towards each other.

    • The battery will come out with force, be sure to keep anything fragile away from the laptop during this process.

  2. HP 17-bs049dx Back Panel Replacement, Back Panel: passo 2, imagem 1 %32
    • Remove the four screws (13.7mm) with a Phillips #0 screwdriver.

    • Be sure to lift all four rubber tabs to access screws (7.51mm) underneath.

    • Rubber tabs will require force to access screws.

  3. HP 17-bs049dx Back Panel Replacement: passo 3, imagem 1 %32
    • Use the Philips 0 screwdriver to unscrew the screws (7.51mm) that were underneath the battery.

  4. HP 17-bs049dx Back Panel Replacement: passo 4, imagem 1 %32 HP 17-bs049dx Back Panel Replacement: passo 4, imagem 2 %32
    • Pull outwards on the disk reader to remove from main frame.

    • This removal will require force.

    • All screws must be removed before removing disk reader.

  5. HP 17-bs049dx Back Panel Replacement: passo 5, imagem 1 %32
    • Lift back panel to access internal components.

    • You will need to use force to pry it open.

Conclusão

To reassemble your device, follow these instructions in reverse order.

5 outras pessoas executaram este guia.

0 comentários

Adicione um comentário

Exibir estatísticas:

Últimas 24 horas: 0

Últimos 7 dias: 7

Últimos 30 dias: 10

Duração total: 1,496