Introdução
If your HMDX Chill is having any kind of issue this guide will show how to disassemble the device in order to begin the process of fixing your issues.
O que você precisa
-
-
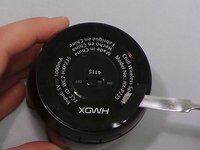
Insert a metal spudger under the rubber base.
-
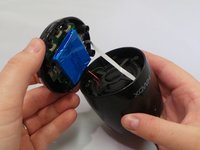
Pry the rubber base off.
 Pergunte ao FixBot
-
-
-
-
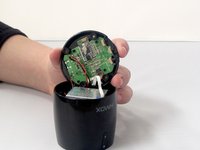
Use a Phillips #1 screwdriver to remove four 9 mm screws from the base of the device.
-


To reassemble your device, follow these instructions in reverse order.
Cancelar: não concluí este guia.
Uma outra pessoa concluiu este guia.
Equipe

1Comentário do guia
I have jam zero chill. One year old. Very very little use. Maybe 3 to 4 hours total.
Plug in to charge red light comes on solid and goes out in couple of hours. Then light flashes red and zero chill will not connect.
Thank you