Introdução
The fans in Greenworks Pro 80v battery chargers tend to have issues with failing bearings after a few seasons, leading them to become noisy and move less air than originally intended. Fortunately, the fans are fairly common commodity items, and the replacement of both fans takes less than 5 minutes per charger with the proper tools.
O que você precisa
-
-
The feet can be difficult to remove at times as they are made with very stiff rubber. A metal pry tool or wide flat-head screwdriver is helpful
-
The screws have a T20 Torx head on them. All 4 screws are identical
-
-
-
Lift the green top of the unit, starting at the long side away from the plug
-
After opening half-way you will need to disconnect the top LED from the board
-
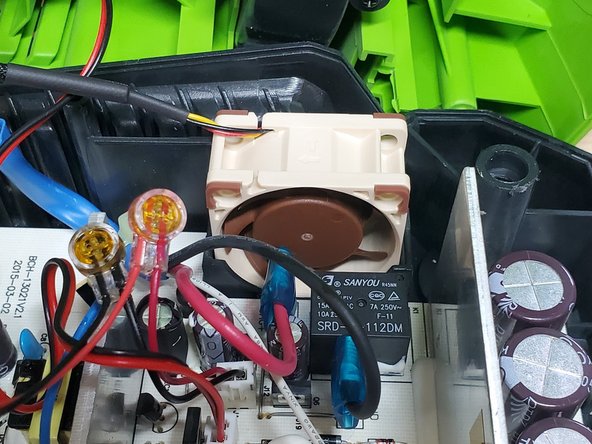
Once fully open you should see the two existing fans connected to the board
-
This is a good opportunity to blow out any cobwebs or debris in the charger
-
-
-
-
Remove the single T15H screw holding the fan
-
To remove the fan, pivot it counterclockwise to disconnect it from the housing and then lift it off the pin on the bottom left
-
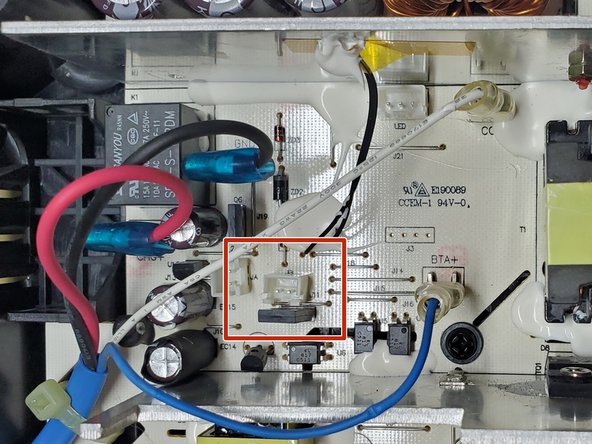
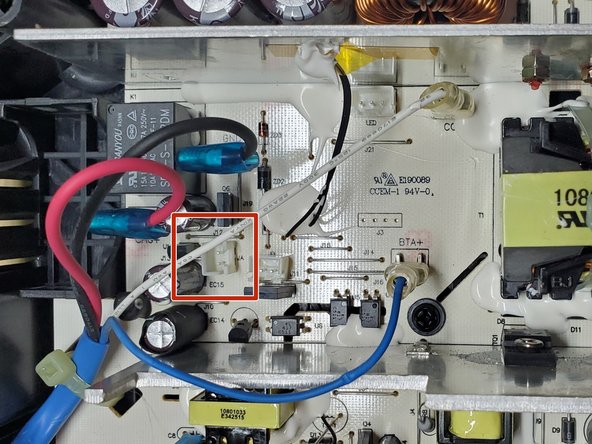
The blower fan is connected to the right 2-pin connector labeled JB
-
-
-
The case fan does not have any screws holding it in place
-
The case fan connects to the left 2-pin power connector labelled JA
-
-
-
Reassembly is the reverse of disassembly
-
Tuck any excess fan wire to the left side of the board, ensuring it won't interfere with the case fan
-
Don't forget to re-connect the 3-pin LED cable to the board during reassembly
-


Reassembly is the reverse of disassembly.
Reassembly is the reverse of disassembly.
Cancelar: não concluí este guia.
3 outras pessoas executaram este guia.
