Introdução
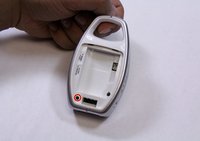
Use this guide to replace the speaker on your Graco Secure Coverage Digital Baby Monitor for parent unit.
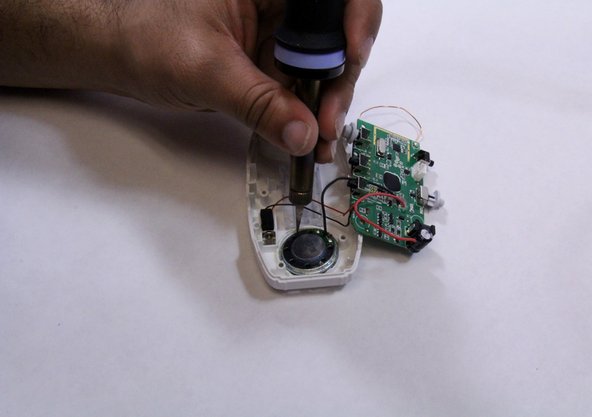
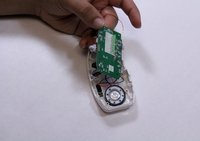
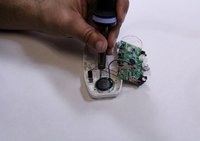
The speaker replacement includes the speaker and battery replacement.
O que você precisa
-
-
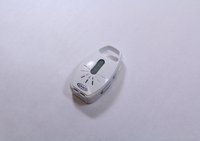
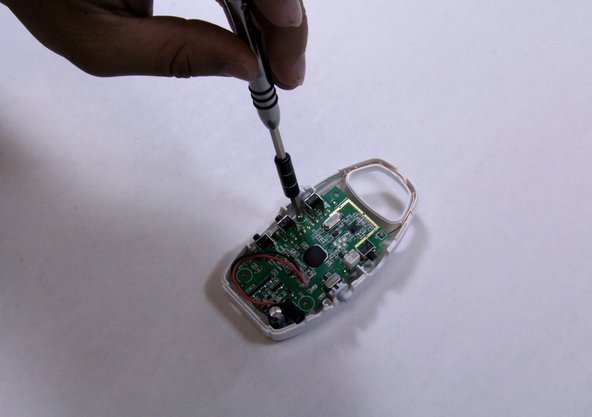
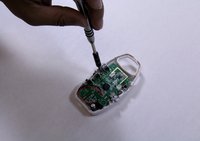
There are two screws on the rare case of the device. For the one shown in red marker requires either an extended screwdriver or putting on a little pressure on a regular screwdriver.
-
Remove the two 9mm Phillips #1 screws from the rare case of the device.
-
-


Conclusão
To reassemble your device, follow these instructions in reverse order.
Equipe

USF Tampa, Team 6-5, Remmell Fall 2015 Membro de USF Tampa, Team 6-5, Remmell Fall 2015
USFT-REMMELL-F15S6G5
4 Membros
Autoria de 8 guias