Ir para o conteúdo principal

General Wire Drain Cleaner RSVD 2014 Cable Replacement

O que você precisa

  1. General Wire Drain Cleaner RSVD 2014 Cable Replacement, Remove the cable end cover: passo 1, imagem 1 %32 General Wire Drain Cleaner RSVD 2014 Cable Replacement, Remove the cable end cover: passo 1, imagem 2 %32
    • Turn off the drain cleaner and disconnect it from power before beginning any maintenance.

    • Slide the rubber cable cover off of the end of the cable.

  2. General Wire Drain Cleaner RSVD 2014 Cable Replacement, Loosen the front assembly screws: passo 2, imagem 1 %32
    • Use a flathead screwdriver to loosen the three screws around the edge of the front assembly.

  3. General Wire Drain Cleaner RSVD 2014 Cable Replacement, Remove the front assembly: passo 3, imagem 1 %32 General Wire Drain Cleaner RSVD 2014 Cable Replacement, Remove the front assembly: passo 3, imagem 2 %32 General Wire Drain Cleaner RSVD 2014 Cable Replacement, Remove the front assembly: passo 3, imagem 3 %32
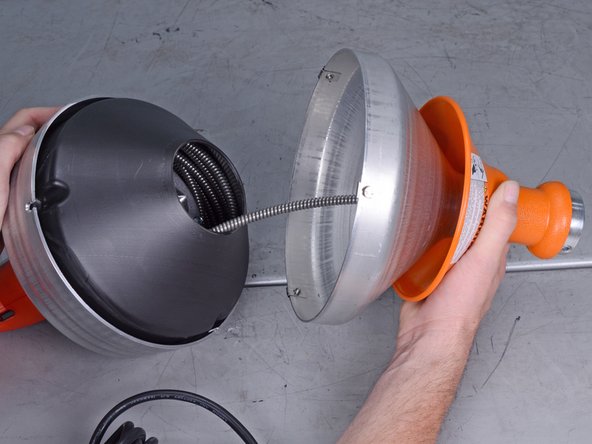
    • Pull the front assembly off of the drain cleaner and slide it over the cable to remove it.

    • During reassembly, make sure the three screws on the front assembly line up with the slots on both the metal cable container back and the plastic cable container.

  4. General Wire Drain Cleaner RSVD 2014 Cable Replacement, Remove the cable container: passo 4, imagem 1 %32 General Wire Drain Cleaner RSVD 2014 Cable Replacement, Remove the cable container: passo 4, imagem 2 %32
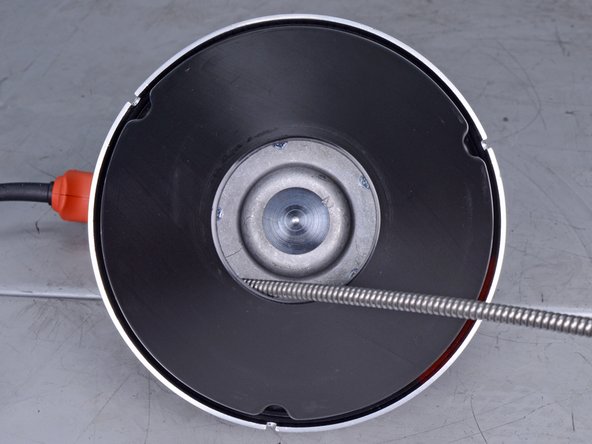
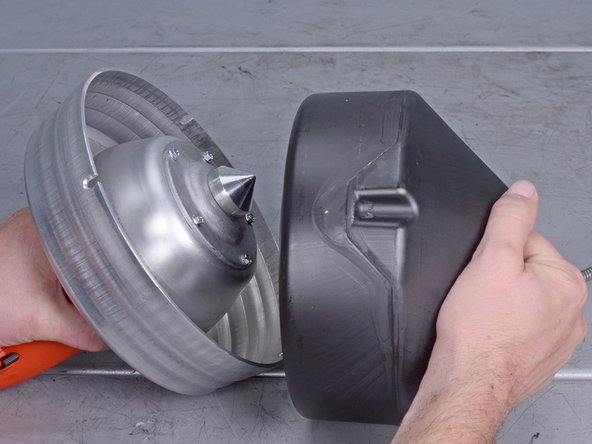
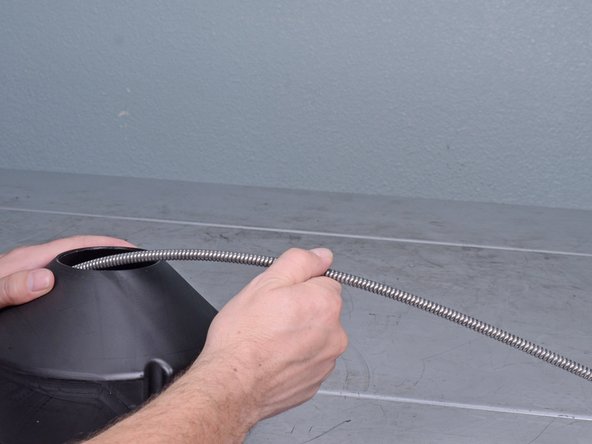
    • Slide the plastic cable container out of the metal container back.

  5. General Wire Drain Cleaner RSVD 2014 Cable Replacement, Remove the cable: passo 5, imagem 1 %32 General Wire Drain Cleaner RSVD 2014 Cable Replacement, Remove the cable: passo 5, imagem 2 %32 General Wire Drain Cleaner RSVD 2014 Cable Replacement, Remove the cable: passo 5, imagem 3 %32
    • Pull the cable out of the plastic cable container.

    • During reassembly, make sure to insert the end of the cable with the hook (as shown in the third photo) first, then coil the rest of the cable into the container in a counter-clockwise fashion.

Conclusão

To reassemble your device, follow these instructions in reverse order.

4 outras pessoas executaram este guia.

Adam O'Camb

Membro desde: 04/11/15

195.318 Reputação

Autoria de 416 guias

0 comentários

Adicione um comentário

Exibir estatísticas:

Últimas 24 horas: 7

Últimos 7 dias: 17

Últimos 30 dias: 83

Duração total: 2,430