Esta versão pode conter edições incorretas. Mude para o último instantâneo verificado.
O que você precisa
-
Este passo não foi traduzido. Ajude a traduzi-lo
-
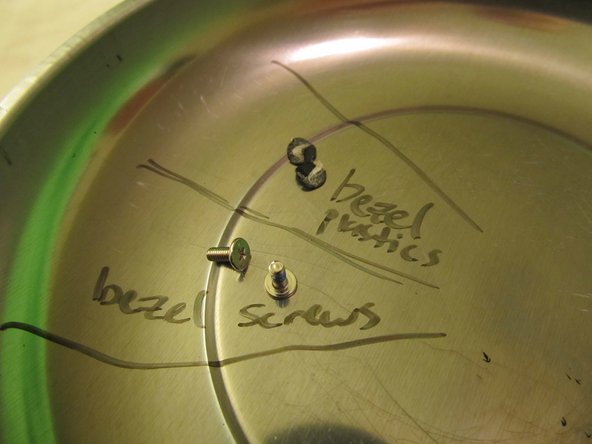
Here is your arsenal of tools. Credit Card, Small flat heat screwdriver, small phillips screwdriver, and a magnet bowl for keep track of screws (you can use the stick side of duct tape or sticky notes).
-
-
Este passo não foi traduzido. Ajude a traduzi-lo
-
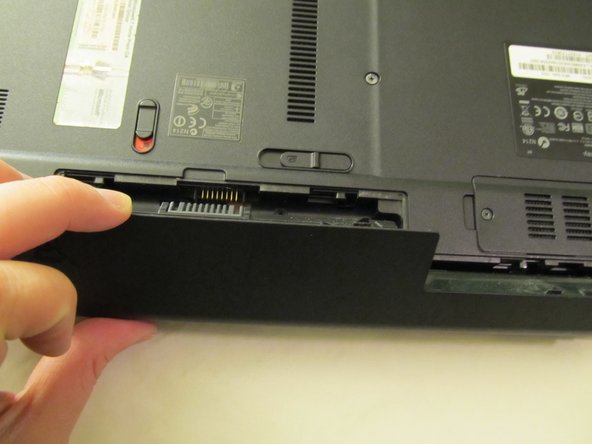
Remove the battery by sliding the clips to "unlocked."
-
-
Este passo não foi traduzido. Ajude a traduzi-lo
-
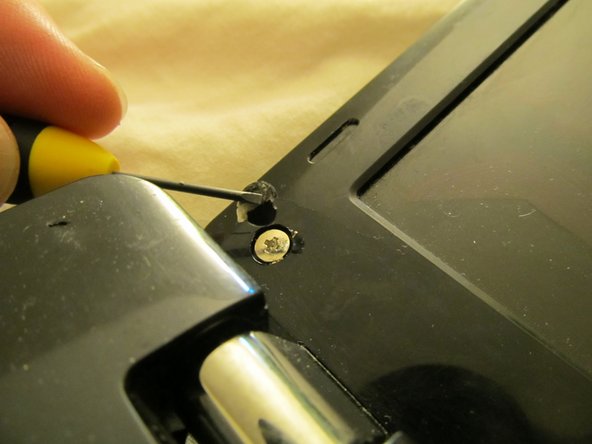
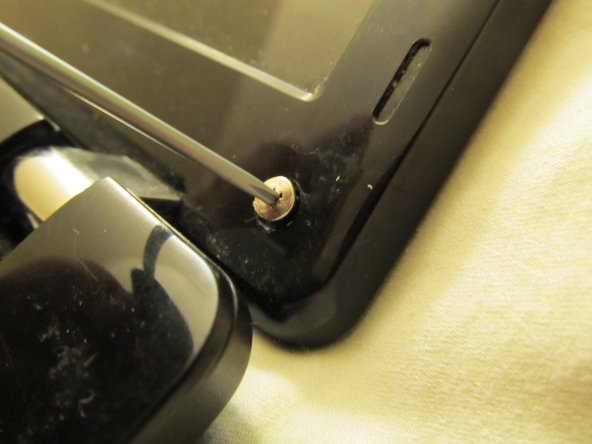
Remove the plastic covers that are on top of the screws you're after.
-
Once the plastics are off, remove the two screws (one in the bottom left, one in the bottom right).
-
-
-
Este passo não foi traduzido. Ajude a traduzi-lo
-
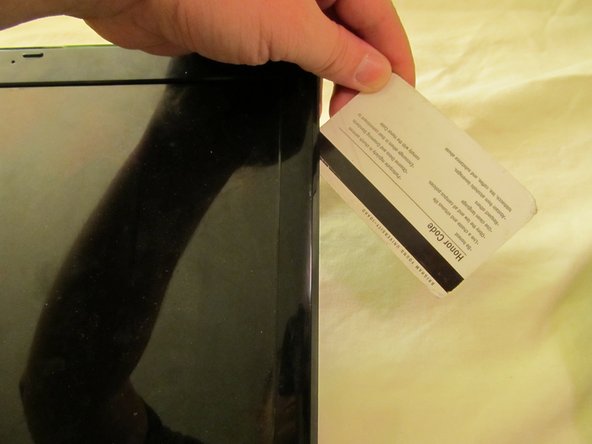
Slide a credit card along the edges of the bezel to lift the bezel away from the LCD.
-
-
Este passo não foi traduzido. Ajude a traduzi-lo
-
Lean the screen all the way into the open position, and get your small flatheat screwdriver into the circular opening that is the hinge.
-
Pry upwards gently until the hinge portion of the bezel comes off, allowing you to remove the bezel completely.
-
-
Este passo não foi traduzido. Ajude a traduzi-lo
-
Remove the front bezel. (I'll leave it there as long as I can throughout the rest of the tutorial to demonstrate where it used to be)
-
Remove the corner screws at the top of the LCD. These screws secure the LCD metal-brackets.
-
-
Este passo não foi traduzido. Ajude a traduzi-lo
-
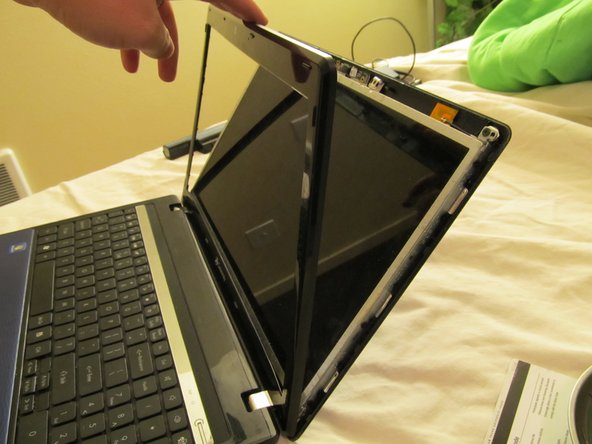
Because we're not removing the top half of the computer from the bottom half, you'll need some temporary fancy-footwork here:
-
Pull back on the LCD enough to the point that you can unscrew all 3 screws from the right side, as well as the 3 screws from the left side.
-
-
Este passo não foi traduzido. Ajude a traduzi-lo
-
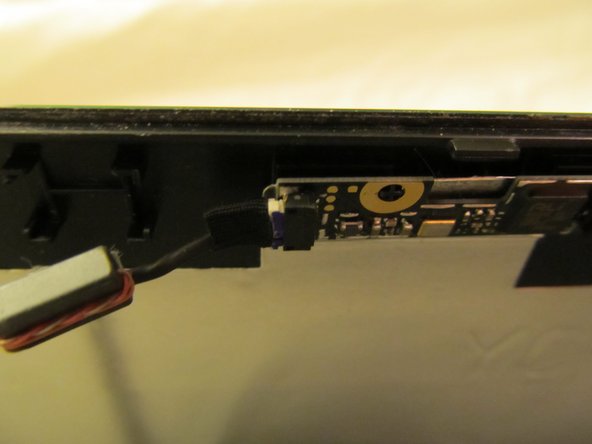
Before lying the LCD flat on it's face, we must disconnect the webcam cable located in the dead-center of this photo. A gentle tug will do.
-
Now that the LCD is free from the webcam, lie it down on its face. DO NOT attempt to remove it yet. The LCD ribbon cable is still connected.
-
-
Este passo não foi traduzido. Ajude a traduzi-lo
-
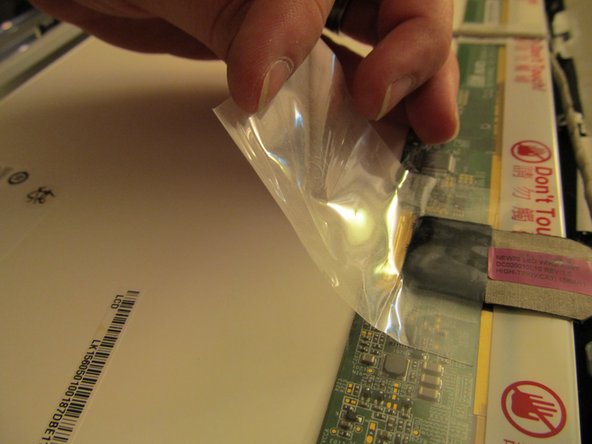
Gently pull the tape off the LCD back.
-
Once enough tape has been removed, you'll be able to pull backwards on the ribbon cable to release it. Nothing holds this in place but tape, so be sure to suture it back up with your new LCD using the same tape.
-
-
Este passo não foi traduzido. Ajude a traduzi-lo
-
Finally, remove the webcam cable from the back of the old LCD. It's held on by 'spot-tape,' where some points are sticky and others aren't.
-
-
Este passo não foi traduzido. Ajude a traduzi-lo
-
Place your new LCD face-down where your old one used to be, and go backwards through the guide from here.
-


Cancelar: não concluí este guia.
5 outras pessoas executaram este guia.
