Ir para o conteúdo principal

Gateway MA7 Hard Drive Replacement

O que você precisa

  1. Gateway MA7 Hard Drive  Replacement, Hard Drive: passo 1, imagem 1 %32
    • To prevent injury, make sure the laptop is unplugged and off before removing the battery.

    • To unlock the battery slide both switches marked in the picture to the unlocked position, the one on the left marked in pink will need to be held while you remove the battery.

  2. Gateway MA7 Hard Drive  Replacement: passo 2, imagem 1 %32 Gateway MA7 Hard Drive  Replacement: passo 2, imagem 2 %32 Gateway MA7 Hard Drive  Replacement: passo 2, imagem 3 %32
    • Remove the two 6 mm Phillips #0 screws from the back of the hard drive cover.

  3. Gateway MA7 Hard Drive  Replacement: passo 3, imagem 1 %32 Gateway MA7 Hard Drive  Replacement: passo 3, imagem 2 %32 Gateway MA7 Hard Drive  Replacement: passo 3, imagem 3 %32
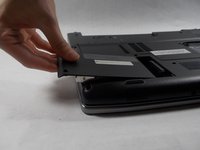
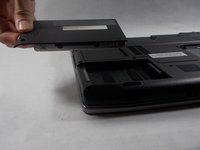
    • Press down firmly on the hard drive and pull leftwards.

  4. Gateway MA7 Hard Drive  Replacement: passo 4, imagem 1 %32 Gateway MA7 Hard Drive  Replacement: passo 4, imagem 2 %32 Gateway MA7 Hard Drive  Replacement: passo 4, imagem 3 %32
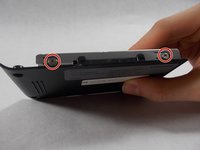
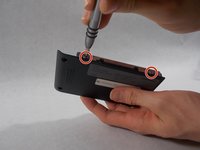
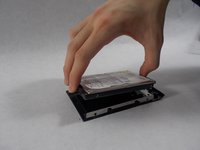
    • Remove two 4 mm Phillips #0 screws from the plastic hard drive cover.

    • Lift the hard drive up from the plastic cover.

Conclusão

To reassemble your device, follow these instructions in reverse order.

De’Andra Clarke

Membro desde: 03/19/18

109 Reputação

Autoria de 1 guia

Equipe

0 comentários

Adicione um comentário

Exibir estatísticas:

Últimas 24 horas: 0

Últimos 7 dias: 2

Últimos 30 dias: 14

Duração total: 1,308