Esta versão pode conter edições incorretas. Mude para o último instantâneo verificado.
O que você precisa
-
Este passo não foi traduzido. Ajude a traduzi-lo
-
At the top of the outer frame, insert the plastic spudger into the groove in the center.
-
Lever the frame gently until it pops out of the case.
-
-
Este passo não foi traduzido. Ajude a traduzi-lo
-
Use a Phillips #00 screwdriver to remove the four screws around the screen.
-
-
Este passo não foi traduzido. Ajude a traduzi-lo
-
Gently pull from both ends of the casing to separate the front and back panels.
-
-
Este passo não foi traduzido. Ajude a traduzi-lo
-
Gently unplug the white cable connector using either your fingers or tweezers.
-
-
-
Este passo não foi traduzido. Ajude a traduzi-lo
-
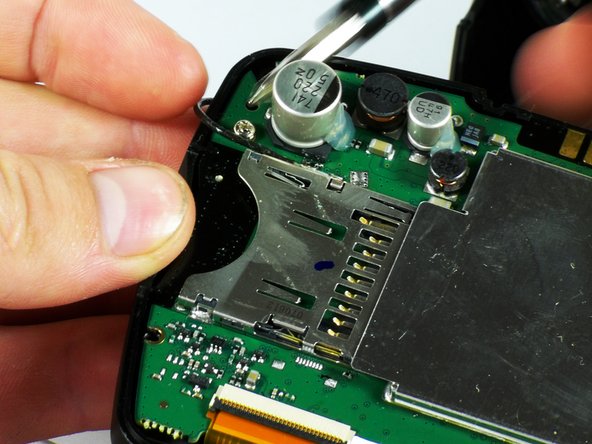
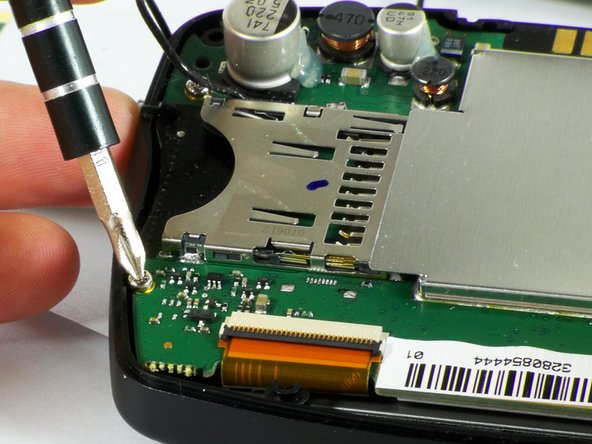
Remove the three screws holding the motherboard in place.
-
-
Este passo não foi traduzido. Ajude a traduzi-lo
-
To remove the ribbon cable, lift the black latch using the spudger tool.
-
Separate the connection using either your fingers, tweezers, or the spudger.
-
-
Este passo não foi traduzido. Ajude a traduzi-lo
-
Slide the spudger under the two flexible tabs located on the right and left sides of the bottom of the screen.
-
Rotate the spudger outward until the tabs are no longer holding the screen.
-
When reassembling, slide the bottom of the screen under the two permanent tabs.
-
Push the screen out from the front.
-


Equipe

Cal Poly, Team 22-1, Maness Fall 2010 Membro de Cal Poly, Team 22-1, Maness Fall 2010
CPSU-MANESS-F10S22G1
Membros da 3
Autoria de 4 guias