Ir para o conteúdo principal

Garmin Nuvi 42LM USB Replacement

O que você precisa

  1. Garmin Nuvi 42LM USB Replacement, Back Cover: passo 1, imagem 1 %32 Garmin Nuvi 42LM USB Replacement, Back Cover: passo 1, imagem 2 %32 Garmin Nuvi 42LM USB Replacement, Back Cover: passo 1, imagem 3 %32
    • Remove the four screws on the back of the GPS using the T5 Torx screwdriver.
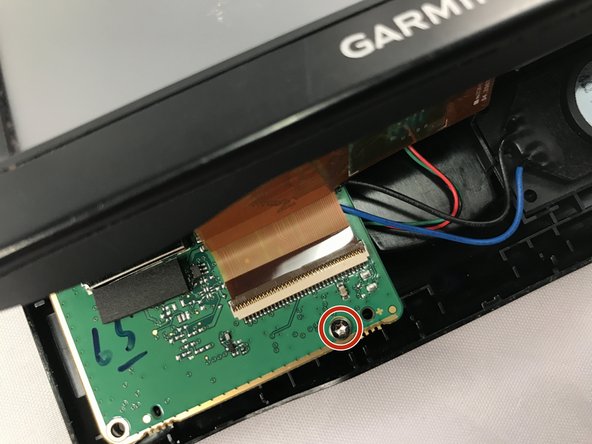
  2. Garmin Nuvi 42LM USB Replacement: passo 2, imagem 1 %32 Garmin Nuvi 42LM USB Replacement: passo 2, imagem 2 %32 Garmin Nuvi 42LM USB Replacement: passo 2, imagem 3 %32
    • Pry the GPS open using a plastic opening tool.

    • When prying open the device, use caution to avoid damaging the motherboard.

  3. Garmin Nuvi 42LM USB Replacement, USB: passo 3, imagem 1 %32 Garmin Nuvi 42LM USB Replacement, USB: passo 3, imagem 2 %32 Garmin Nuvi 42LM USB Replacement, USB: passo 3, imagem 3 %32
    • Using the T5 Torx screwdriver, remove the two screws located on the motherboard.

    • There are two screws - one in the front and one in the back of the motherboard.

  4. Garmin Nuvi 42LM USB Replacement: passo 4, imagem 1 %32
    • Move the motherboard from from its designated location on the GPS.

    • Do not pull on red, green, blue and black cables when repositioning the motherboard.

  5. Garmin Nuvi 42LM USB Replacement: passo 5, imagem 1 %32
Conclusão

To reassemble your device, follow these instructions in reverse order.

Uma outra pessoa concluiu este guia.

0 comentários

Adicione um comentário

Exibir estatísticas:

Últimas 24 horas: 0

Últimos 7 dias: 0

Últimos 30 dias: 2

Duração total: 580