Esta versão pode conter edições incorretas. Mude para o último instantâneo verificado.
O que você precisa
-
Este passo não foi traduzido. Ajude a traduzi-lo
-
Turn your device over so the back is revealed and you can see the screws in the four corners.
-
Remove the four 3mm width by 6mm length T5 Torx screws using your screwdriver.
-
-
Este passo não foi traduzido. Ajude a traduzi-lo
-
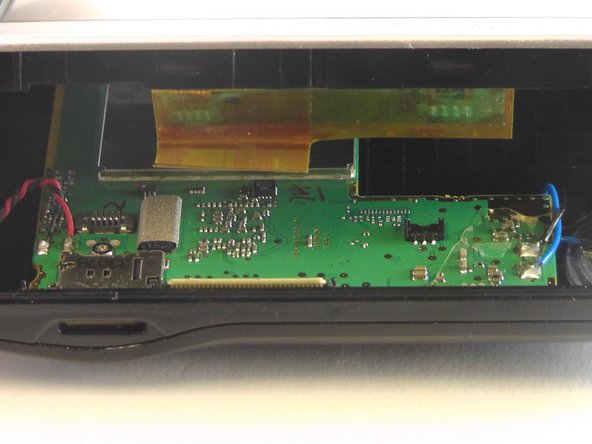
Use the plastic opening tool to pry open the device at the seam where the two halves meet, prying all along all sides if need be.
-
-
-
Este passo não foi traduzido. Ajude a traduzi-lo
-
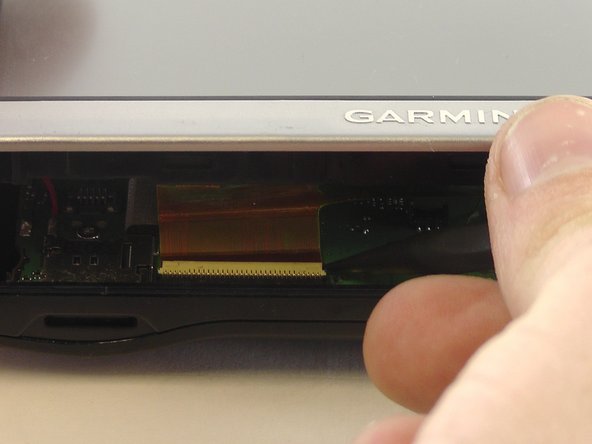
Use your tweezers to flip back the tab of the ZIF (Zero Insertion Force) Connector, that is used to keep the ribbon cable in place.
-
-
Este passo não foi traduzido. Ajude a traduzi-lo
-
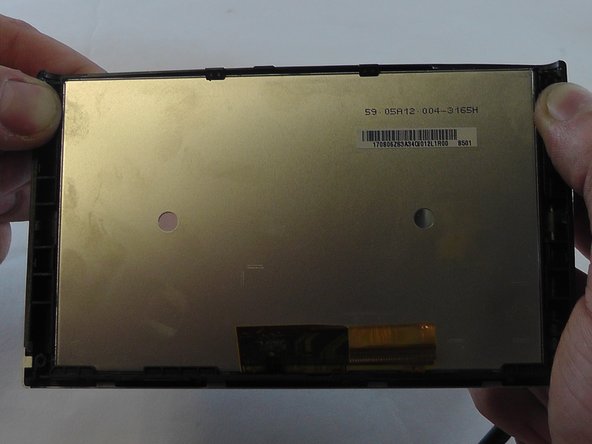
Use your hands to pull back the clips that hold the LCD in place.
-


Cancelar: não concluí este guia.
3 outras pessoas executaram este guia.
Equipe

USF Tampa, Team 1-4, Sullivan Fall 2016 Membro de USF Tampa, Team 1-4, Sullivan Fall 2016
USFT-SULLIVAN-F16S1G4
Membros da 4
Autoria de 5 guias