Ir para o conteúdo principal

Garmin GPSmap 60CSx Keypad Buttons Replacement

O que você precisa

  1. Garmin GPSmap 60CSx Keypad Buttons Replacement, Back Cover and AA Batteries: passo 1, imagem 1 %32
    • Lift and twist the battery cover release 90 degrees counterclockwise on the back of the device.

  2. Garmin GPSmap 60CSx Keypad Buttons Replacement: passo 2, imagem 1 %32
    • Lift battery release up to remove battery cover.

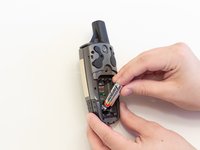
  3. Garmin GPSmap 60CSx Keypad Buttons Replacement: passo 3, imagem 1 %32 Garmin GPSmap 60CSx Keypad Buttons Replacement: passo 3, imagem 2 %32
    • Pull AA batteries out.

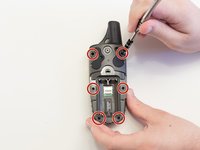
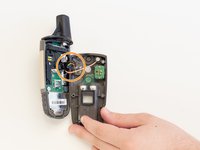
  4. Garmin GPSmap 60CSx Keypad Buttons Replacement, Keypad Buttons: passo 4, imagem 1 %32 Garmin GPSmap 60CSx Keypad Buttons Replacement, Keypad Buttons: passo 4, imagem 2 %32
    • Remove the six 10 mm screws on the back of the device with a Phillips #0 screwdriver.

    • Flip the back panel over to view the green electronics board (the PCB) and the PCB covering.

    • Remove the black, yellow, blue, and red wires connected to the PCB with light force.

  5. Garmin GPSmap 60CSx Keypad Buttons Replacement: passo 5, imagem 1 %32
    • Place the spudger in the bottom right corner of the black PCB cover and pry the corner out.

    • The previous step will need to be done to the other three corners.

    • It is best to do the two bottom corners first.

    • Pull the black PCB board out of the GPSMap 60 CSx.

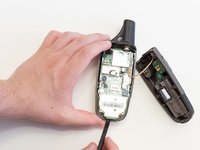
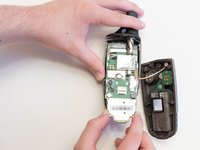
  6. Garmin GPSmap 60CSx Keypad Buttons Replacement: passo 6, imagem 1 %32 Garmin GPSmap 60CSx Keypad Buttons Replacement: passo 6, imagem 2 %32
    • Carefully use a spudger to lift the PCB a few centimeters.

    • Pull the PCB out towards the bottom of the GPSMap 60CSx.

    • This will pull out all the main components including the antenna and the screen.

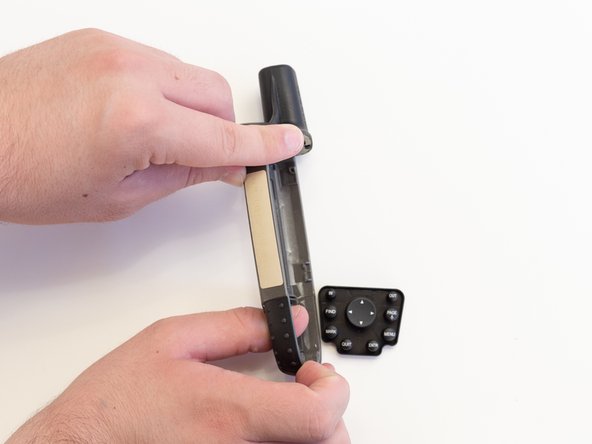
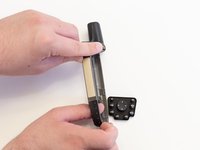
  7. Garmin GPSmap 60CSx Keypad Buttons Replacement: passo 7, imagem 1 %32 Garmin GPSmap 60CSx Keypad Buttons Replacement: passo 7, imagem 2 %32
    • Take the front panel and apply light force to the buttons.

    • The buttons are part of one unit and should all pop out at once.

Conclusão

To reassemble your device, follow these instructions in reverse order.

3 outras pessoas executaram este guia.

0 comentários

Adicione um comentário

Exibir estatísticas:

Últimas 24 horas: 1

Últimos 7 dias: 3

Últimos 30 dias: 19

Duração total: 2,610