Ir para o conteúdo principal

Game Boy Color Front Housing Replacement

O que você precisa

  1. Game Boy Color Front Housing Replacement, Battery: passo 1, imagem 1 %32 Game Boy Color Front Housing Replacement, Battery: passo 1, imagem 2 %32
    • Locate the battery compartment on the back of the Game Boy Color.

    • Push down on the tab and hinge the cover downwards and outwards to remove the battery cover.

  2. Game Boy Color Front Housing Replacement: passo 2, imagem 1 %32
    • Remove the batteries from the battery compartment.

  3. Game Boy Color Front Housing Replacement, Back Housing: passo 3, imagem 1 %32
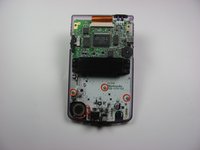
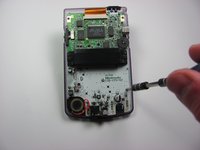
    • Using a Y1 screwdriver, remove the six screws on the back of the device as pictured. The bottom two screws are located inside of the battery compartment.

  4. Game Boy Color Front Housing Replacement: passo 4, imagem 1 %32 Game Boy Color Front Housing Replacement: passo 4, imagem 2 %32
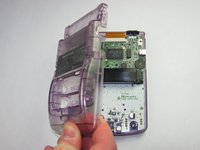
    • Gently lift and separate the back housing from the rest of the device. Now you've got the back housing out!

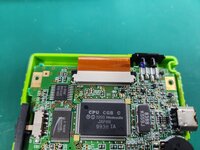
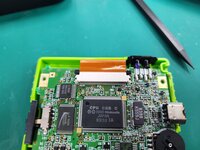
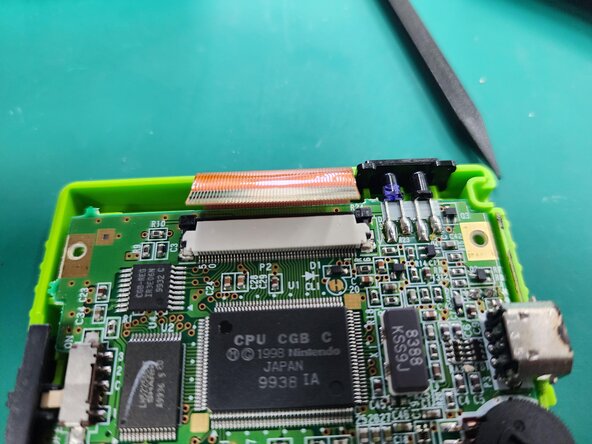
  5. Game Boy Color Front Housing Replacement, LCD Ribbon Cable: passo 5, imagem 1 %32
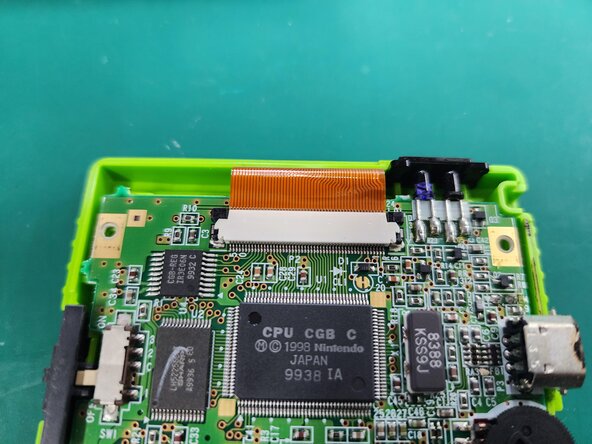
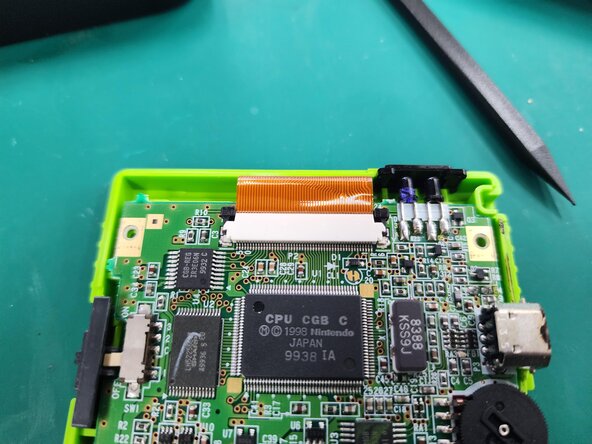
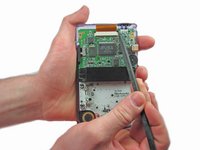
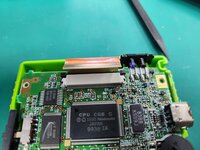
    • Push up on the tabs on either side of the ribbon with a spudger.

  6. Game Boy Color Front Housing Replacement: passo 6, imagem 1 %32
    • Gently remove the ribbon cable from the port

  7. Game Boy Color Front Housing Replacement, Motherboard: passo 7, imagem 1 %32 Game Boy Color Front Housing Replacement, Motherboard: passo 7, imagem 2 %32
    • Using the Phillips #1 screwdriver, remove the 3 screws shown in the picture.

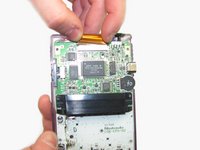
  8. Game Boy Color Front Housing Replacement: passo 8, imagem 1 %32
    • Gently lift the motherboard from the front housing.

  9. Game Boy Color Front Housing Replacement, Buttons: passo 9, imagem 1 %32
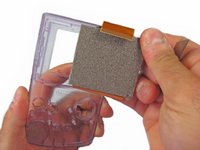
    • Remove the rubber backing on each button grouping.

  10. Game Boy Color Front Housing Replacement: passo 10, imagem 1 %32
    • Remove the original buttons from the housing.

  11. Game Boy Color Front Housing Replacement, LCD Display: passo 11, imagem 1 %32 Game Boy Color Front Housing Replacement, LCD Display: passo 11, imagem 2 %32
    • Gently pry and lift the LCD Display from the front panel.

    • Twisting the front casing may help gain more leverage.

Conclusão

To reassemble your device, follow these instructions in reverse order.

17 outras pessoas executaram este guia.

Angela Yoeurng

Membro desde: 01/18/13

1.662 Reputação

Autoria de 2 guias

Equipe

Cal Poly, Team 19-47, Regan Winter 2013 Membro de Cal Poly, Team 19-47, Regan Winter 2013

CPSU-REGAN-W13S19G47

Membros da 4

Autoria de 56 guias

0 comentários

Adicione um comentário

Exibir estatísticas:

Últimas 24 horas: 2

Últimos 7 dias: 20

Últimos 30 dias: 93

Duração total: 10,818