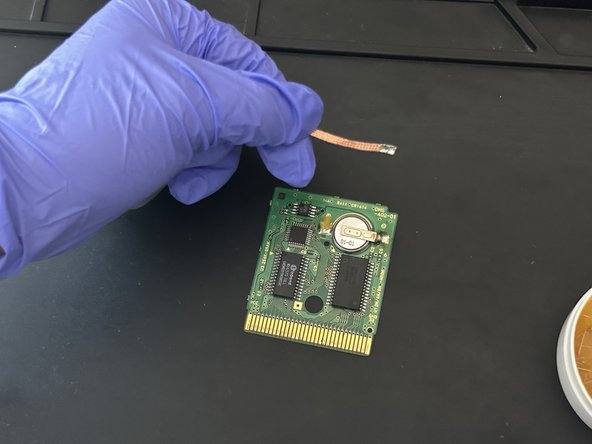
Ir para o conteúdo principal

Game Boy Cartridge Battery Replacement

O que você precisa

  1. Game Boy Cartridge Battery Replacement, Battery: passo 1, imagem 1 %32 Game Boy Cartridge Battery Replacement, Battery: passo 1, imagem 2 %32
    • Use the screwdriver to loosen the screw on the cartridge.

  2. Game Boy Cartridge Battery Replacement: passo 2, imagem 1 %32
    • Switch on your multimeter and select the Voltage (V) mode. Then, test the voltage of the battery in the cartridge.

  3. Game Boy Cartridge Battery Replacement: passo 3, imagem 1 %32
    • Apply some of the flux paste to help desolder the soldered areas on the battery.

  4. Game Boy Cartridge Battery Replacement: passo 4, imagem 1 %32
    • Be careful when handling a fully heated soldering iron, as it can burn you.

    • Use the soldering iron once it heats up fully. Then, heat up the soldered areas with the iron.

  5. Game Boy Cartridge Battery Replacement: passo 5, imagem 1 %32 Game Boy Cartridge Battery Replacement: passo 5, imagem 2 %32
    • Pick up the solder with the desoldering braid.

  6. Game Boy Cartridge Battery Replacement: passo 6, imagem 1 %32
    • Wipe off any excess flux paste.

    • The flux paste can damage the circuit board if not removed completely or spread to other areas on the circuit board.

  7. Game Boy Cartridge Battery Replacement: passo 7, imagem 1 %32 Game Boy Cartridge Battery Replacement: passo 7, imagem 2 %32
    • Make sure to align the battery's positive side where the positive indicator is and the negative side where the negative indicator is.

    • Use the soldering iron and soldering wire to solder both sides of the battery into place.

  8. Game Boy Cartridge Battery Replacement: passo 8, imagem 1 %32
    • Switch on your multimeter and select the Voltage (V) mode. Then, test the voltage of the battery in the cartridge.

    • The battery has to have at least 1.5V. If the multimeter reads a negative value, then most likely, the terminals are placed opposite, so switch them around and check the resulting value once more.

  9. Game Boy Cartridge Battery Replacement: passo 9, imagem 1 %32 Game Boy Cartridge Battery Replacement: passo 9, imagem 2 %32
    • Align the cartridge and the circuit board.

    • Then tighten the screw to secure the cartridge into place.

Conclusão

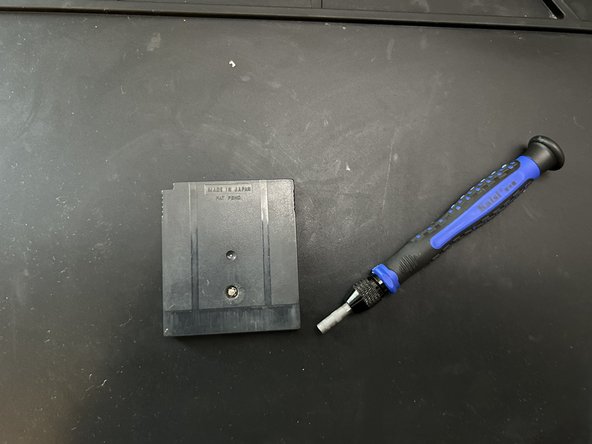
To reassemble your game cartridge, follow step 9.

Uma outra pessoa concluiu este guia.

Jose Ayala

Membro desde: 12/06/23

220 Reputação

Autoria de 1 guia

Equipe

0 comentários

Adicione um comentário

Exibir estatísticas:

Últimas 24 horas: 6

Últimos 7 dias: 42

Últimos 30 dias: 217

Duração total: 877